Author Archives: Abigail Polsby

Swiftwater Awareness

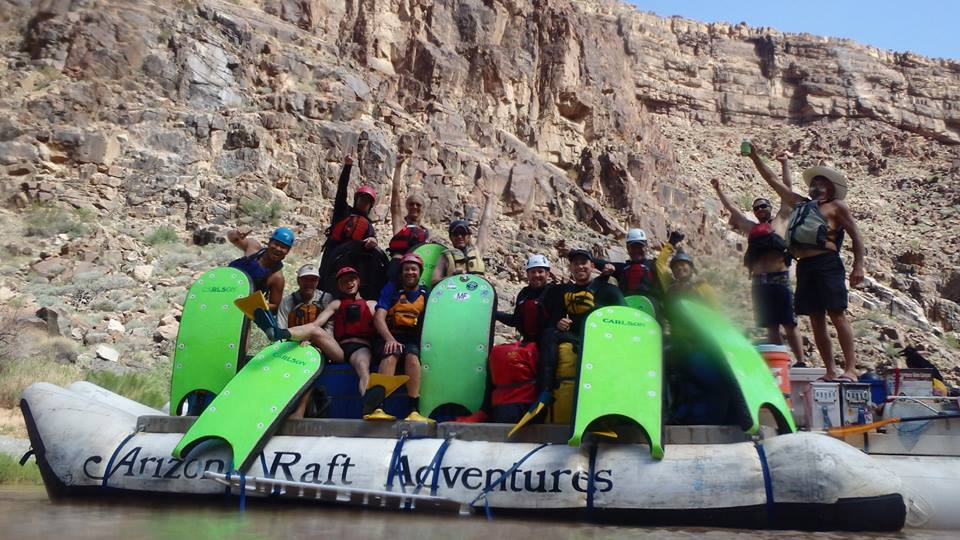
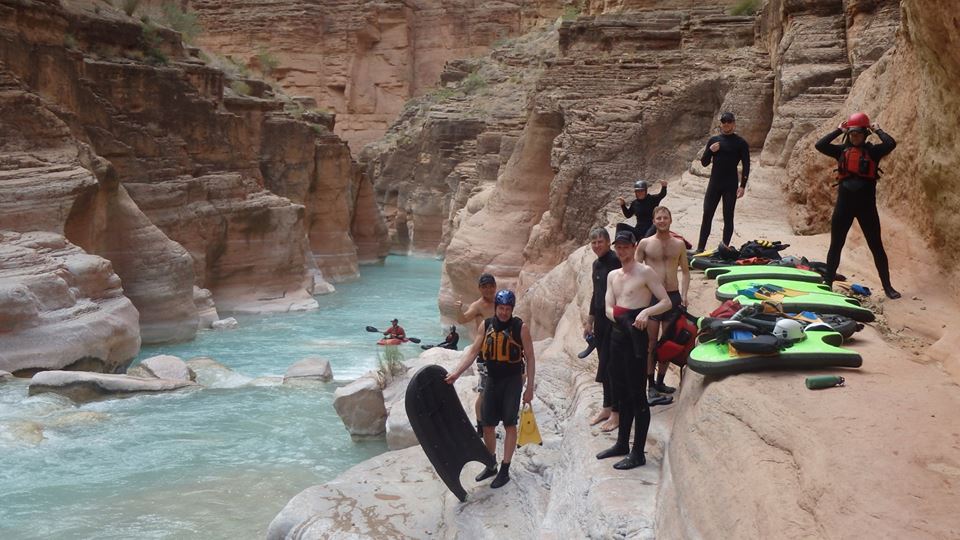
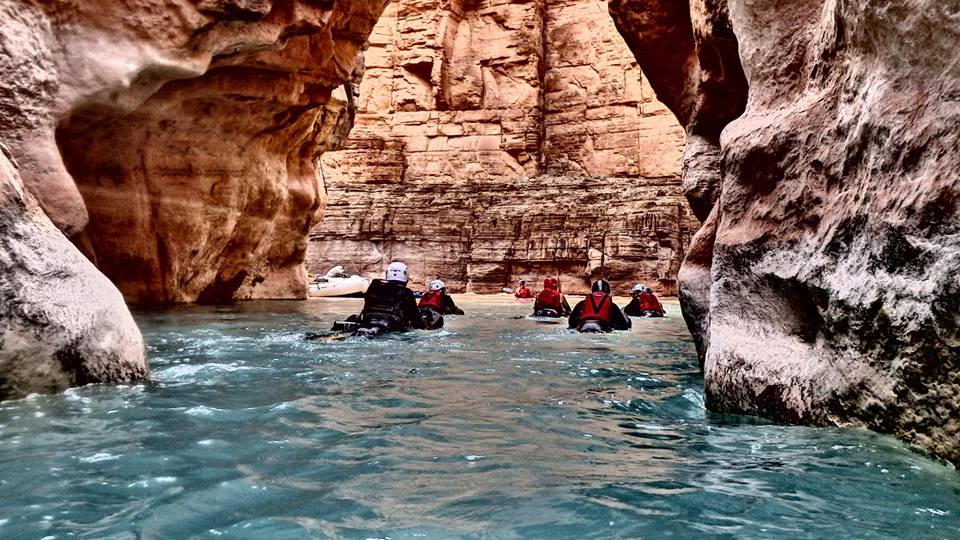
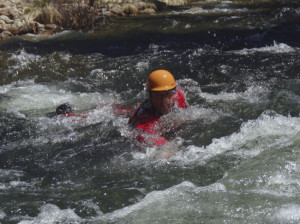
For Millennia humans have been drawn to rivers. Although today’s river visitors look different than those of past history, their motive is very similar. People still flock in huge numbers to moving bodies of water. These rivers provide  a place to gather, travel, and recreate. Rivers often appear tranquil and slow but carry with them a deadly force. They have the ability to deliver a relaxing tube ride, or a thrilling whitewater adventure. A basic understanding of Swiftwater Awareness is helpful to would-be river enthusiasts.

Cold sets in quickly. Be prepared

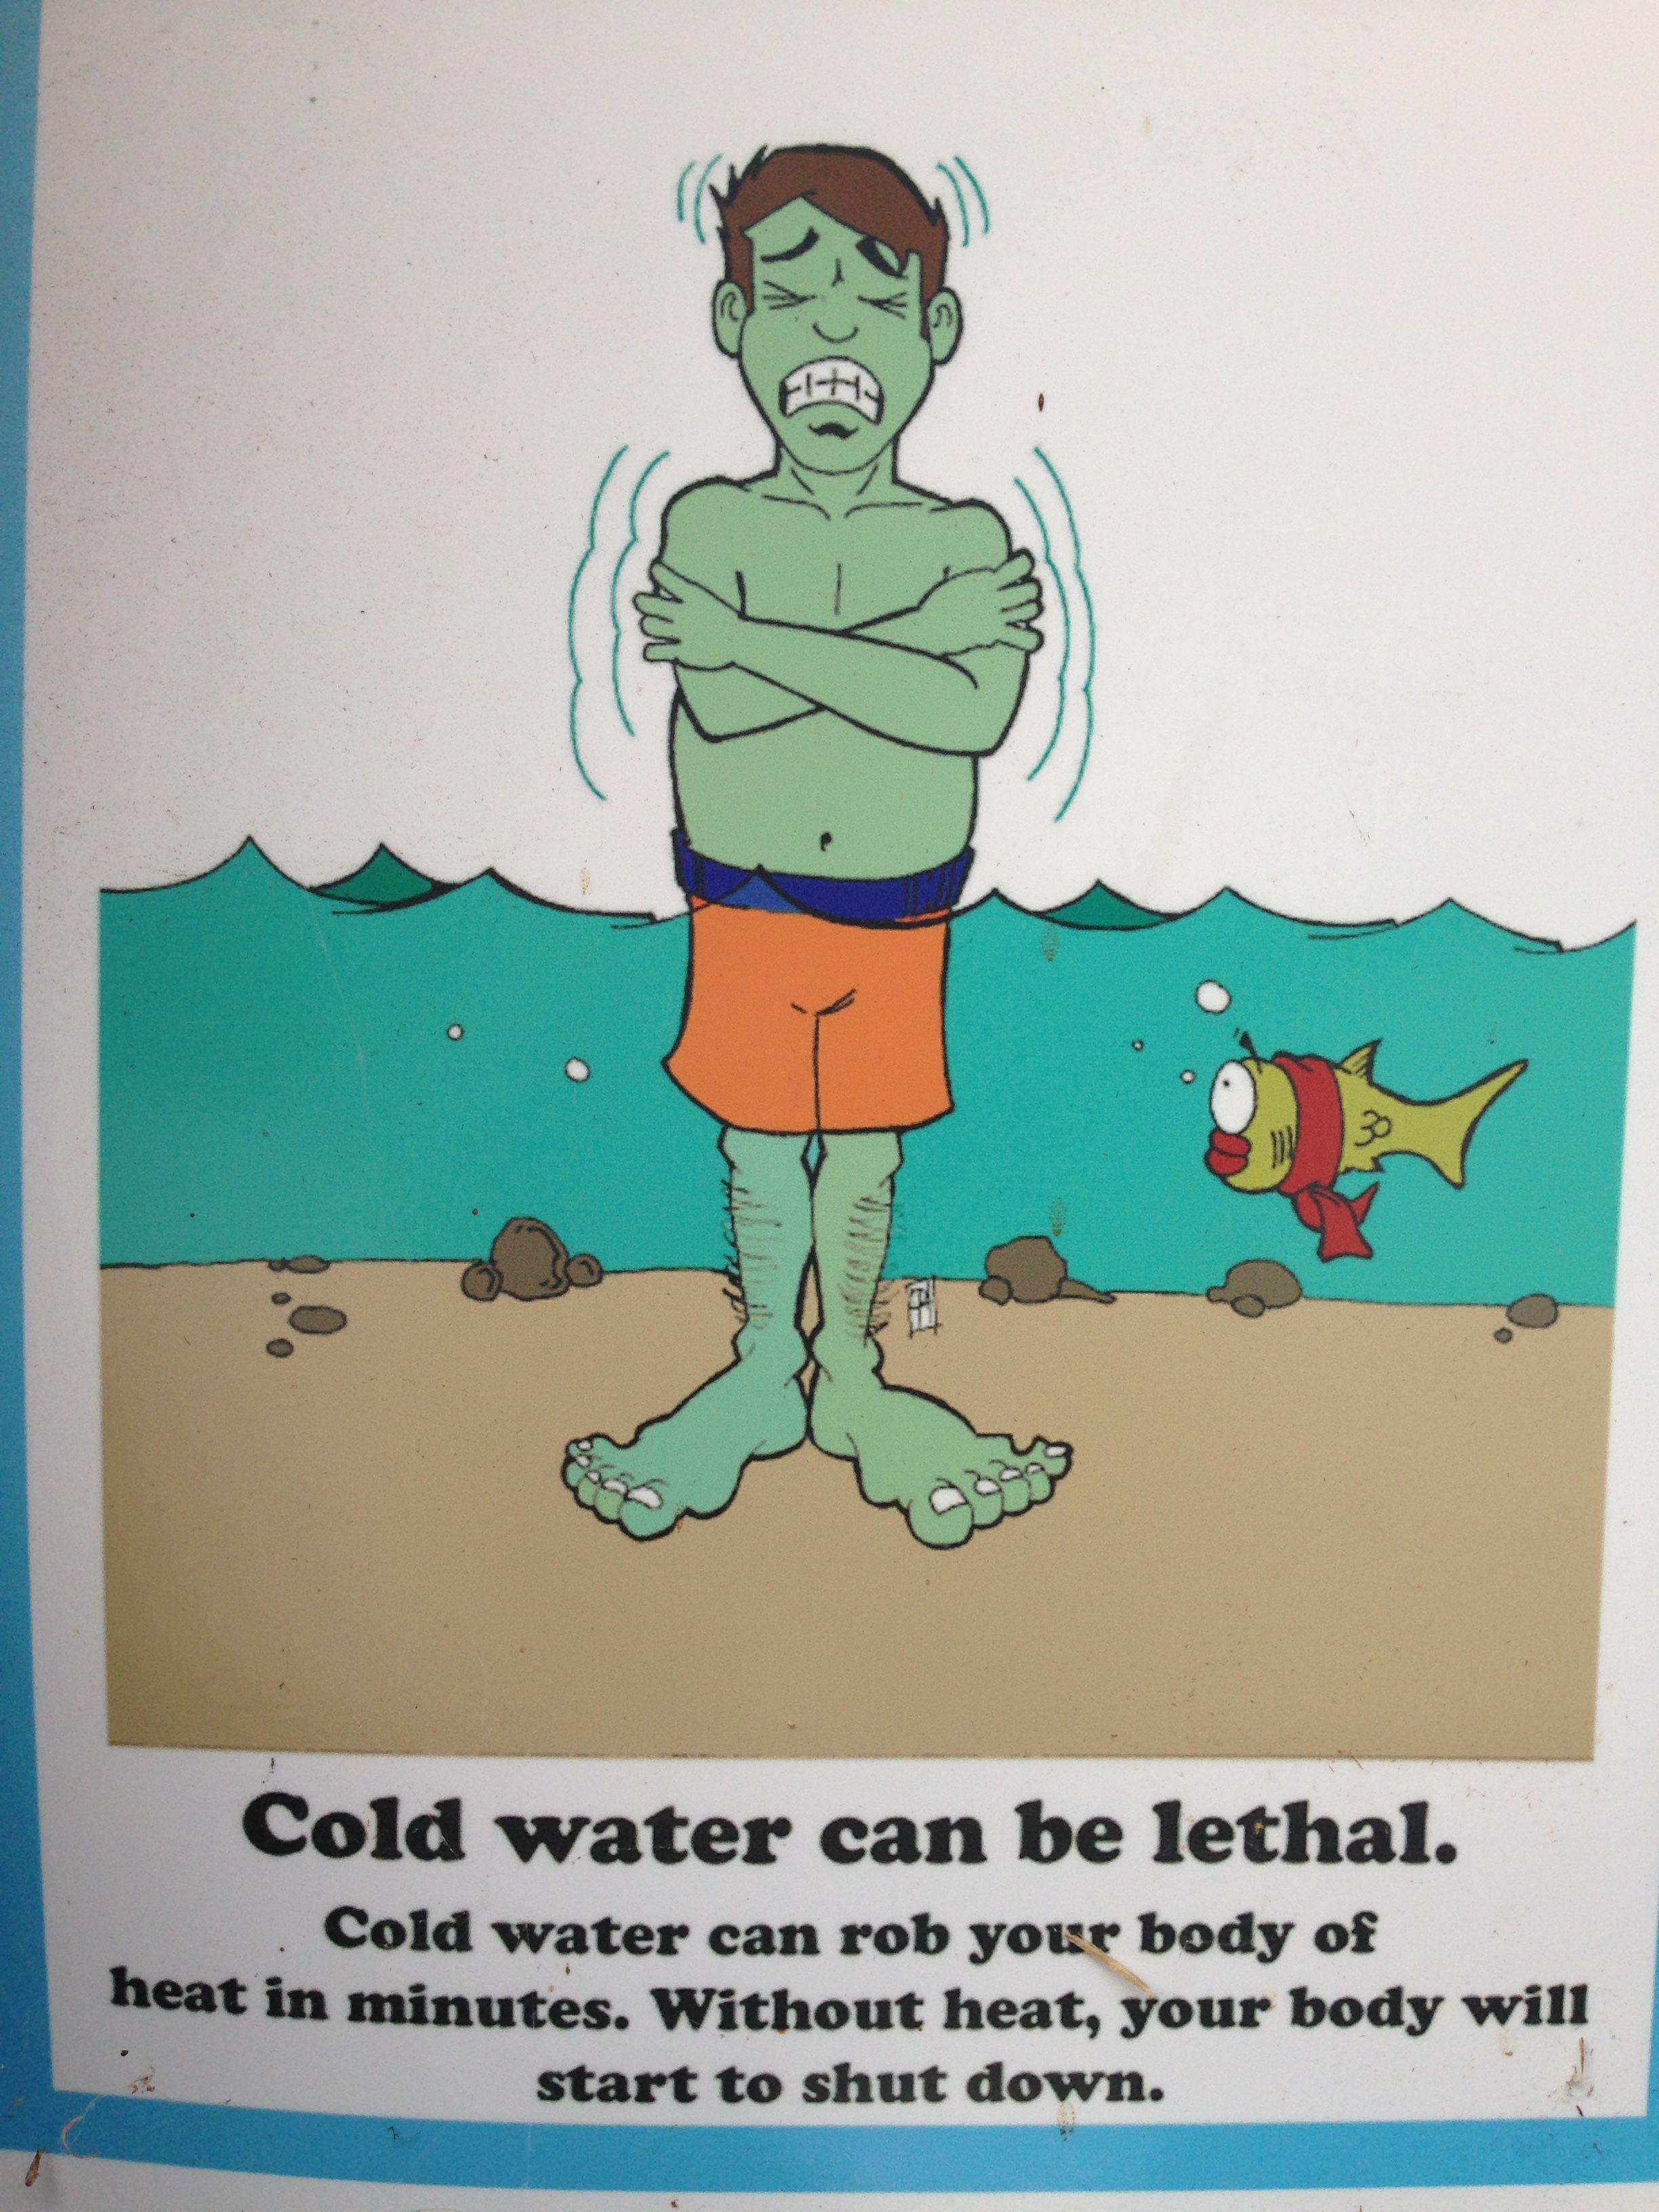
Cold sets in quickly. Be prepared!

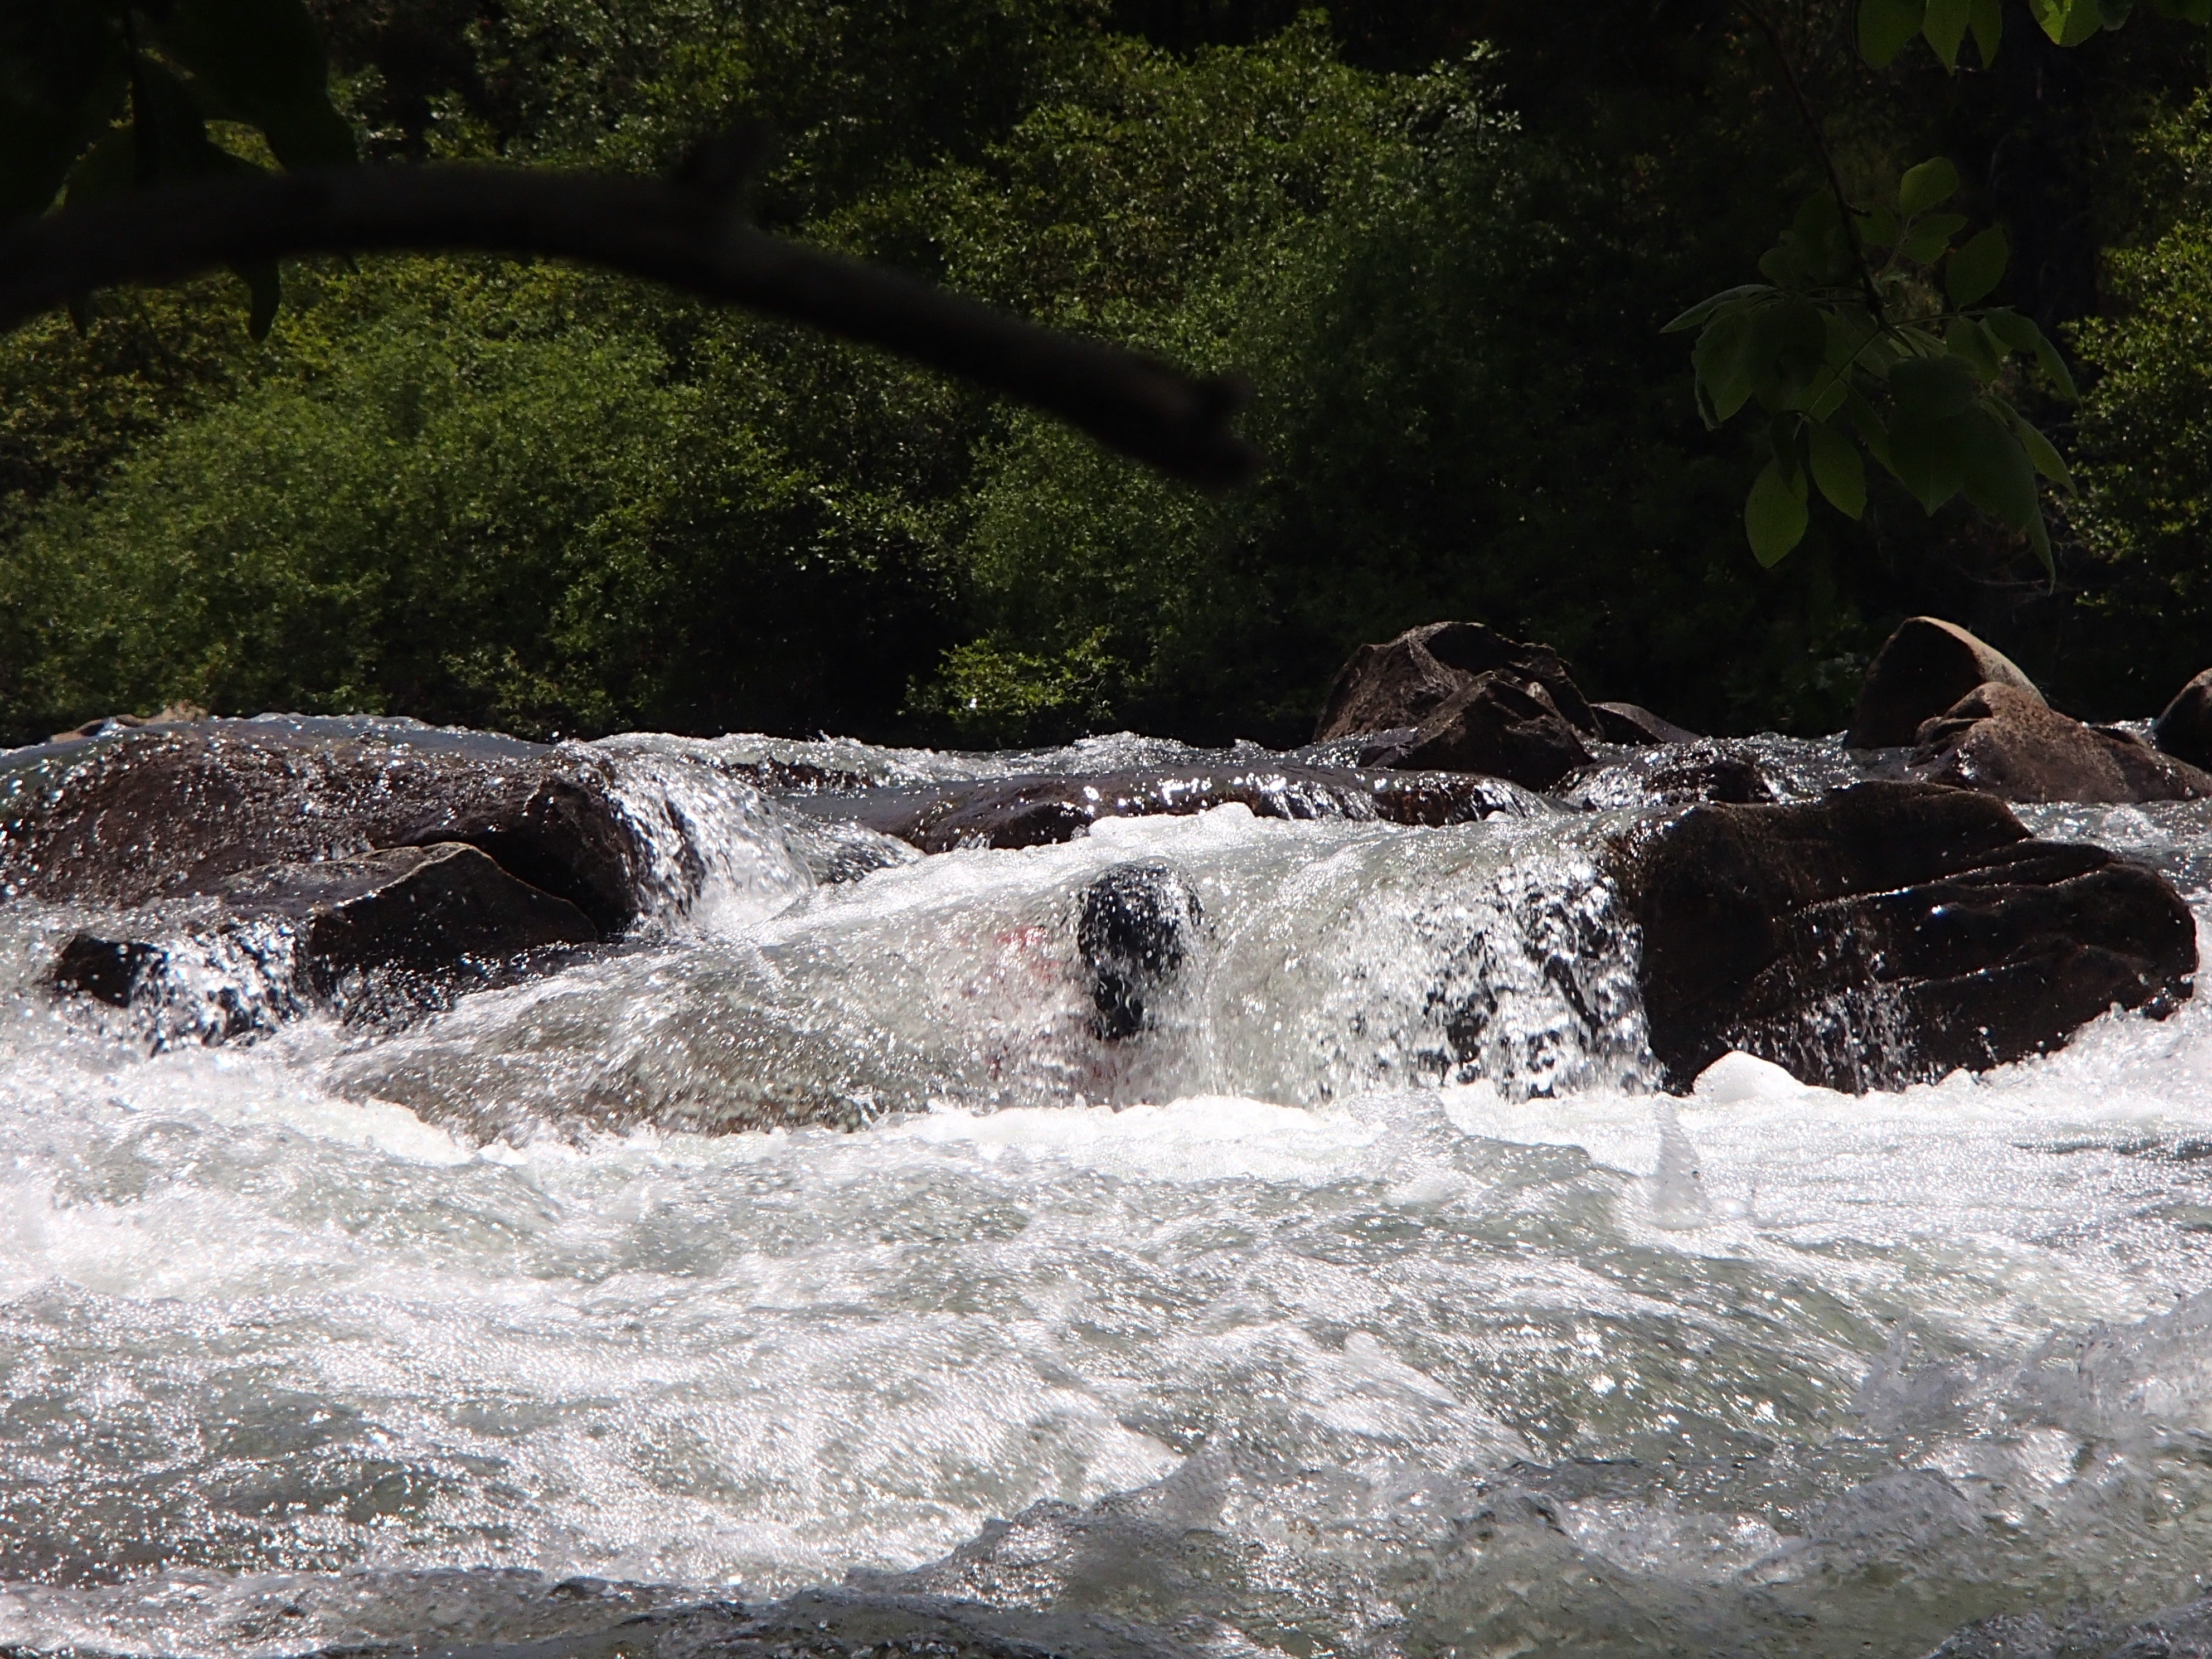
Several characteristics of moving water can  disrupt the tranquil time spent at or in a river, and quickly change a relaxed scene into an urgent one. Across the United States and abroad, governing bodies and regulatory agencies are trying to increase the general public’s awareness of swiftwater hazards and how to prevent injury  and exposure. Have a look at California’s take on public notifications and posting of swiftwater awareness. This cartoon signs are posted at the entry to a few of the river access sites along the Yuba River.


Swiftwater Awareness

Swiftwater Awareness: the basics.


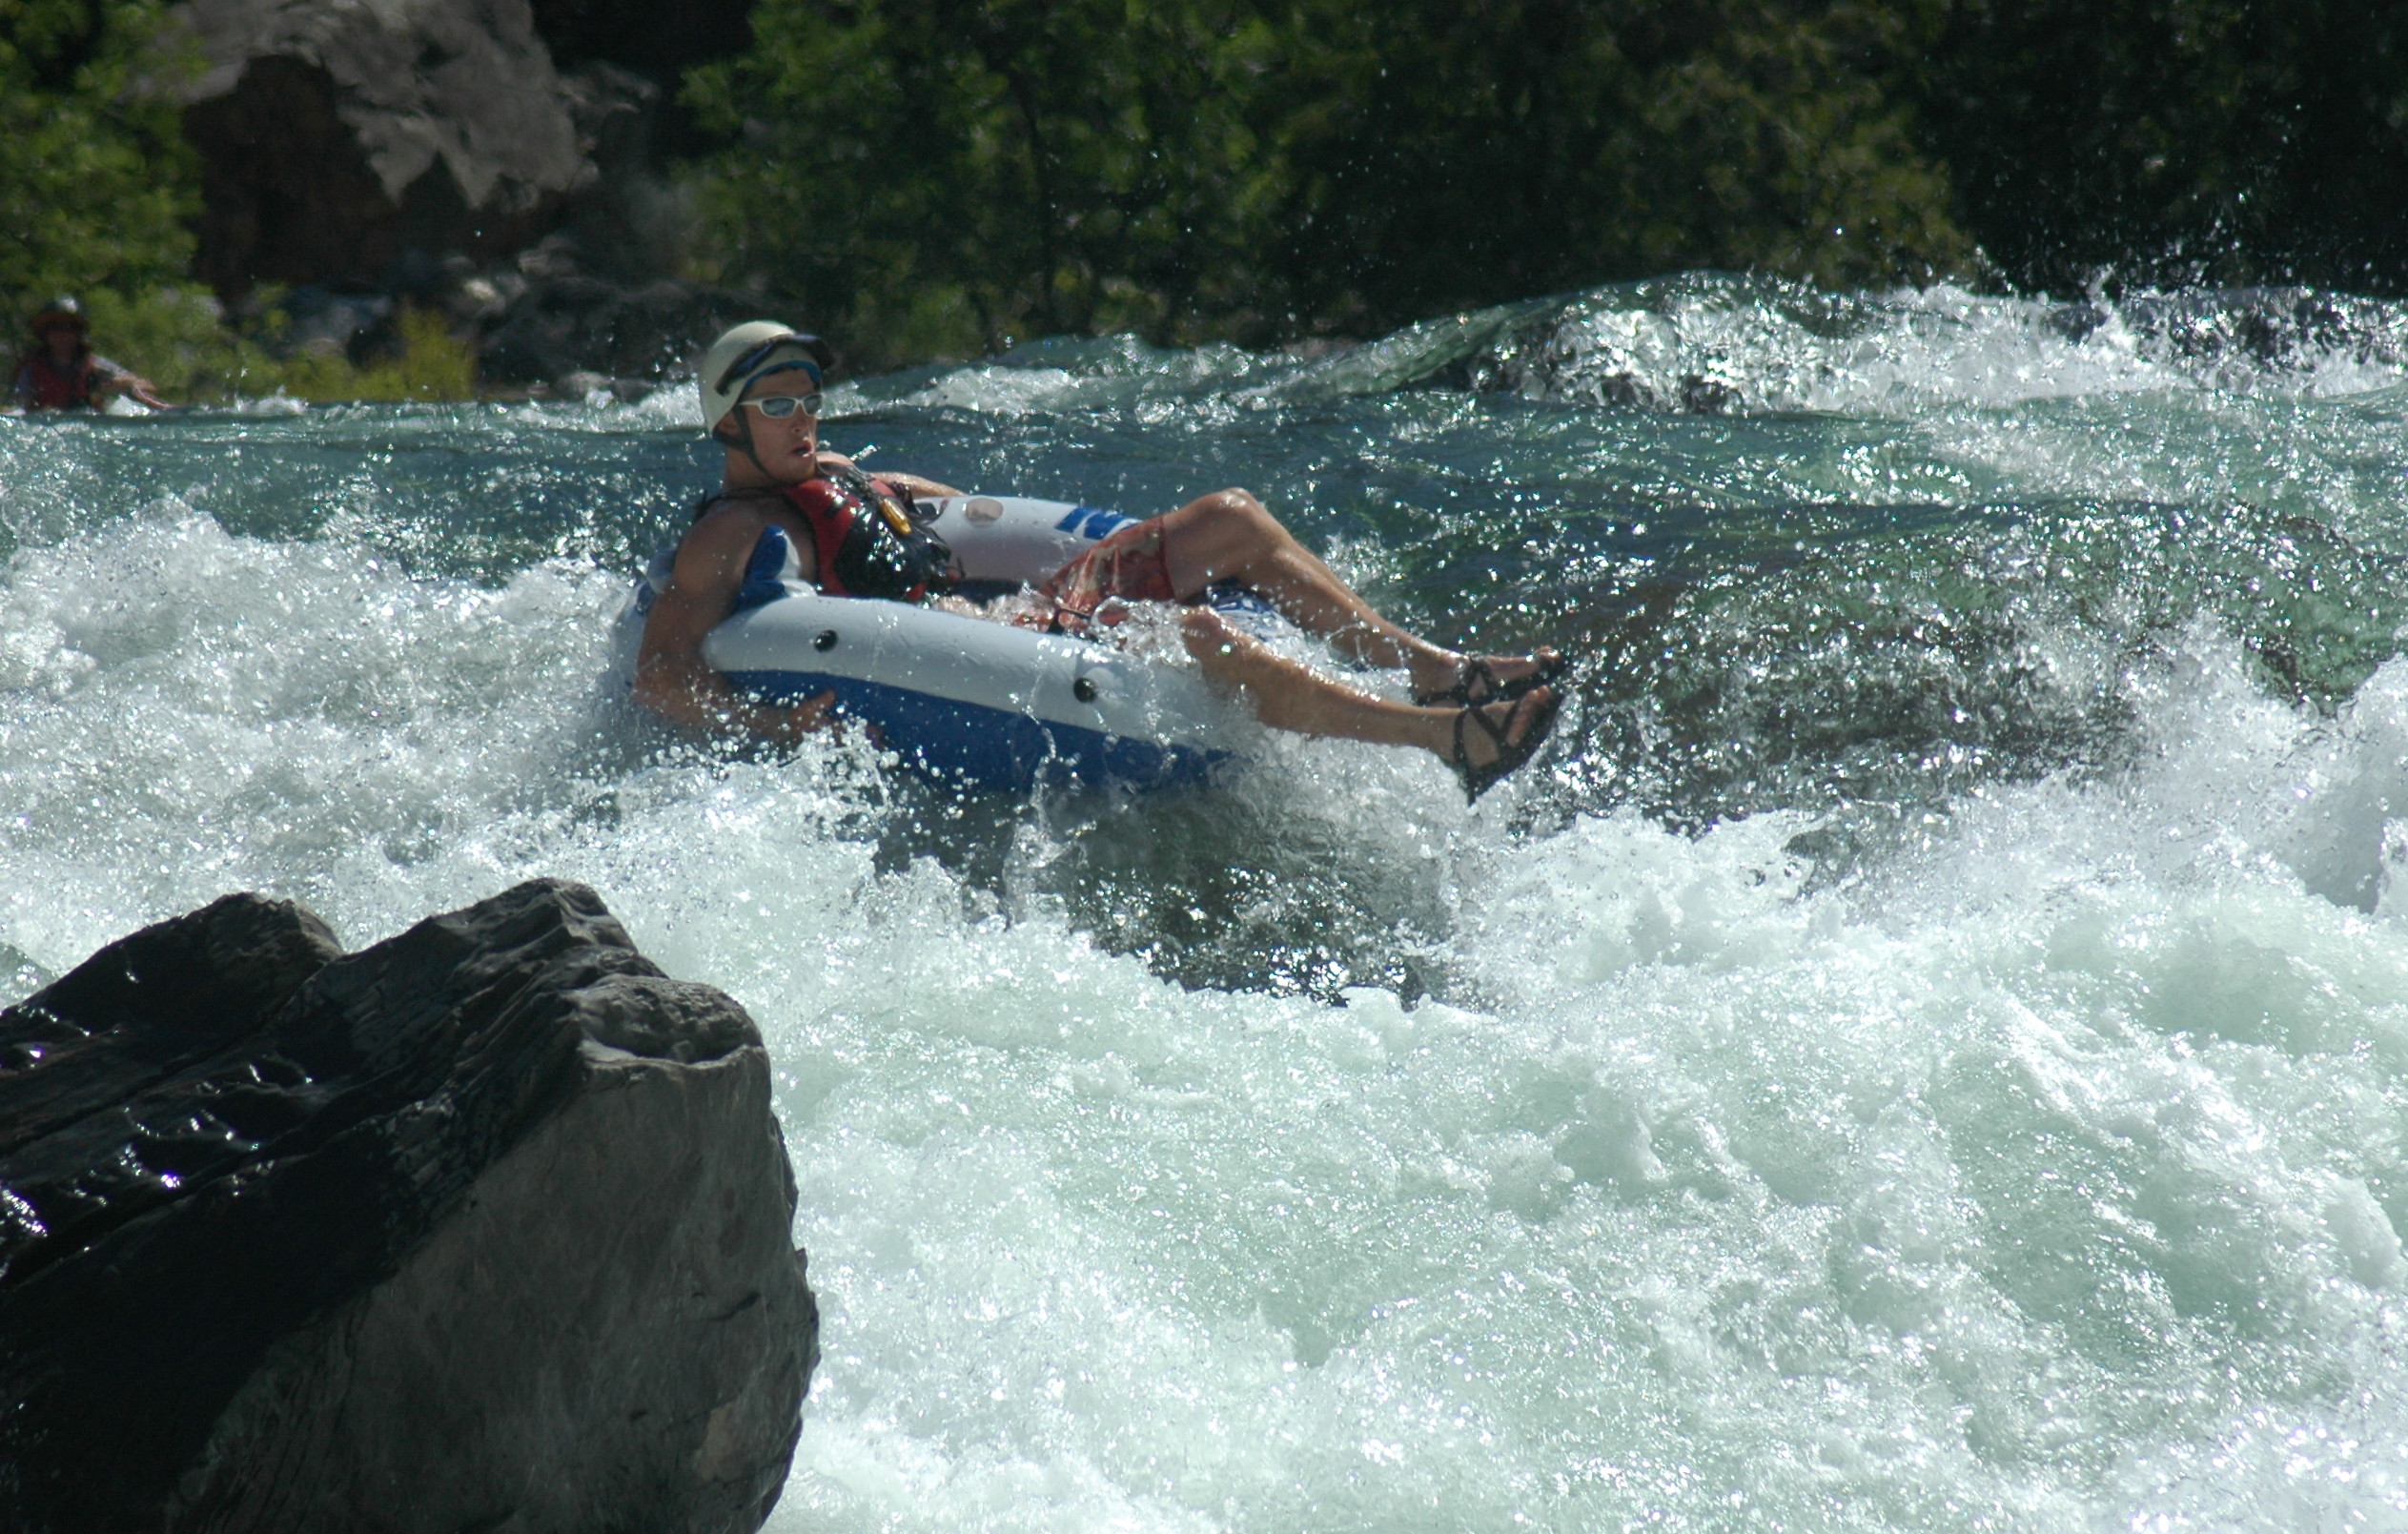
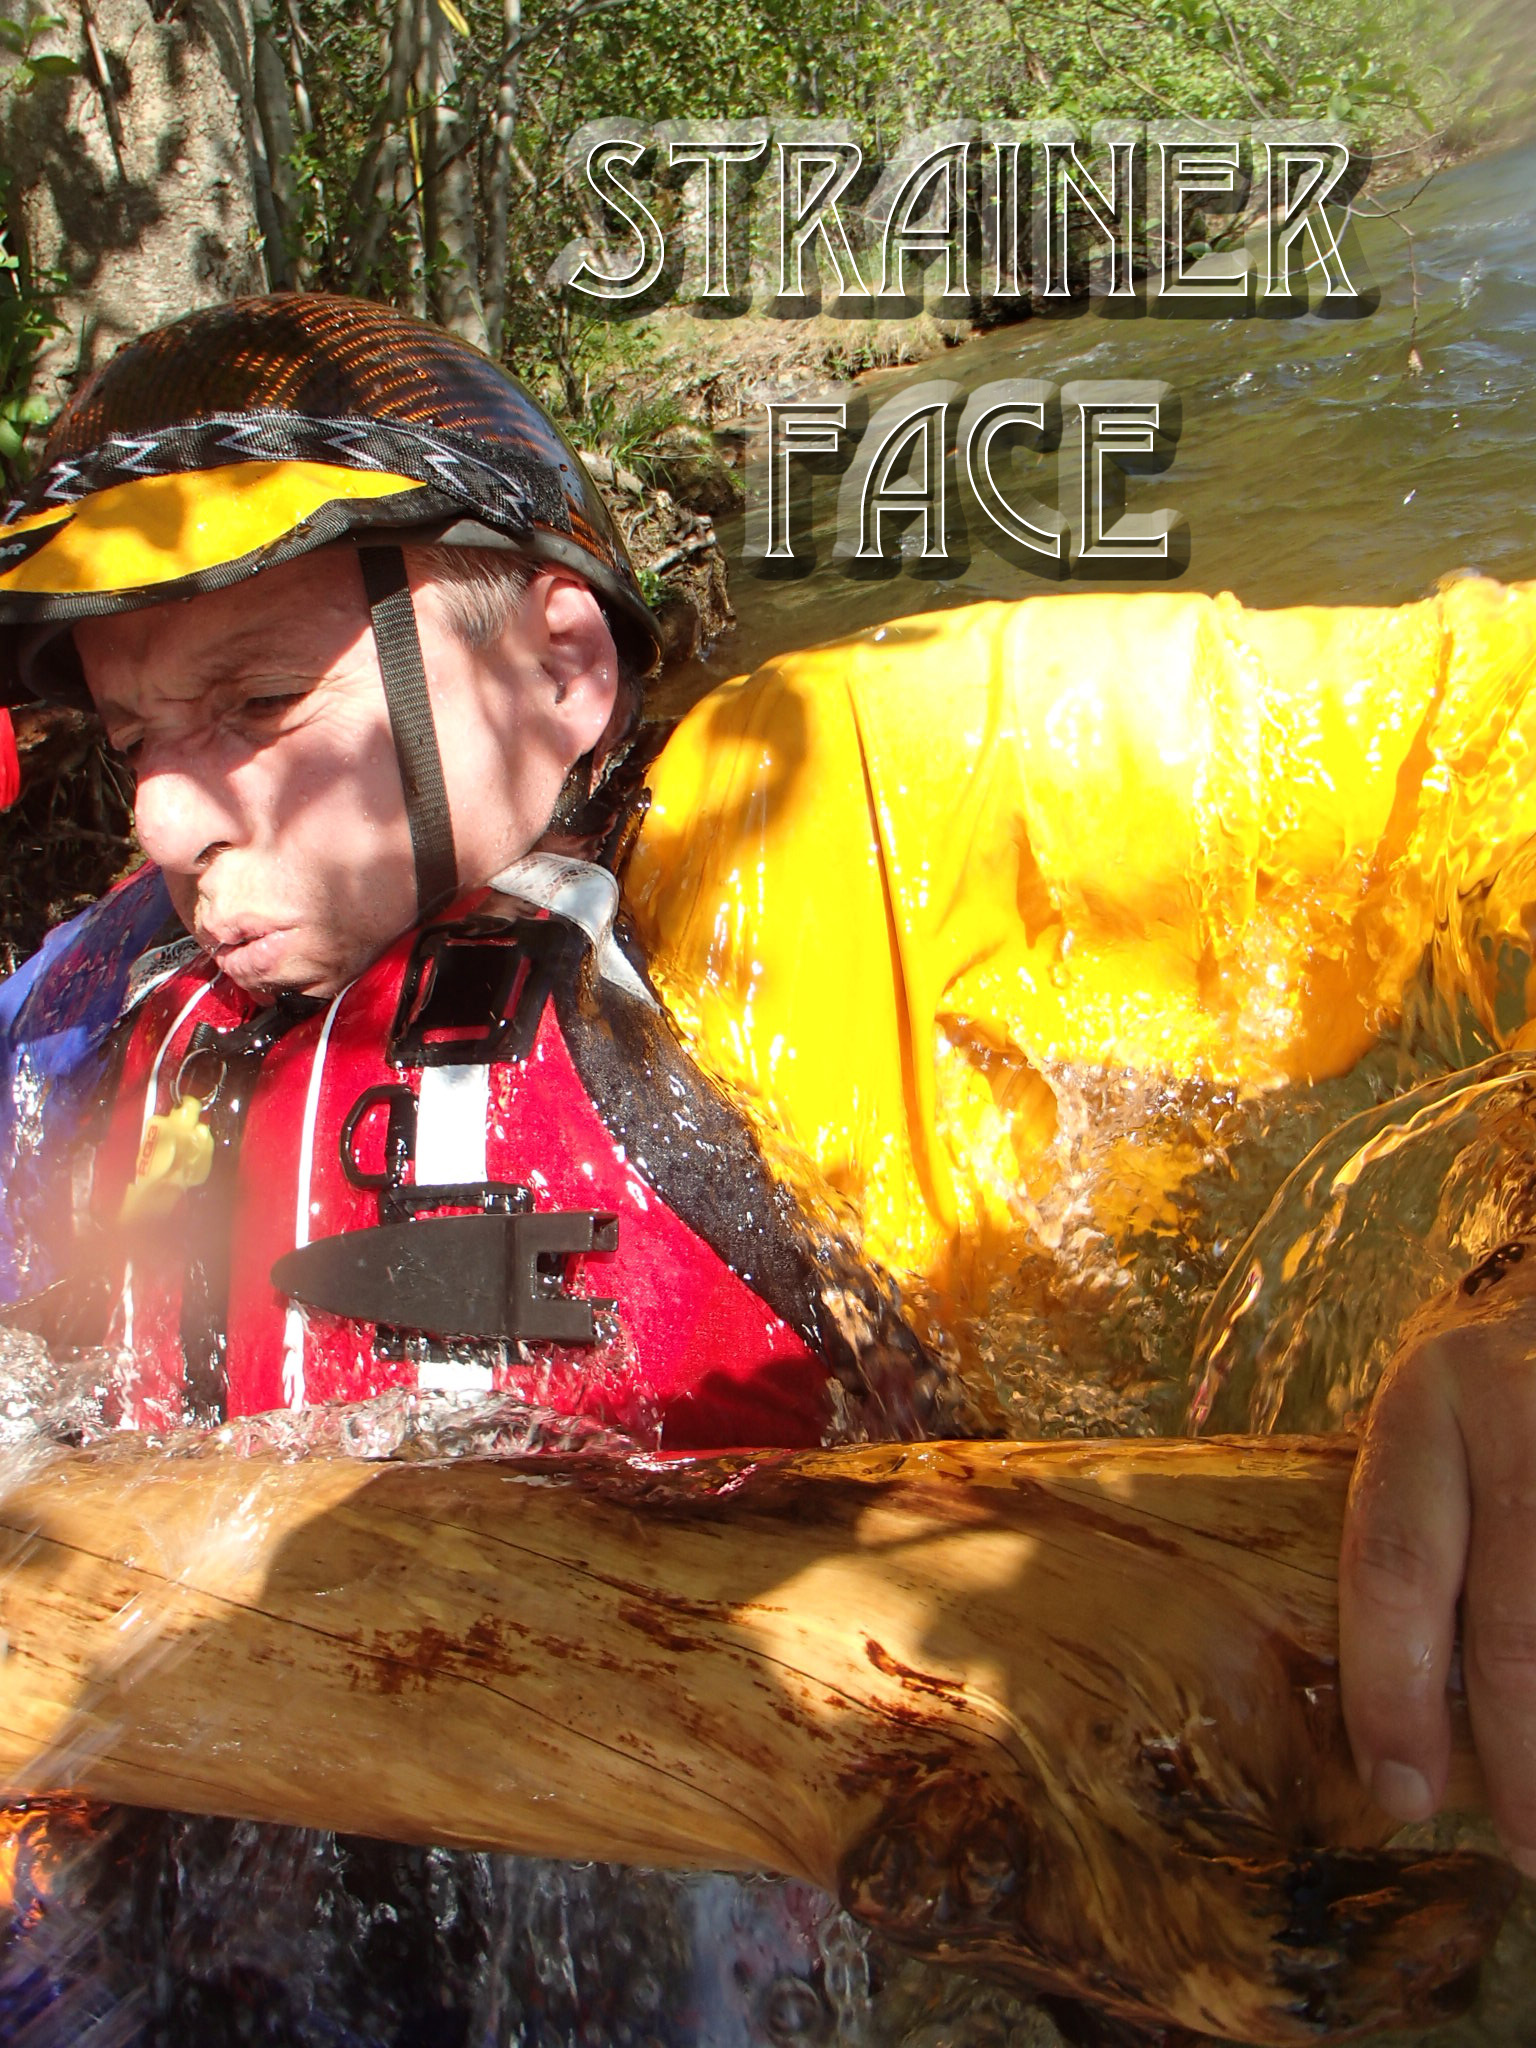
Providing an equivalent comparison to the force of water attempts to give visitors something they can relate to. Moving water is deceptively strong and can easily overpower even strong swimmers. Don’t underestimate moving water and always have the proper gear before you go.


PPE is a key component of swiftwater awareness

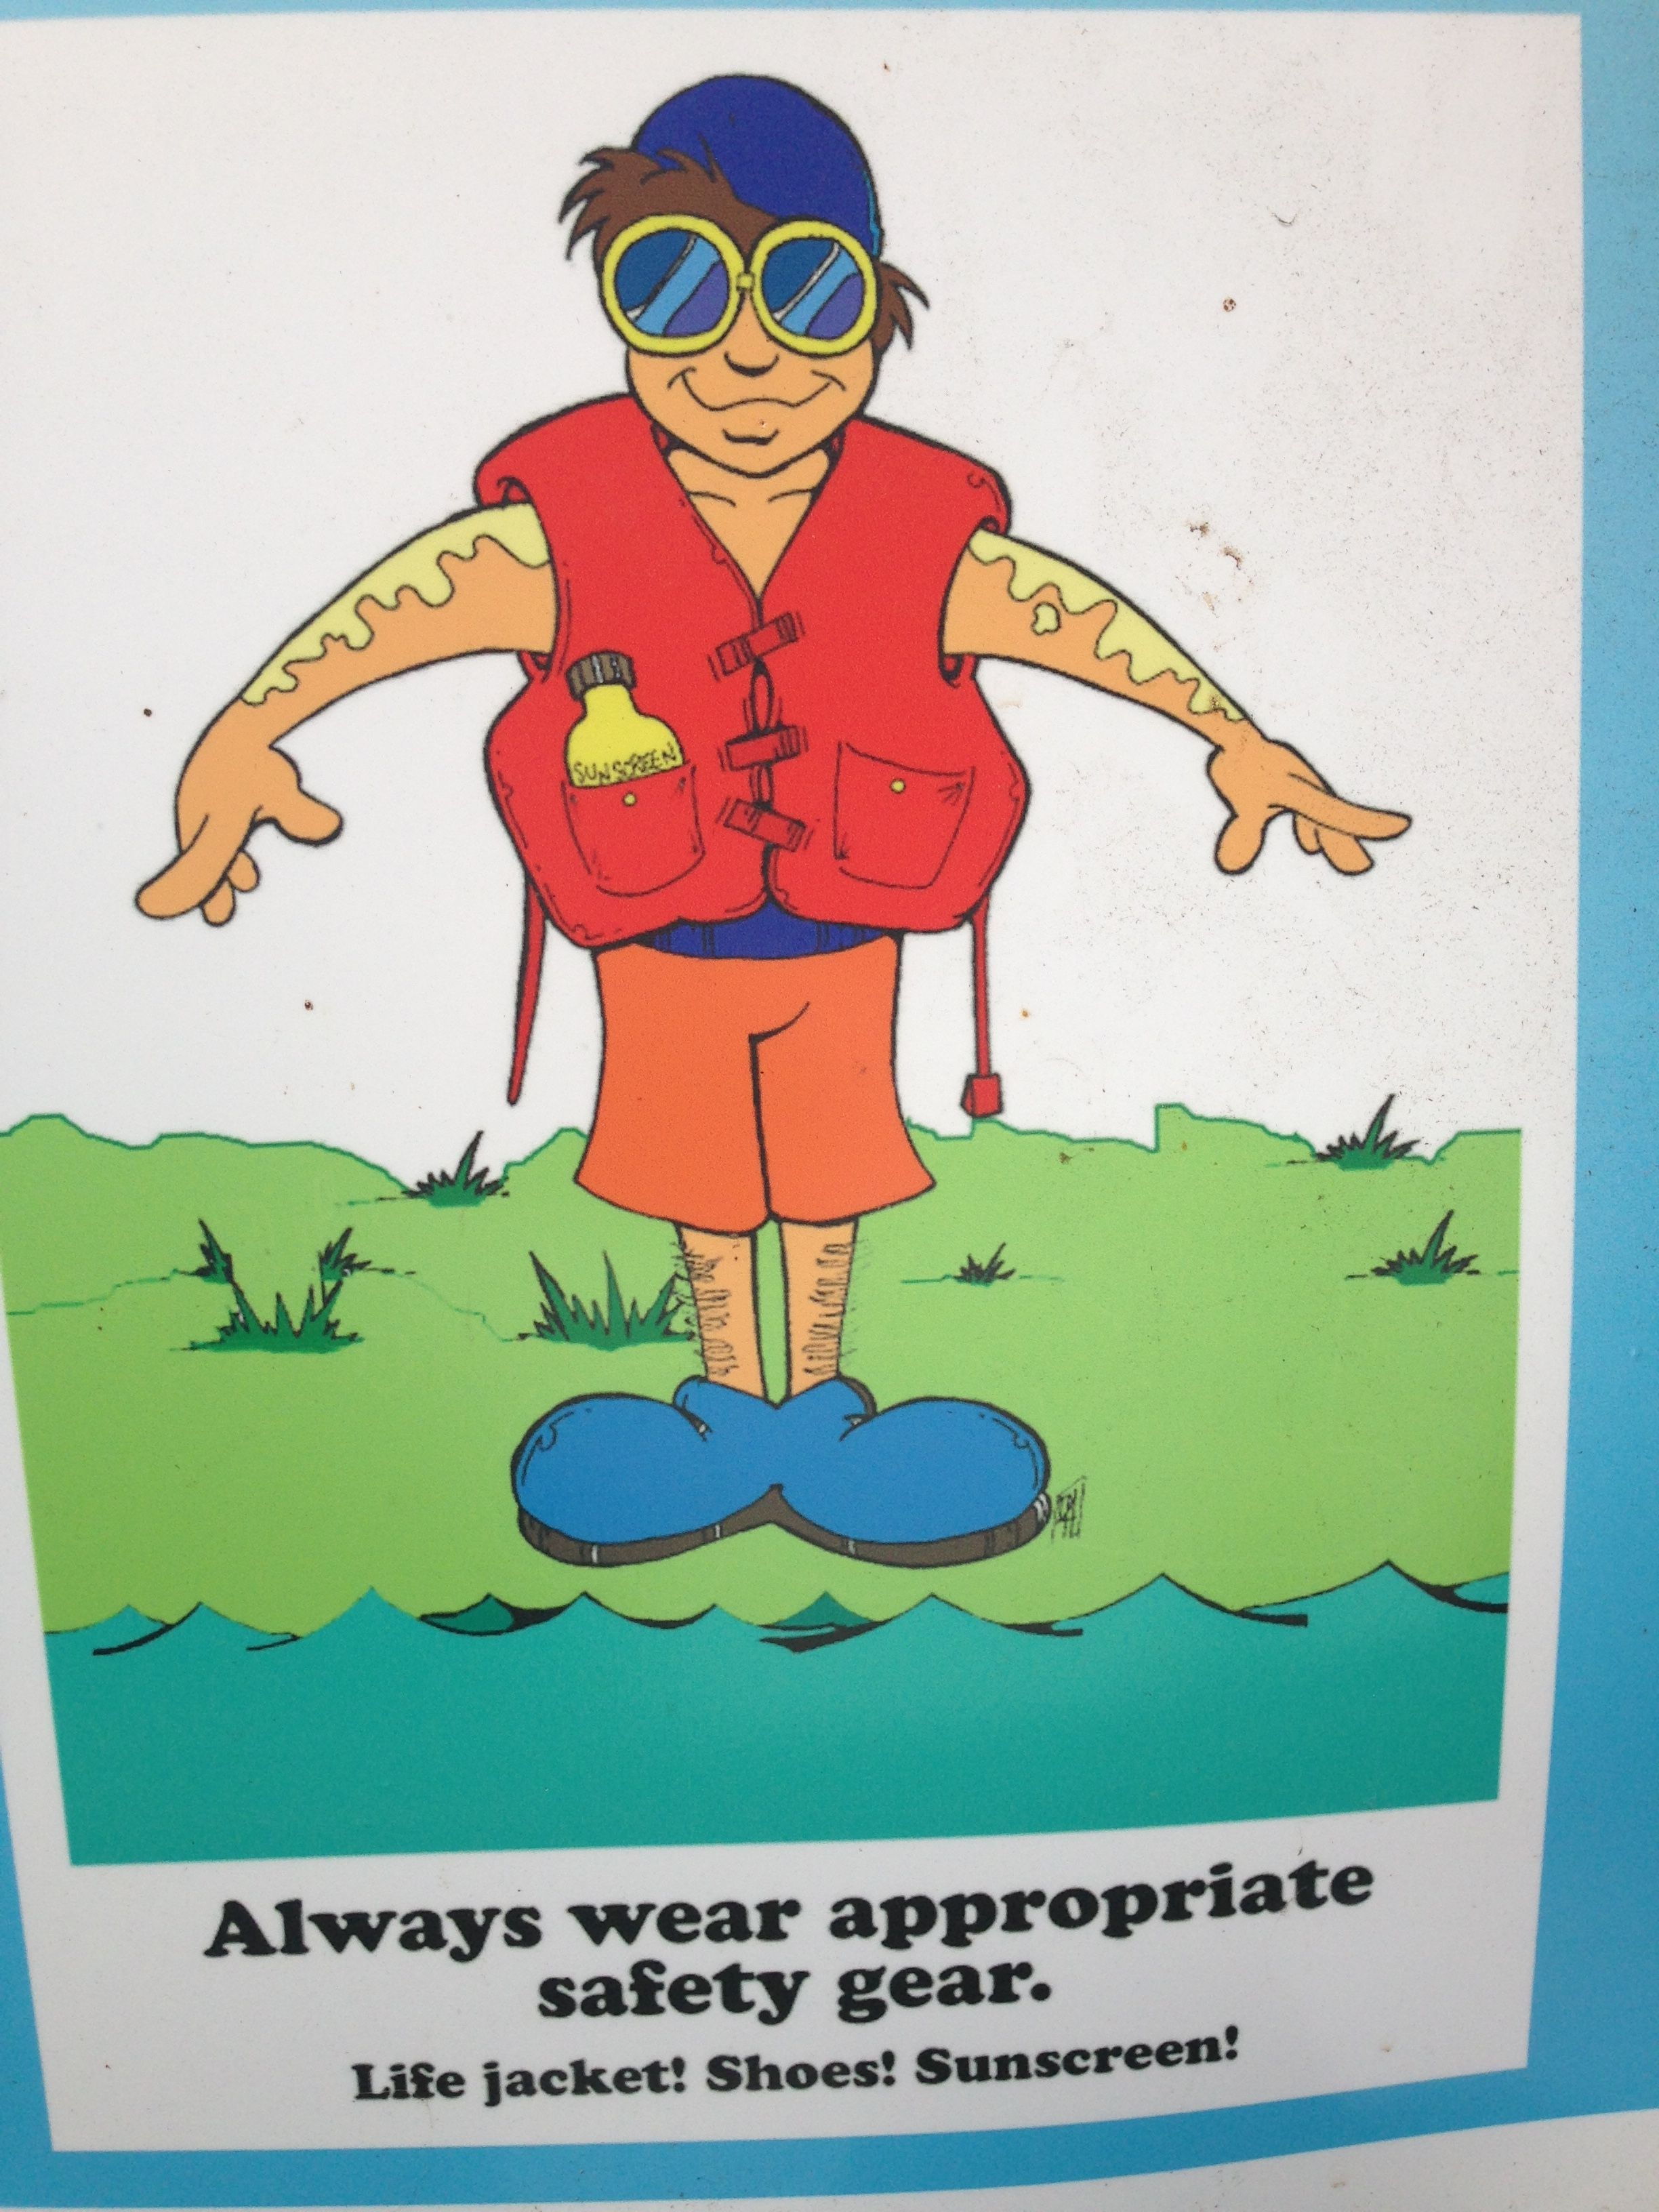
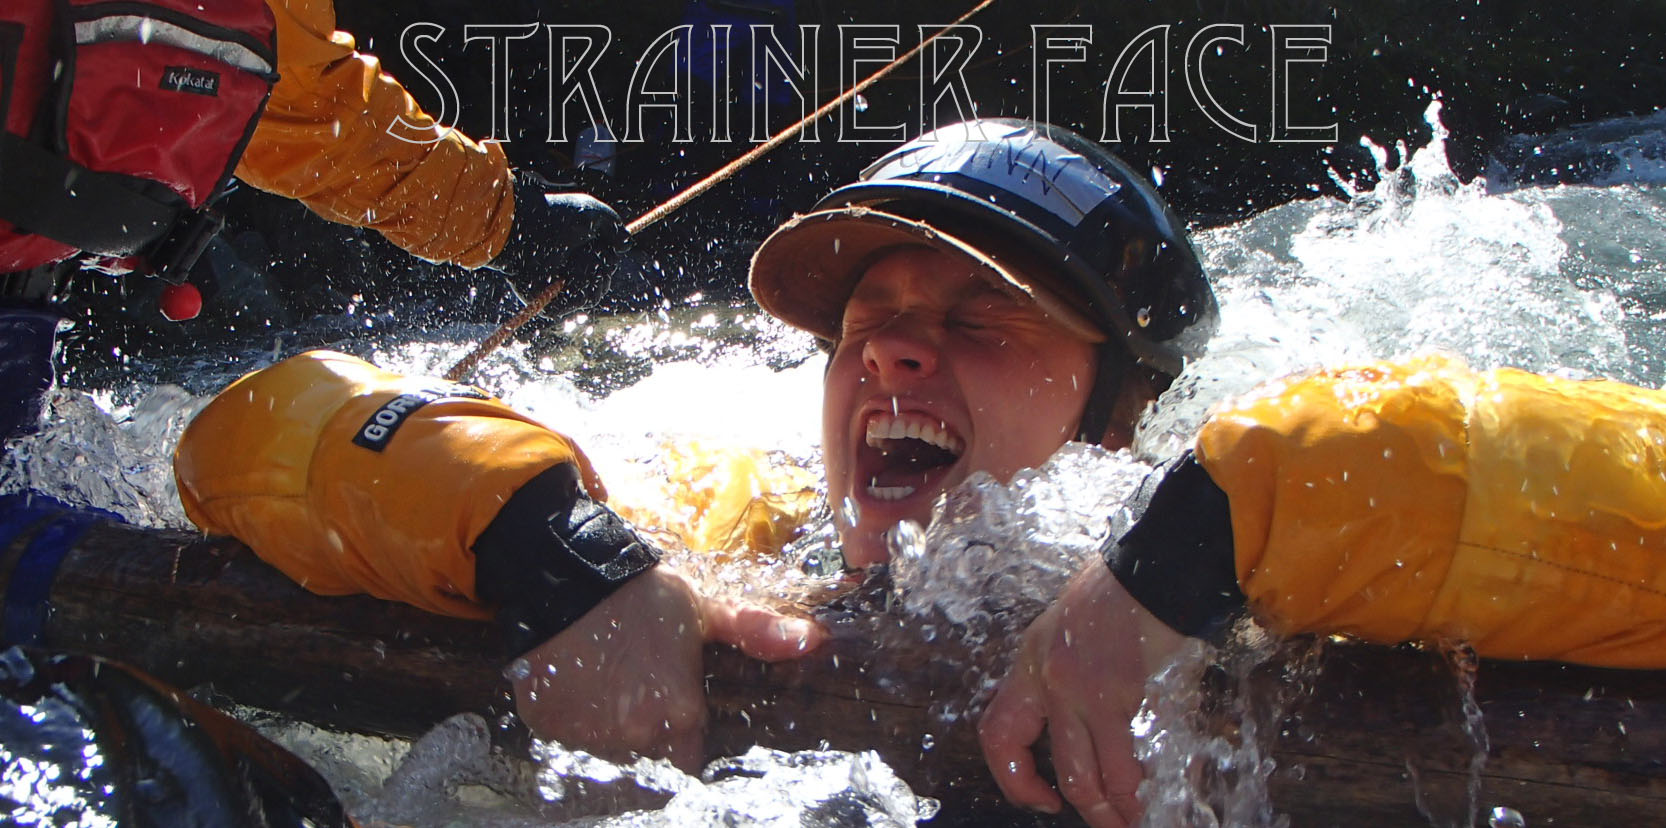
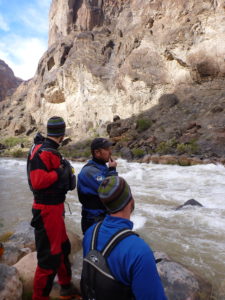
PPE is a key component of swiftwater awareness.


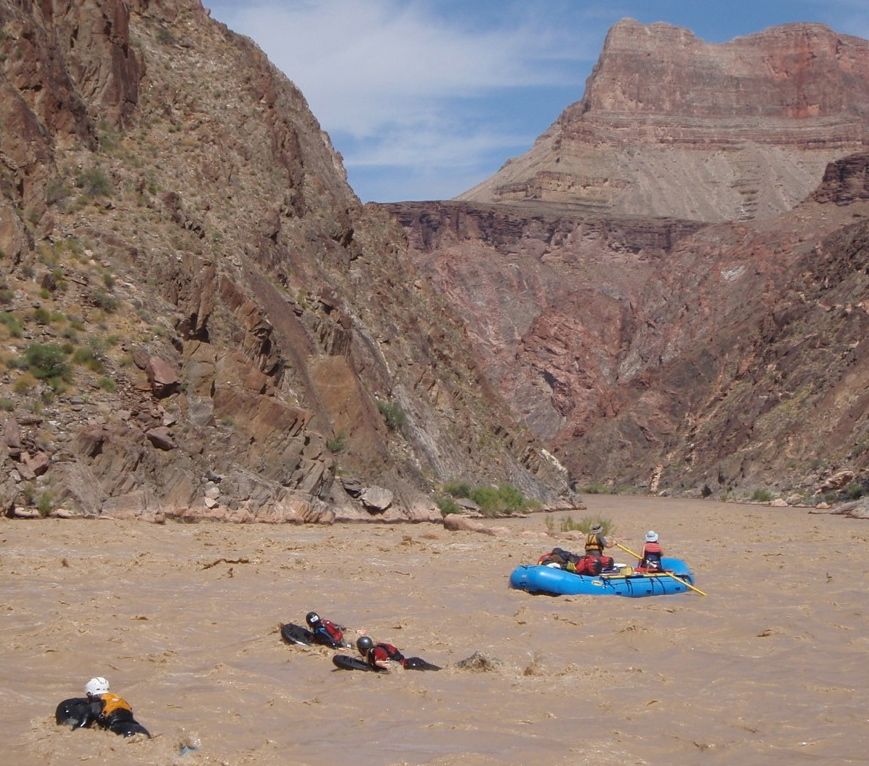
The Boy scout motto has significant merit here: “Always be prepared.” Know the river environment and make sure that the proper gear is used. 95% of all drownings in swiftwater the victim wasn’t wearing a life jacket or Personal Floatation Device. In addition to the PFD, shoes, hat, and sun protection are crucial.
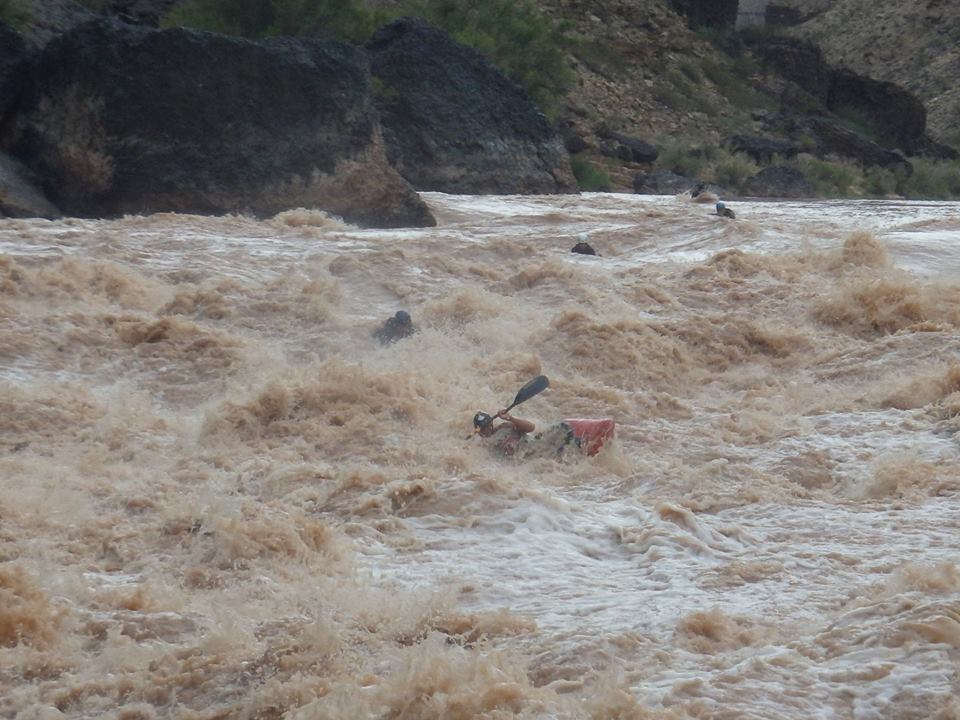
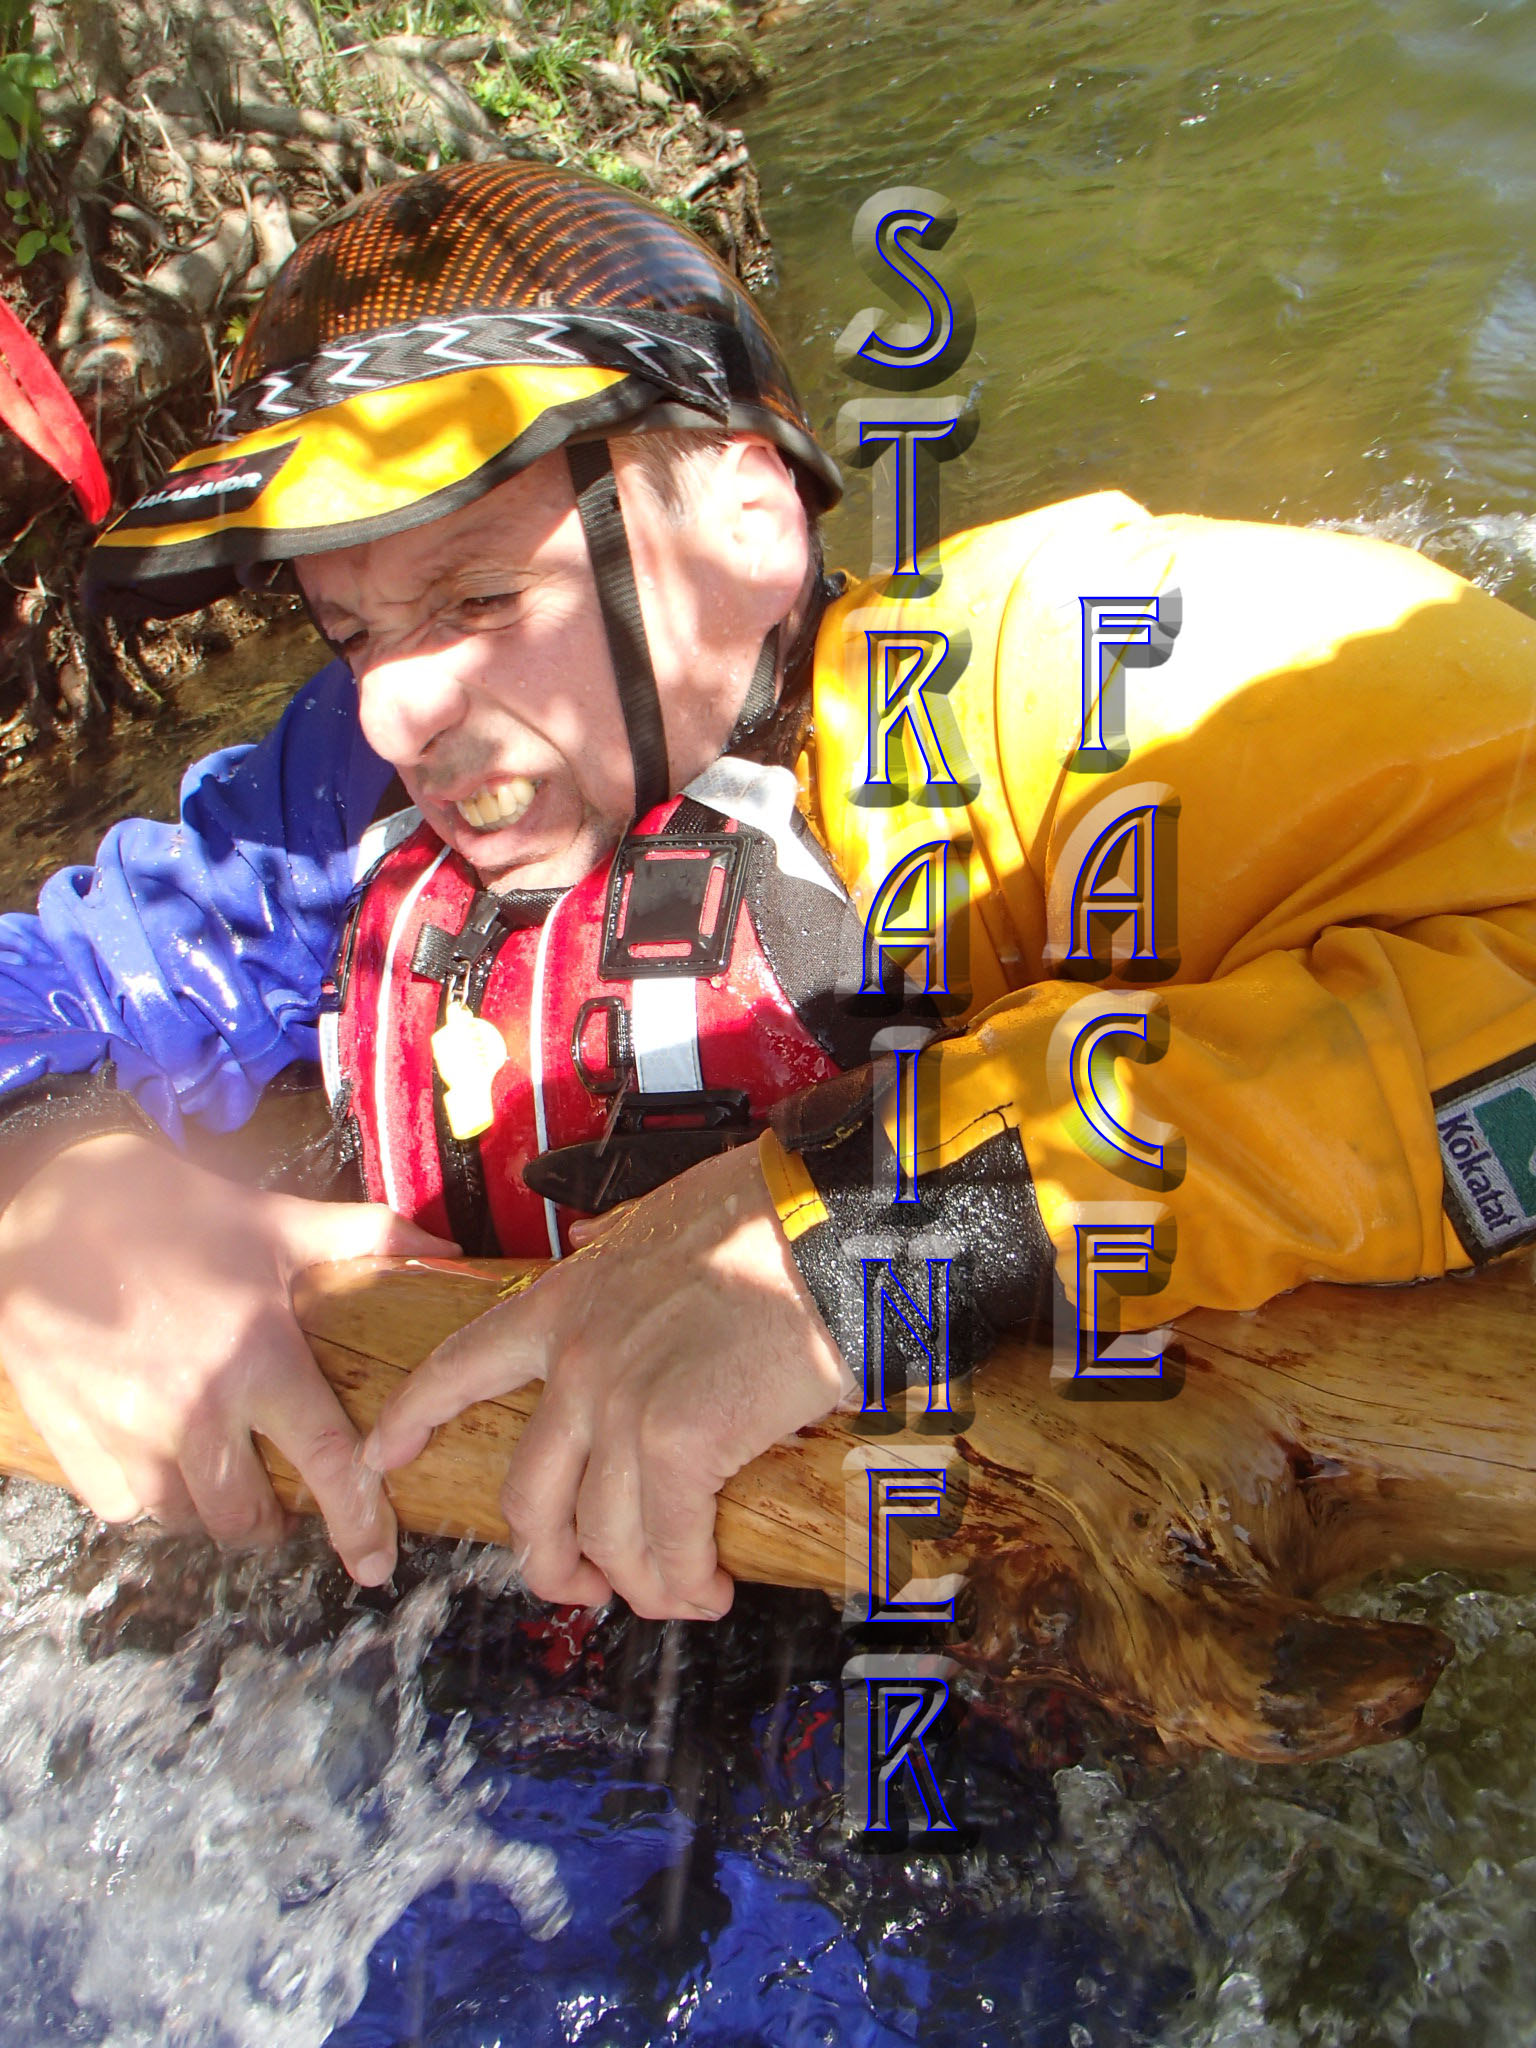
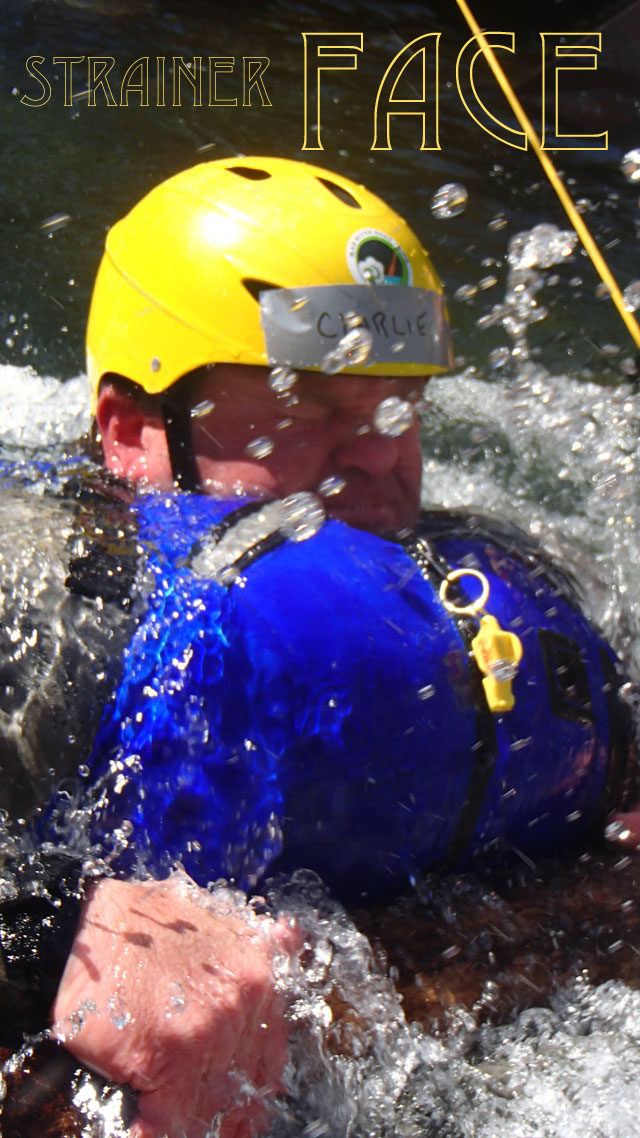
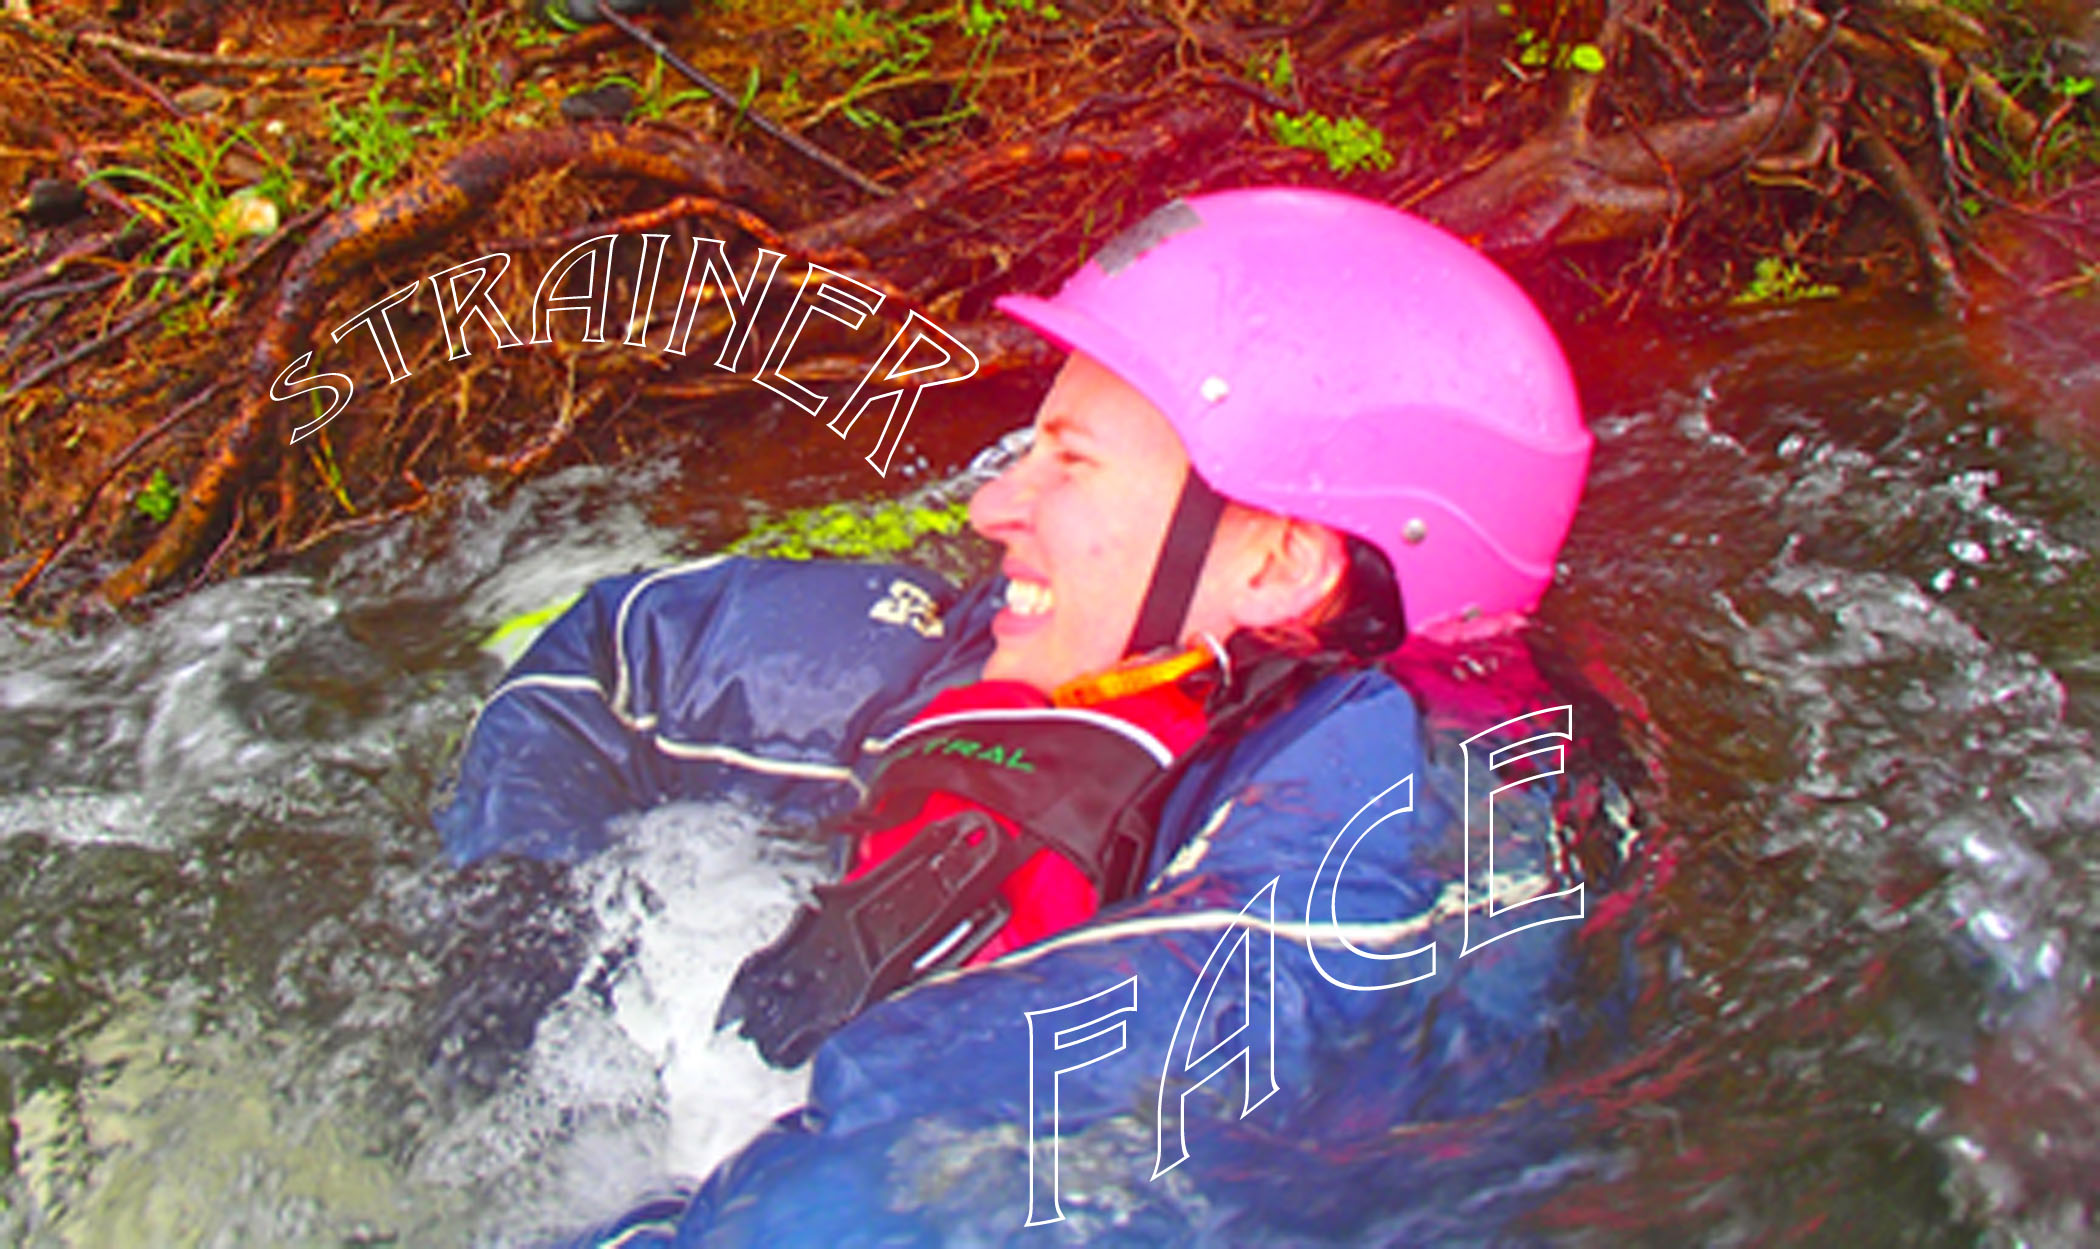
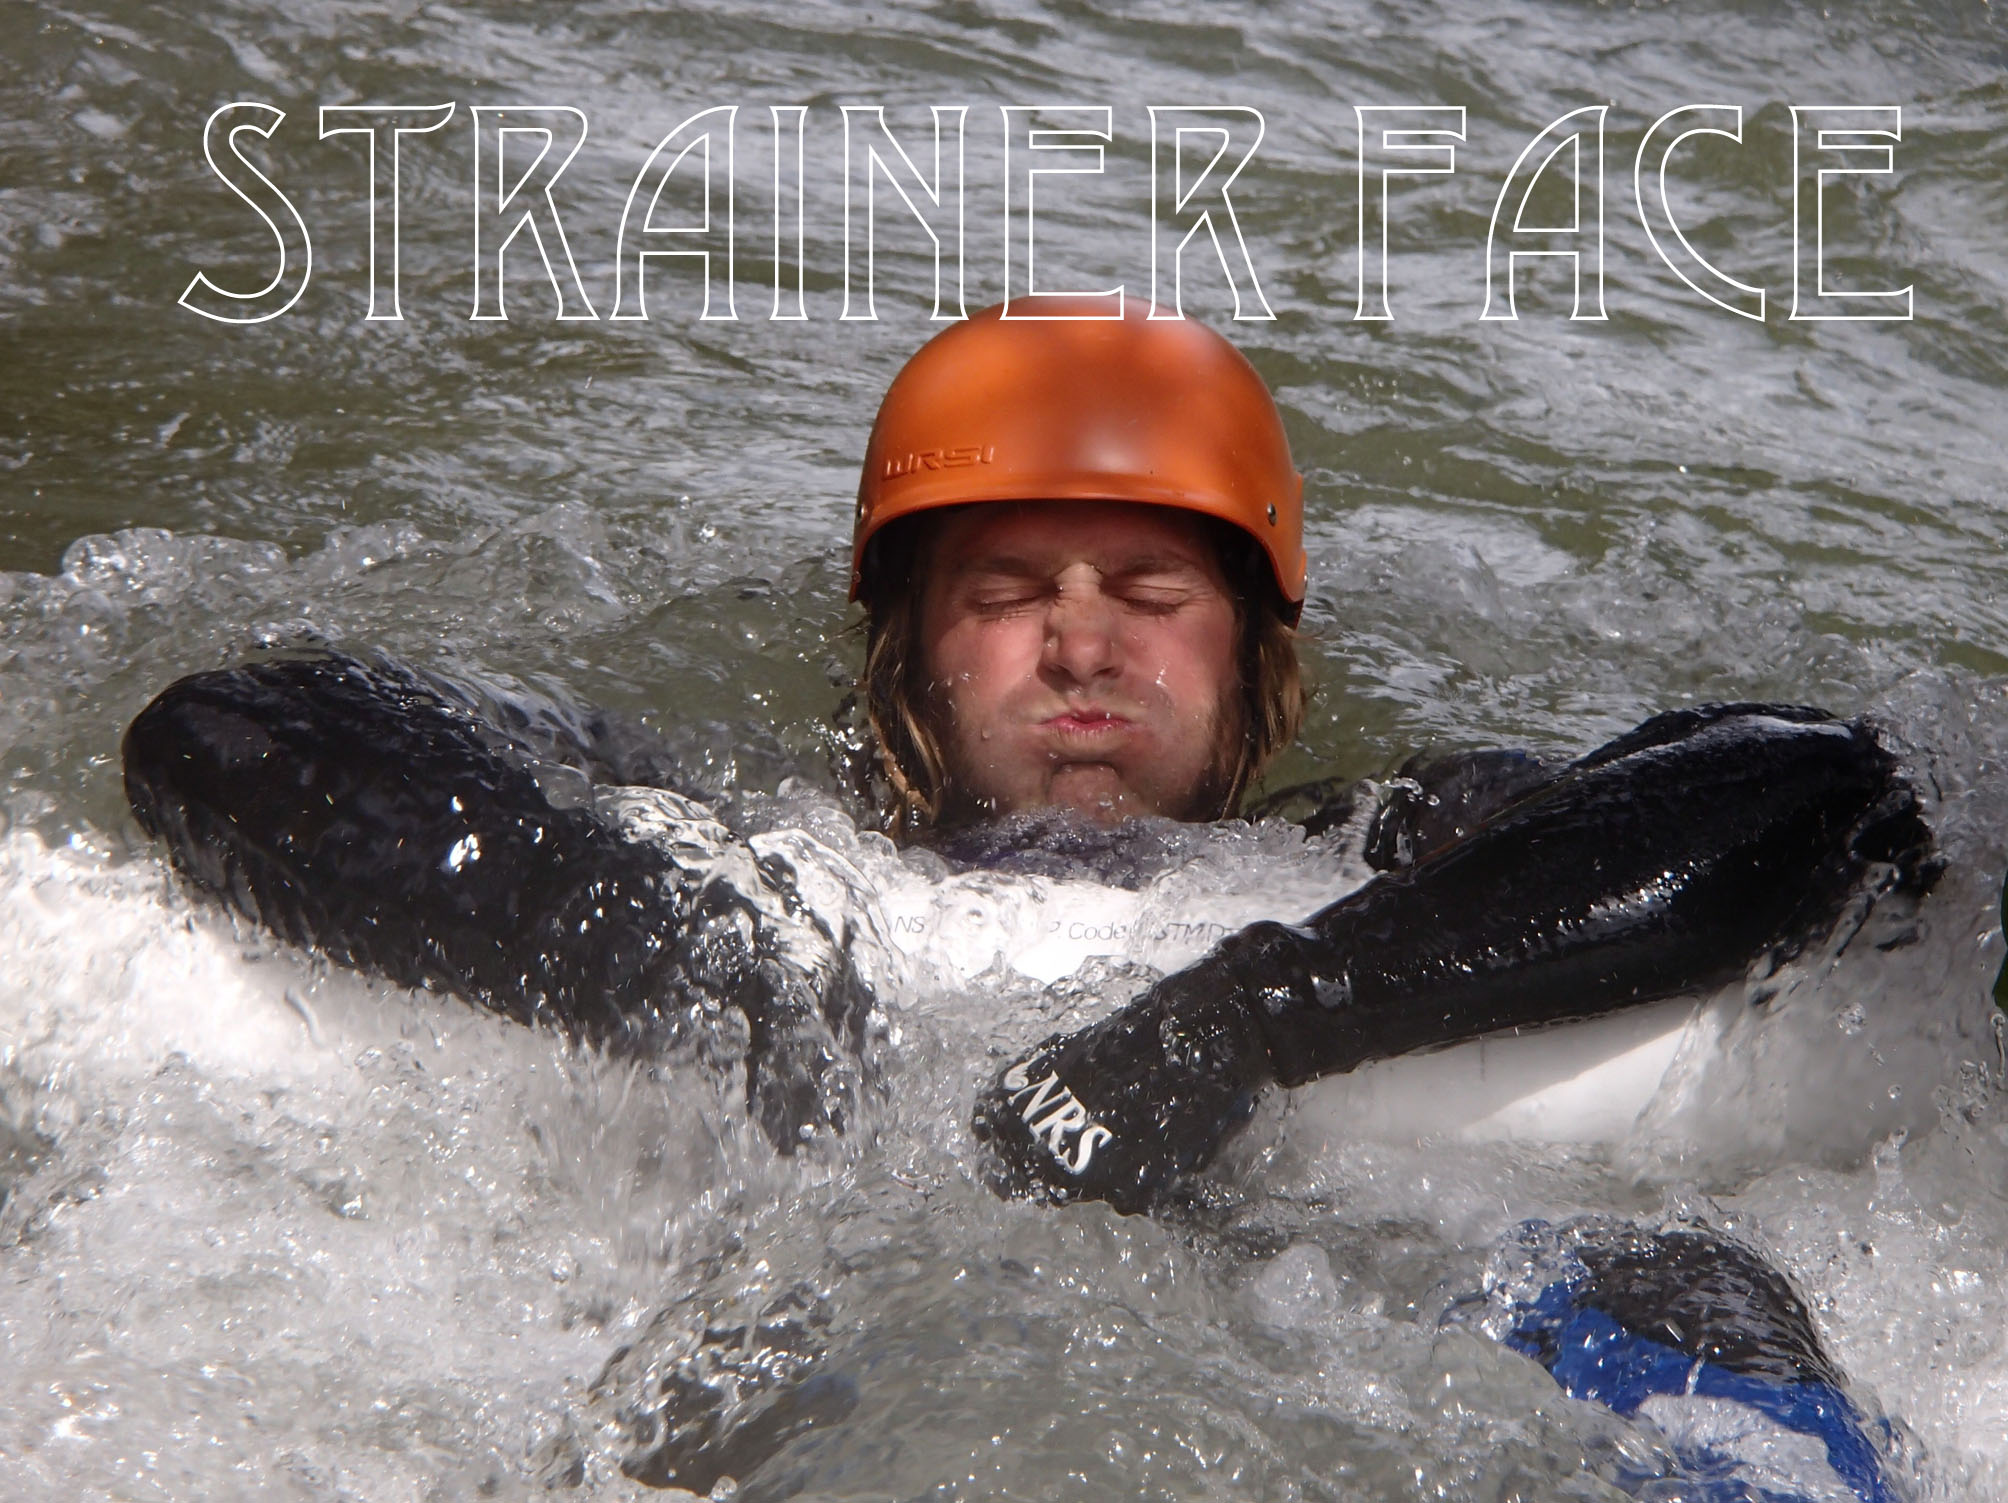
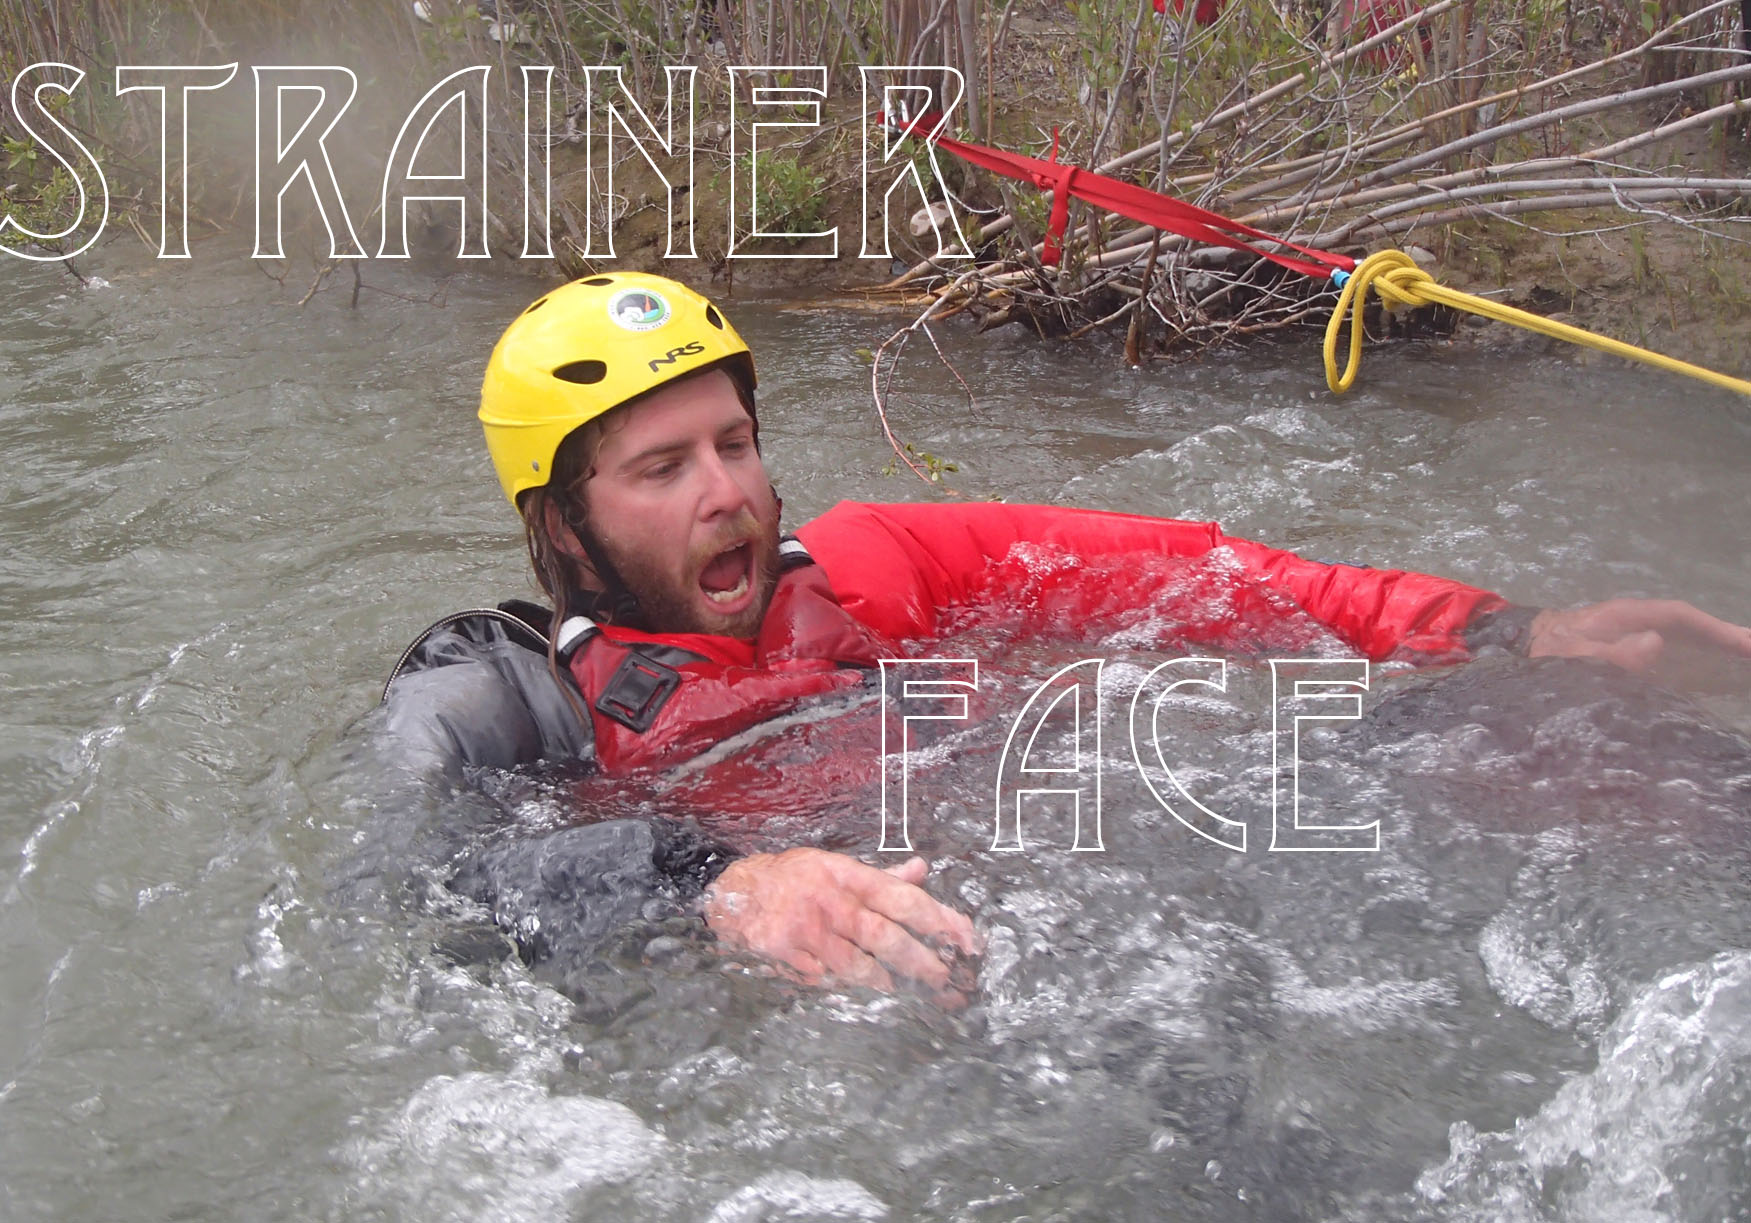
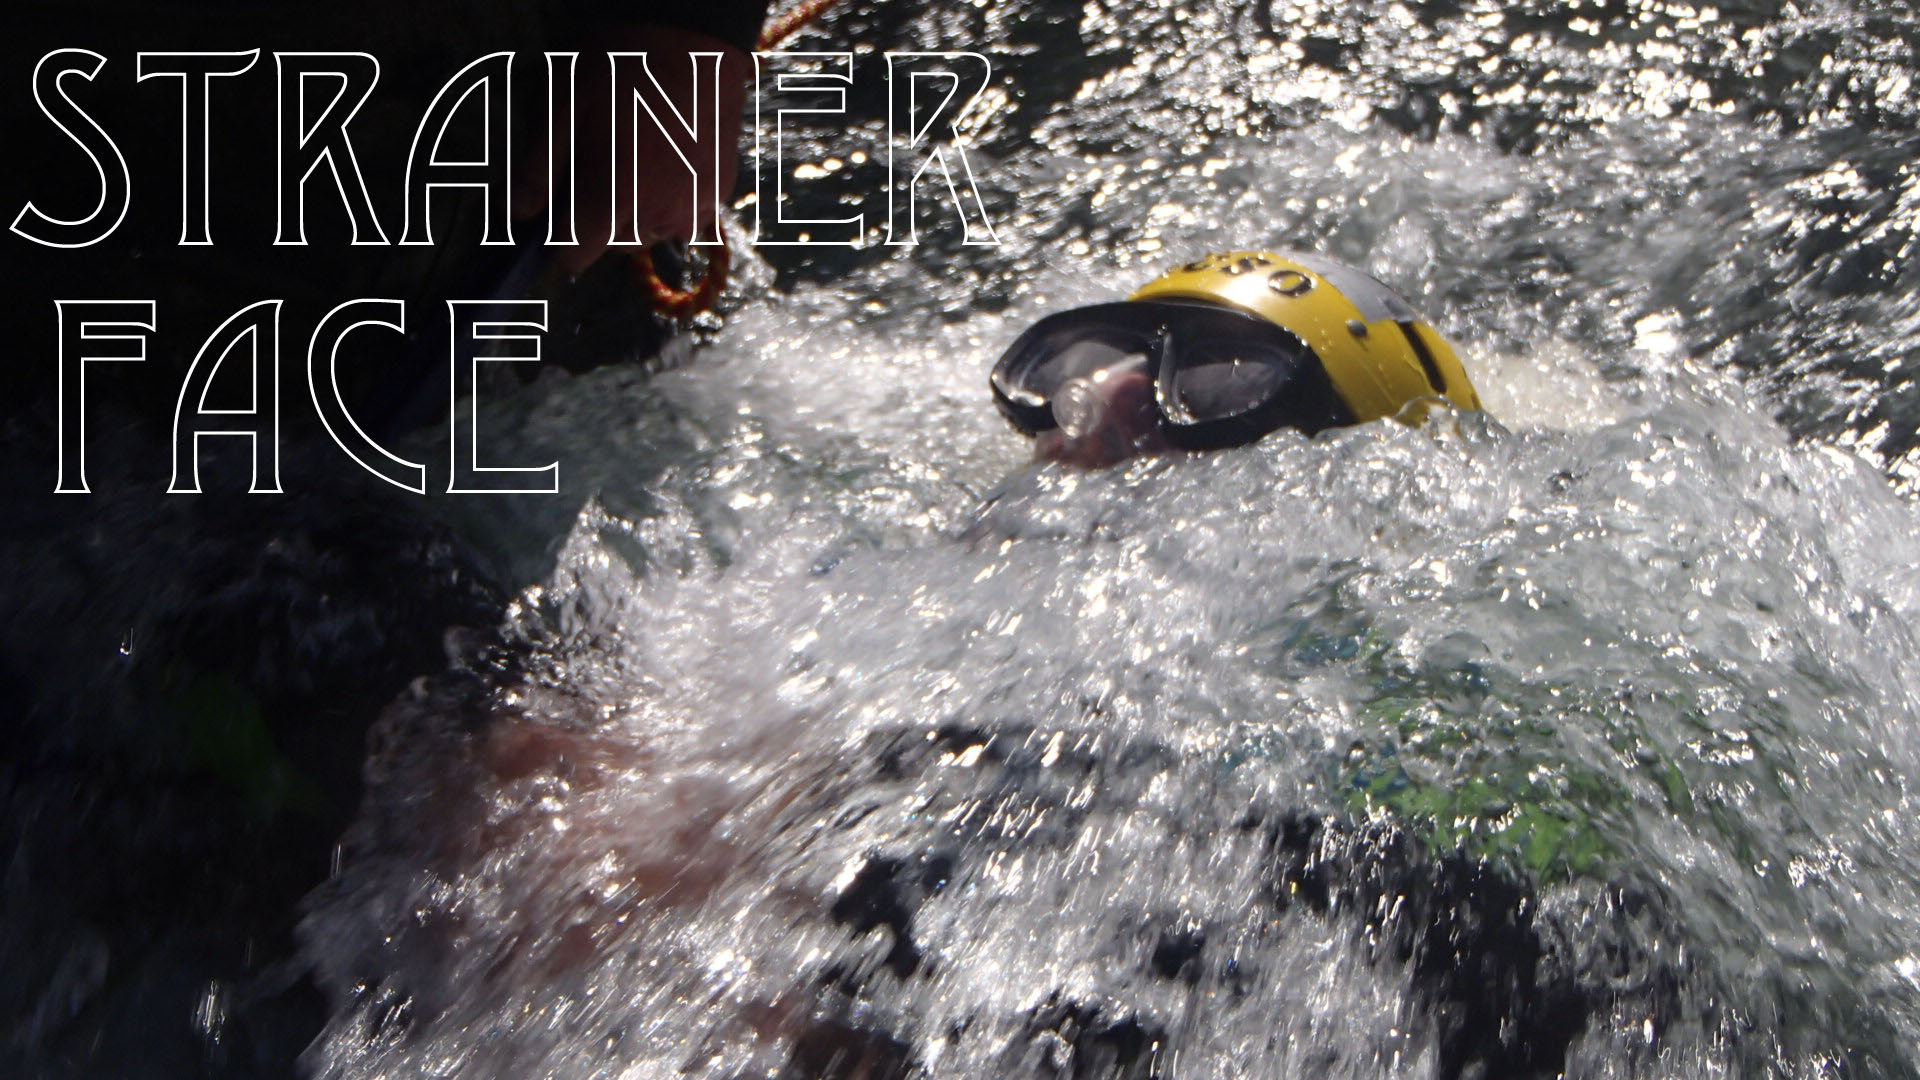
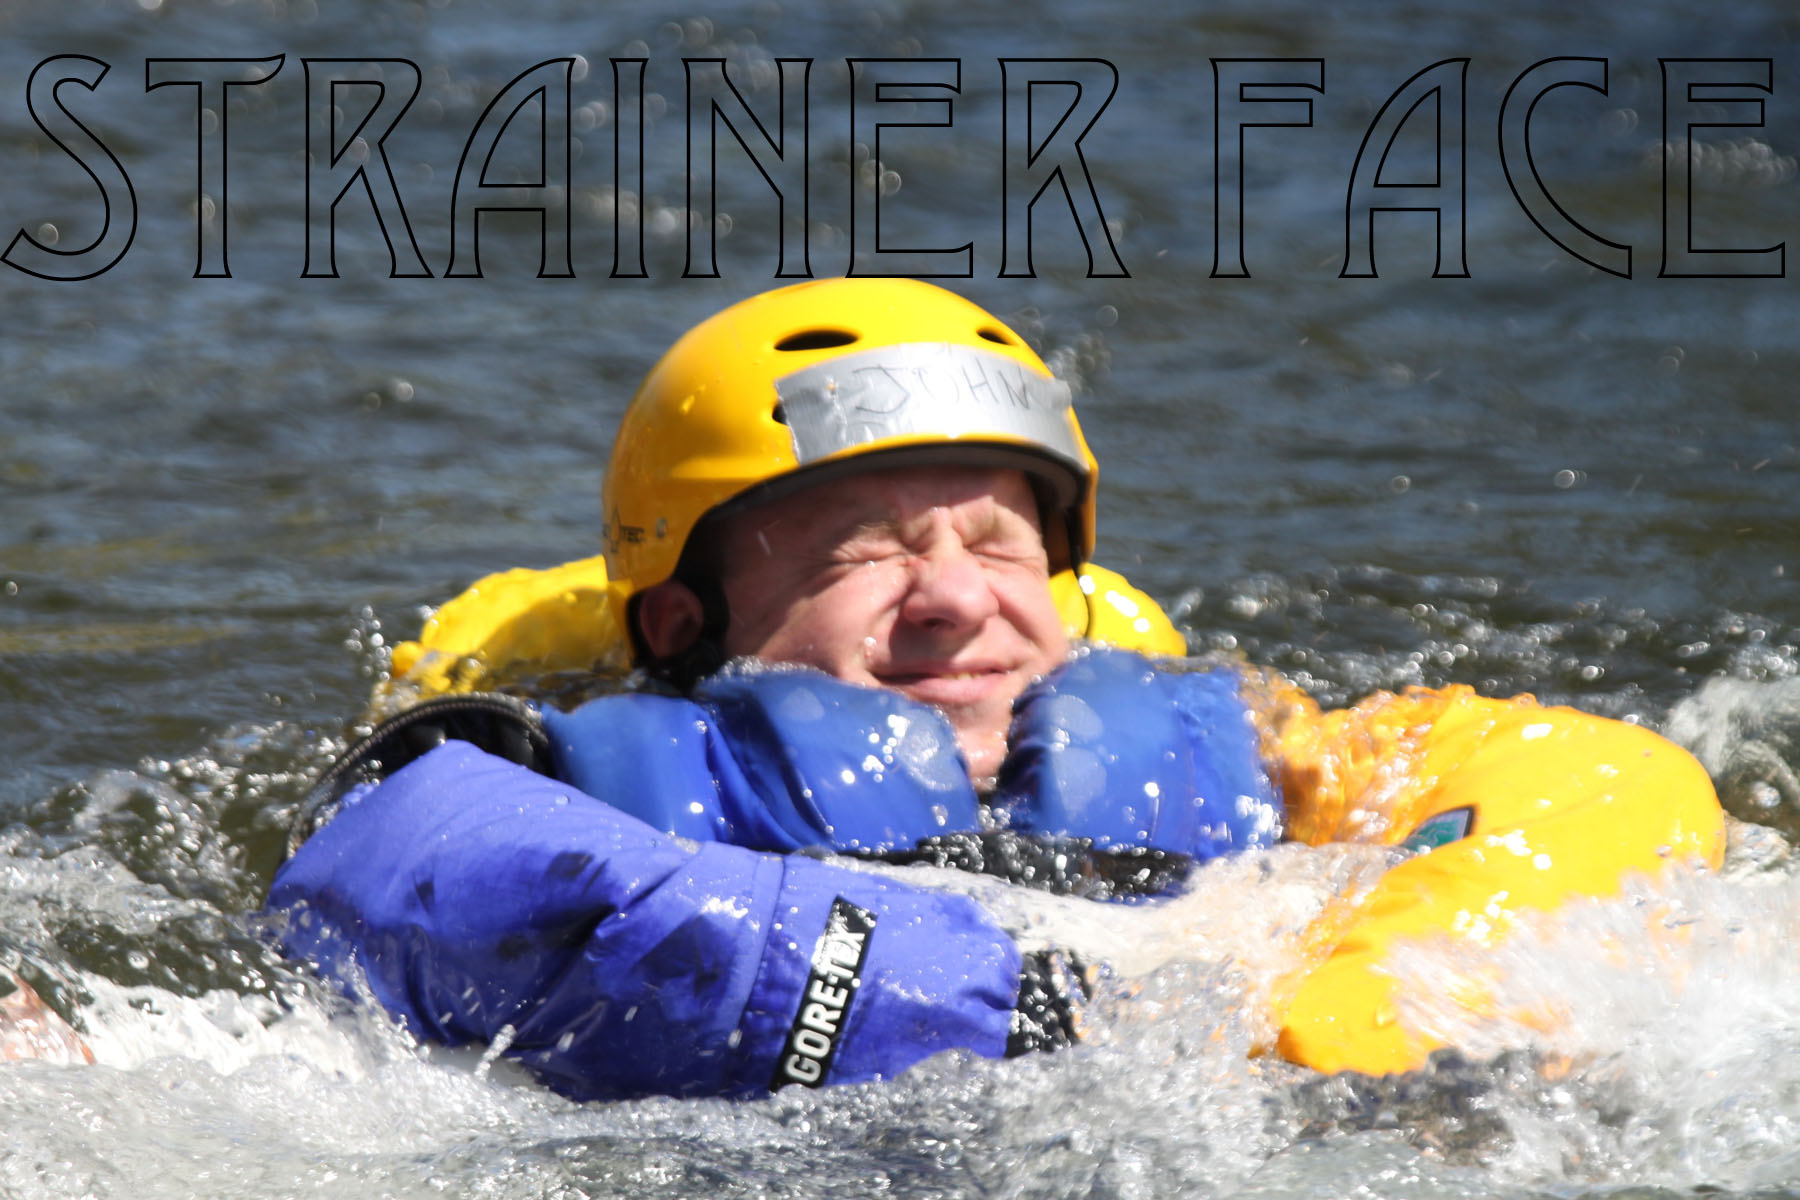
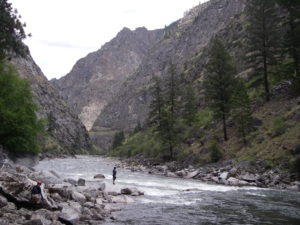


Feet up!


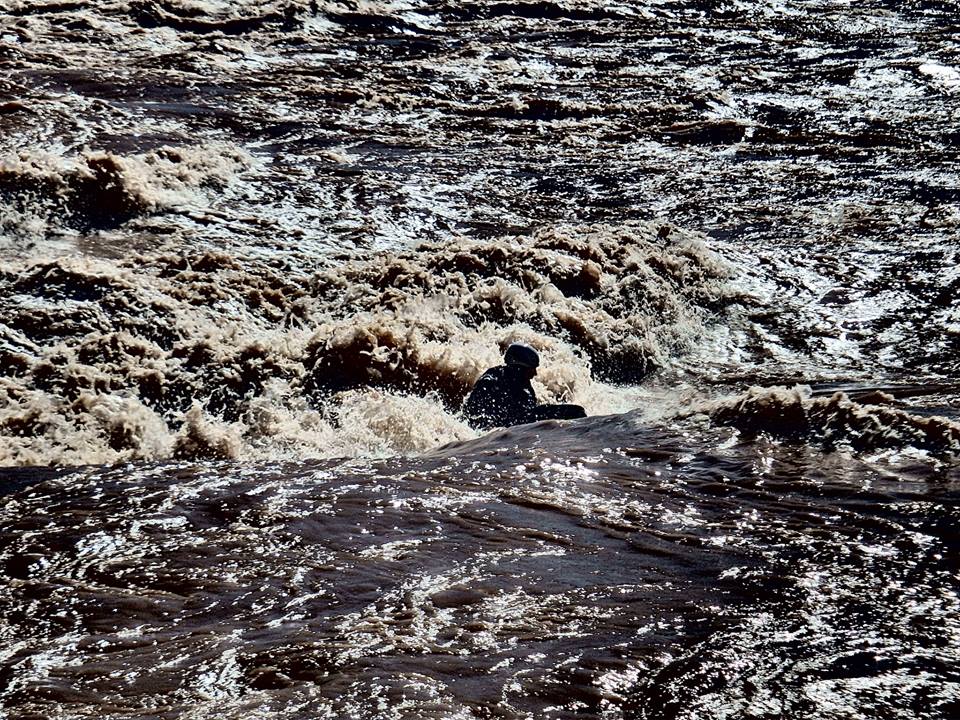
Foot Entrapment is deadly. Keep your feet up! Think about the position you are in and were your most likely exit from the river is. The most important thing is to stay calm and focus on your own survival and self-rescue.
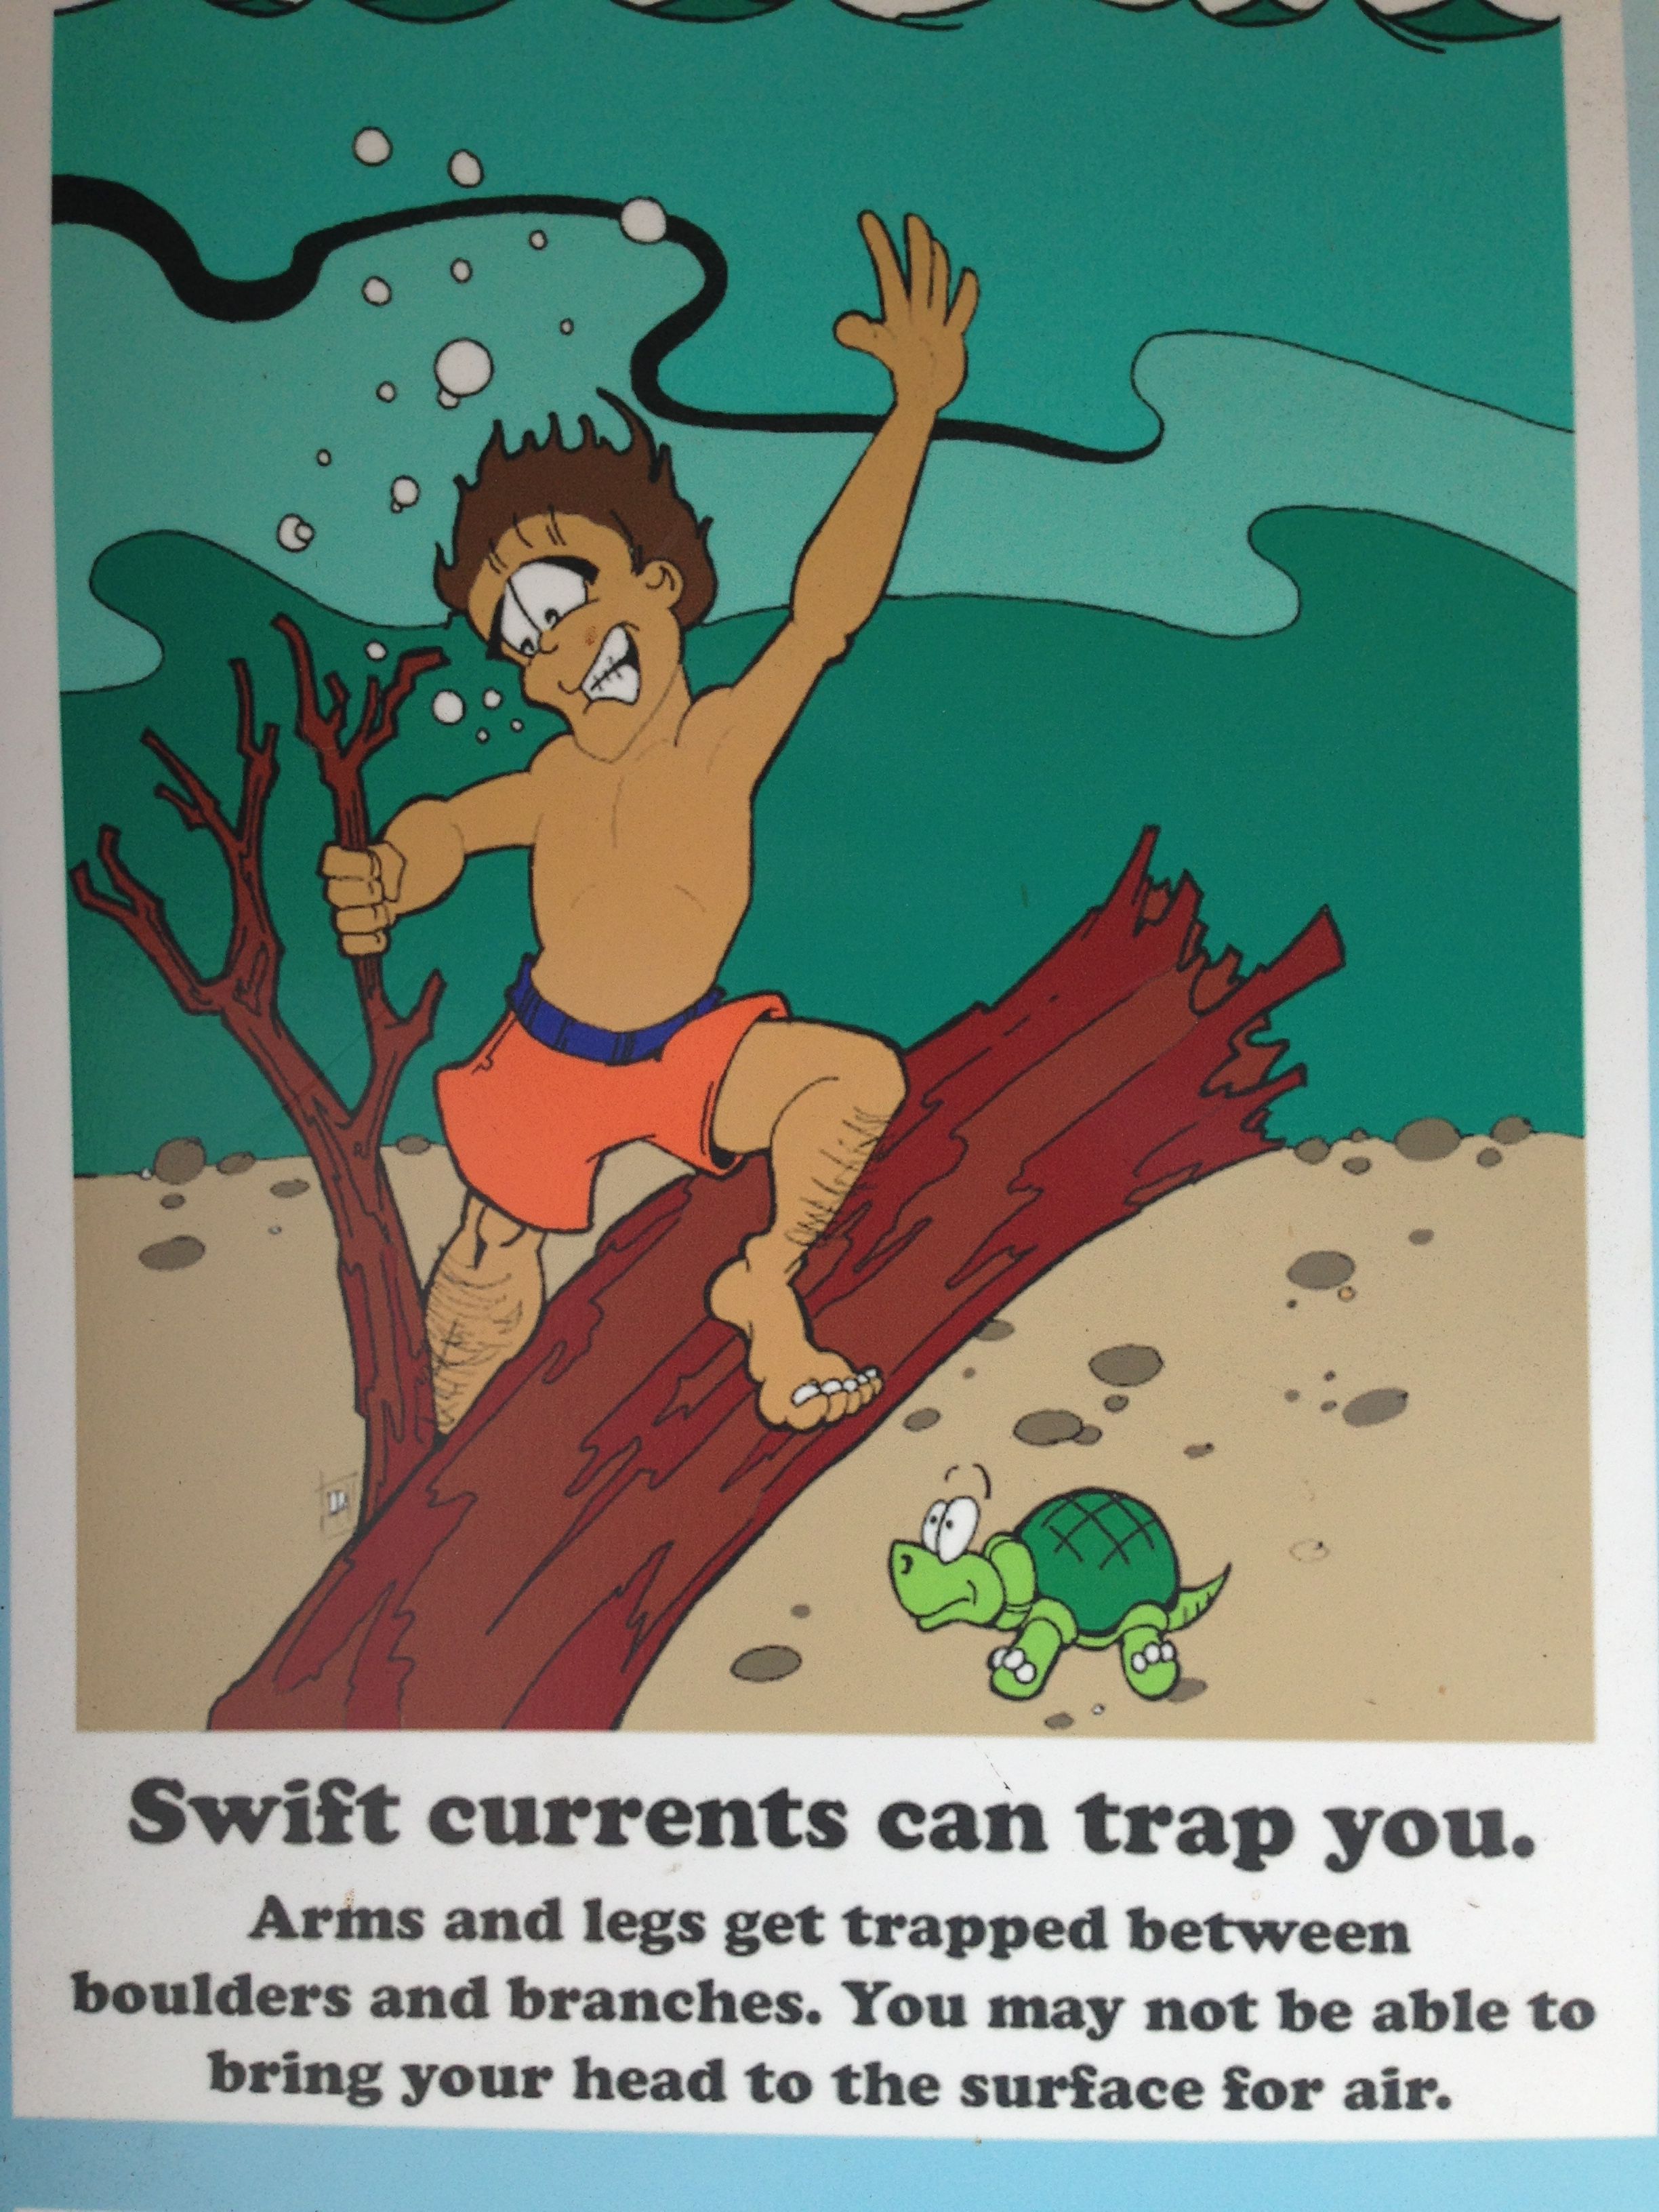
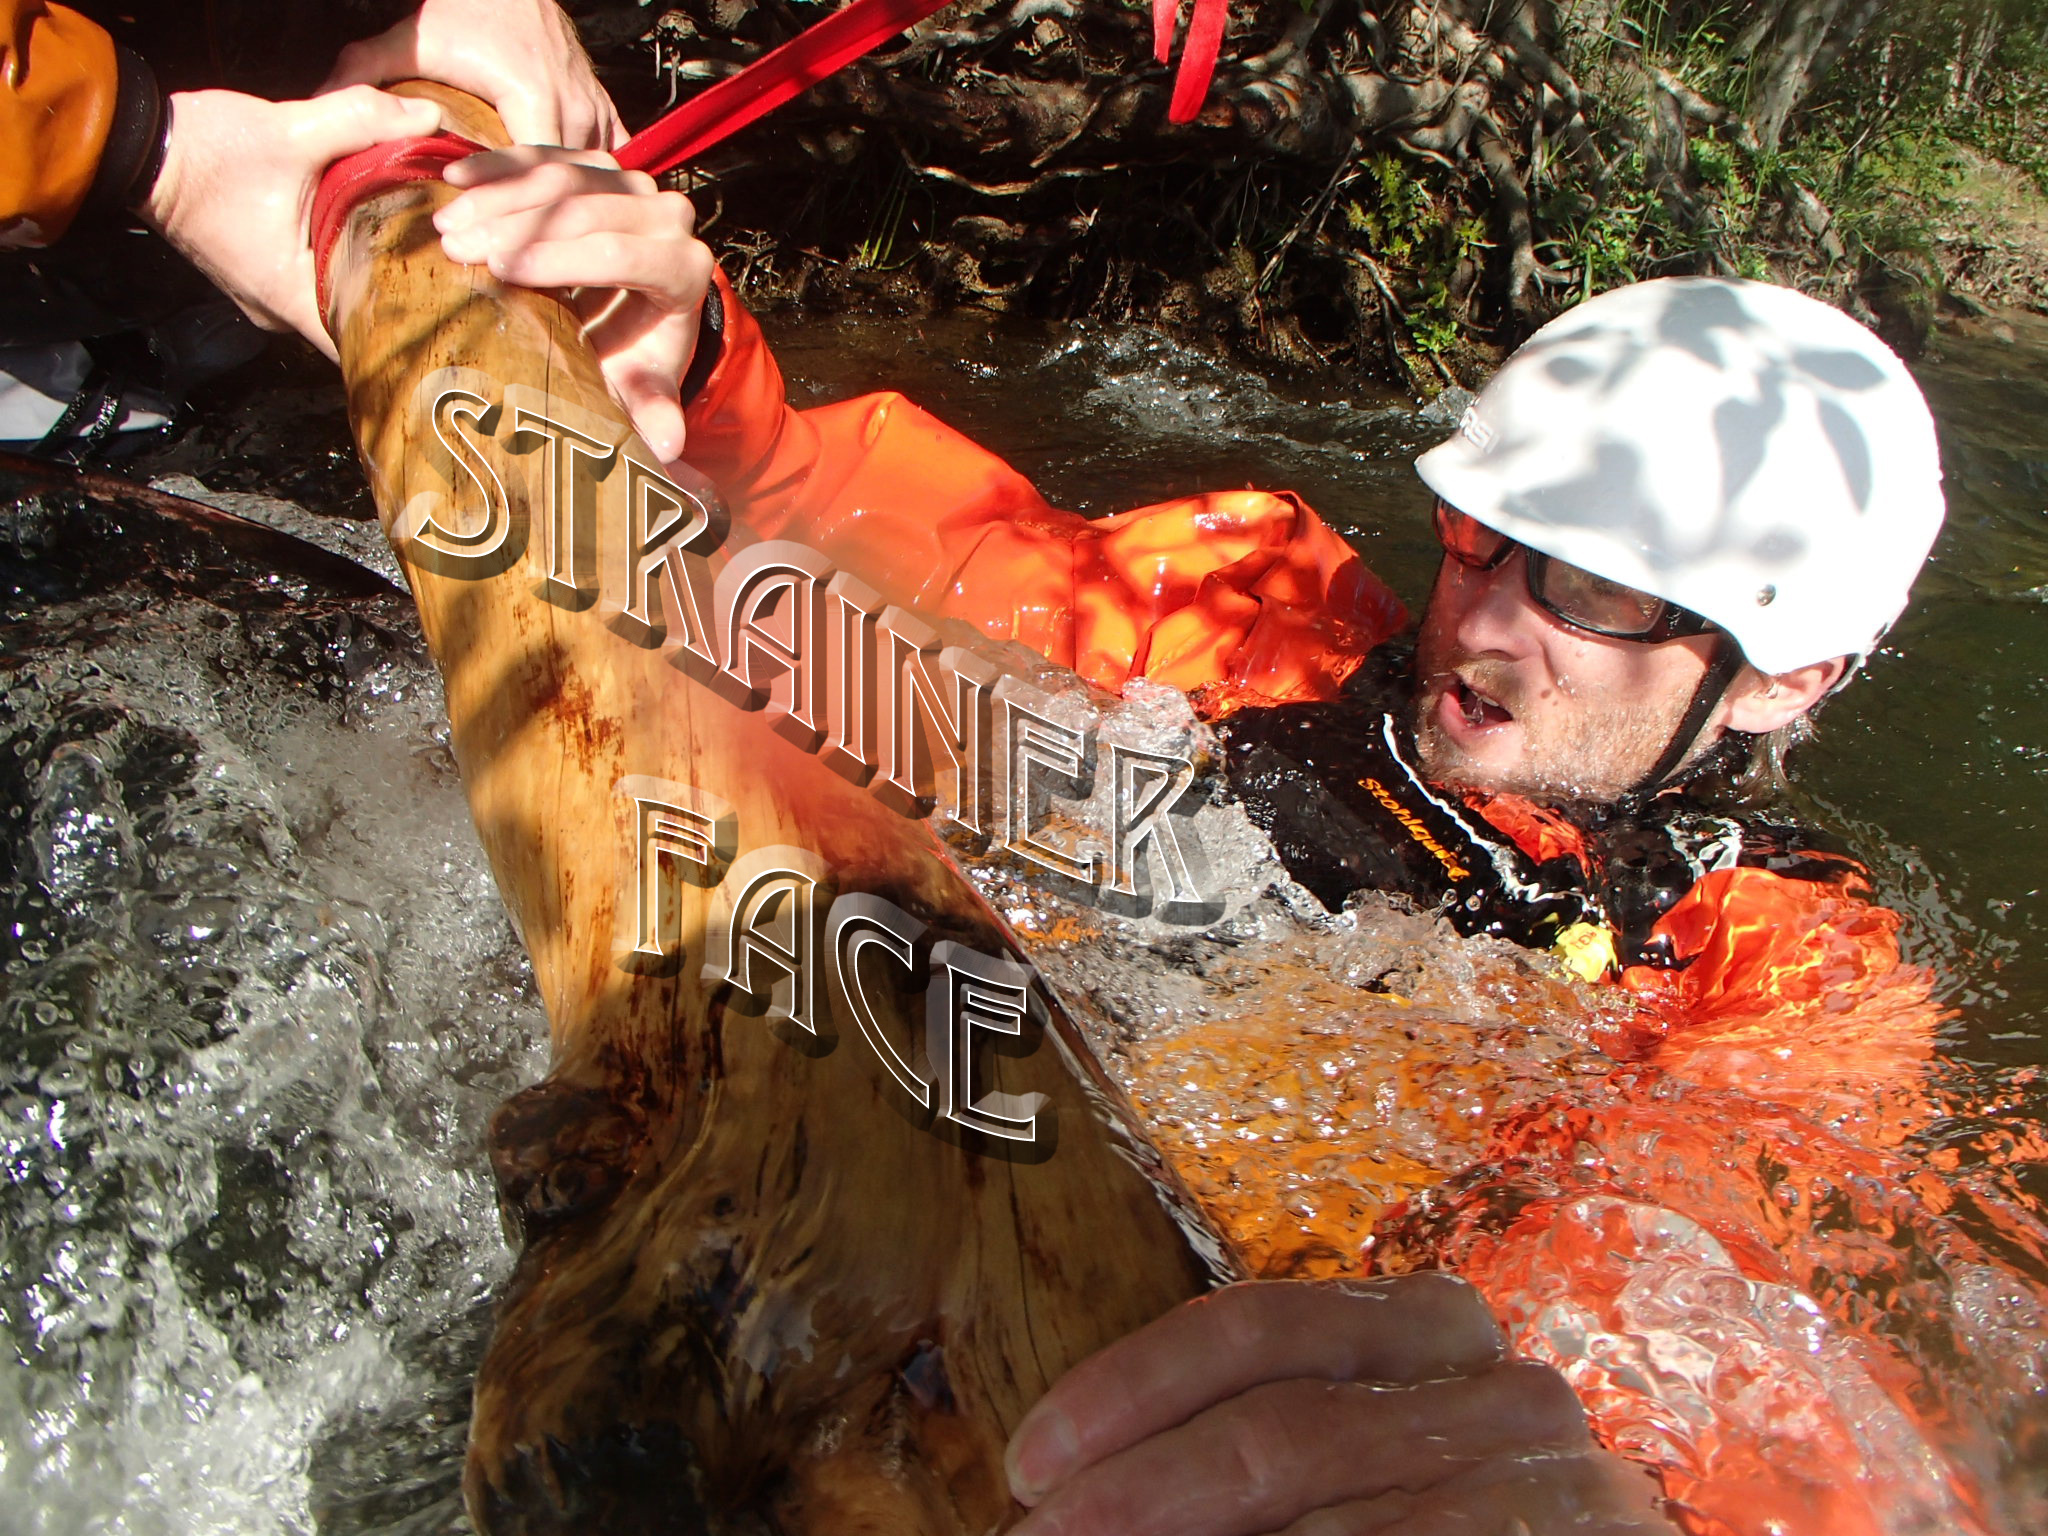


Foot entrapment


This picture demonstrates how subsurface hazards can be deadly. There’s no telling what lies beneath the surface and the reality is that there are unseen hazards that can entrap a person. Rembember the current never lets up, and if you are stuck then you’re stuck. Don’t put your feet down if the current is pushing you downstream.


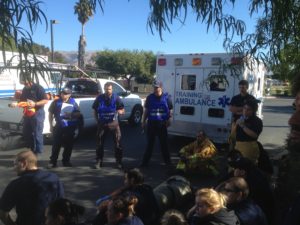
Promoting swiftwater awareness is an important step to increase public safety in and around moving waterways.  Flyers, signs, written hazard warnings, whatever for the message takes it is the responsibility of the visitor to acknowledge the risks and stay safe.  We work wit agencies arcross the United States that respond to calls when people fail to comprehend the gravity of the swiftwater situation they have put themselves in.

Grand Adventure: Riverboarding the Colorado

Riverboarding isn't all hard work...

Riverboarding isn’t all hard work…

Our riverboard trip this year was a combination of past participants, friends, and parts of one of the oldest river running families running in Grand Canyon, the Smiths’. Michael Bronstein Smith grew up as part of a river family, and swamped occasionally for his cousin, Latimer. Mike motivated the friends he played water polo with in College, a few of their friends, and his Mom and Dad to join the trip.

Group Shot of the Riverboarding Team


The fitness level of all the participants made it possible to have an active, fun, adventure filled trip. We did long hikes almost every day, and ran all the big lines that the Canyon has to offer. The incredible thing about riverboarding is the learning curve for folks that are fit, and comfortable in the water. Learning to read little features in the river, identify obstacles, and run really big waves comes quickly and easily to folks with a commitment. By the time we ran the gorge, making it to the “duck pond” at Hance, hitting the waves in Sockdolager, and choosing lines through Horn Creek and Crystal were done by individuals on their own. With the amazing professionalism of Harlan Taney as the safety kayaker, Abigail and I were able to keep folks on line and in the fun water. With a little direction, everyone was able to stay on line in Lava Falls, and have a great time.

Riverboarding down Havasu

The most amazing part about riverboarding is the ability to truly feel the river is such an intimate way. There is no rubber or plastic separating you from feeling the swirl of the eddies and the action of the waves. In my opinion, it not only creates a more intimate way to share the river, but also a deeper bond with the other folks in the water.


HavasuIt is still such a unique experience that so few people have had the opportunity to try. It has the aura of a “radical” or “extreme” sport; but it is truly most suited for big Class 3-4 rivers like the Colorado. As a Swiftwater Rescue Instructor for the past 25 years, I also truly believe that for a fit person, it is one of, if not the, safest ways to enjoy the river. The riverboards have 160 pounds of flotation, and there is no gear! Only you, your friends, and the river. With a full wetsuit, helmet and PFD, the protection is complete.

Riverboarding Lava Falls

Riverboarding Lava Falls


As with any Grand Canyon trip, the stories and friendships will last for a lifetime. Thank you fellow riverboarders for being adventurous enough to take the plunge in a unique and wonderful way!

Outdoor Recreation: Sierra Rescue behind the scenes

We here at Sierra Rescue are dedicated to providing the best instruction in Technical Rope Rescue, Swiftwater Rescue,  and Wilderness Medicine. We love our jobs and thrive on the student interaction in our courses. Outside of the class environment we are all outdoor enthusiasts and passionate practitioners of outdoor recreation.  No doubt we work hard, but we play just as hard if not harder. Here’s a glimpse behind the scenes at Sierra Rescue to shed light on what it is we do on our “time-off.”

RiverboardFounders and owners of Sierra Rescue,  Julie Munger and Abi Polsby have their hands full enjoying the outdoor playground in and around Truckee, CA. Recently transplanted to Tahoe from up near Taylorsville, CA they have embraced the mtn. culture of Truckee and the corresponding outdoor activity level. Whether trail running with the dogs, cycling, swimming or  stand up paddle boarding on Donner or Tahoe, they seems to fill their down time quite efficiently.

At the time of this post, Julie and Abi are about 75 miles into the Grand Canyon  guiding a group of riverboarders down the Colorado river.

Zach Tubing ClaveyZach Byars, continues to guide float trips on the Middle Fork of the Salmon river, where he is the sweep boat pilot running a 23 ft baggage boat and setting up camps along the 100 mile section of free flowing river. “If it floats, I’m into it.” Zach is a self-proclaimed extreme tuber and has taken his river rat down some of the West’s classic runs. Recently Zach has gotten back in to cycling and mountain biking.

LCRWhen not instructing a swiftwater rescue class, you can find Don Lester downhill mountain biking in the foothill trails near his Colfax, CA home, stand-up paddling any floatable moving water, or rafting down the classic creek runs of CA.  Last winter he took a self-support SUP trip to the Caribbean. 4 days, two boards, one great time.

All of us at sierra rescue enjoy international travel, and both work and leisure have enabled some worldly travels for the Sierra Rescue team. Last year Julie and Abi taught a Wilderness First Responder course in Norway, Don has taught swiftwater rescue in Puerto Rico, and Zach is planning a patagonia adventure.

We strive to make our jobs challenging, engaging, and fun. That mentality definitely applies to our time outside the classroom environment. Train Hard Stay Safe… and most importantly have fun in the great outdoors!

Zach’s EMT Course. Front-Country vs. Backcountry Medicine

This past fall, I took my first EMT course. It was a fast-paced intensive class that took place in Fremont, California and was offered through Unitek College. I loved it. I found that my EMT training Unitek Educationbackground and experience as an instructor of wilderness medicine with Sierra Rescue gave me an upper hand in some of the BLS and patient assessment aspects of the course. Other arenas I was pushed to the max to find space to cram lots of new information.

My favorite part of the entire 3-week course was ‘trauma Sundays.’ On these 3 days, we ran mass casualty  incident (MCI) scenarios all day long –12 hours worth.  The instructors brought on additional  proctors and lots of volunteer patients. It was an exhausting marathon of triage, treatment, and transport.

EMT gear

Staged and ready for Trauma Sunday. EMT training


One of the Trauma Sundays  featured a crane moving cars for motor vehicle accident (MVA) scenarios, ALS and BLS ambulances arriving on scene for transport, and a surprise arrival of Stanford’s Helicopter. I haven’t spent much time operating with helicopters and it was impressive to see how chaotic the scene can become when the ALS ship arrived.

MVA EMT training

staging the first scene of Trauma Sunday. Unitek Education EMT course

Throughout the course  I kept trying to draw ties to the ‘wilderness’ component which pertains more to my life and the courses that I teach. It was interesting to see firsthand how much front-country medicine relies on two things: diesel and oxygen. If it’s serious you ‘load and go,’ and you almost always give oxygen. These two mainstays of front country medicine are almost never available to us in the wilderness. Transport is hardly ever “rapid” and the best “oxygen supply” we typically carry is in the air we breathe. Given these parameters, when faced with a serious incident in the backcountry. the  importance of getting the help you need early in the is paramount, as is the ability to provide treatment and keep your patient as stable as possible.IMG_2477

Overall, it was an awesome course. It gave me some good perspective, provided me with some additional teaching tools, and allowed for my first experiences as a ride-along on the ambulance. It peaked my interest in continuing down a medical path and the possibility of paramedic school. I’m looking forward to teaching my next Wilderness First Responder course this fall.

Post by: Zach Byars, Instructor

Swiftwater Hazards: Strainer Face

Strainer Face: Up Close and Personal

This past spring our strainer swim self-rescue drill (aptly named ‘Strainer Face’)  became a prominent feature in our social media and photo posting. For those of you that have been on the upstream side of the log in the training you can speak from experience.  For those of you that haven’t, “a picture is worth a thousand words.” #strainerface gets lots of hype and from a teaching standpoint, is a great way to demonstrate the power of water and the extreme danger strainers present to the unsuspecting swimmer. Avoid anything that acts like a strainer at all costs, and know where the potential strainers locations are on the rivers you run. Here are some standout Strainer Face photos. We have several more albums up on our facebook page and you can come participate in the strainer drill by taking one of our many swiftwater rescue courses. We’d love to see you out there. -ZB 7/2014

OLYMPUS DIGITAL CAMERA OLYMPUS DIGITAL CAMERA OLYMPUS DIGITAL CAMERA OLYMPUS DIGITAL CAMERA OLYMPUS DIGITAL CAMERA OLYMPUS DIGITAL CAMERA OLYMPUS DIGITAL CAMERA OLYMPUS DIGITAL CAMERA strainer9 OLYMPUS DIGITAL CAMERA strainerface4


We hope you enjoyed the above Strainer Face photos. Strainer Face strives to capture the impact moment of the swimmer and the log and the expression that accompanies that precise moment. Strainer Face is typically captured during the first phase of the strainer drill where students float into the strainer in a feet-first defensive position letting their legs sweep under the strainer. From there they attempt to get up and over the strainer. This segment usually provides exceptional photos of anguish and grimace while the student gives all he or she has to try and defeat the strainer. It truly is and eye-oppening experience. See you on the water!

Perfect Practice

As a child, I found myself surrounded by incredible whitewater paddlers and slalom athletes.  Richard Fox, 5 Time Slalom Kayak Champion, once told me that most people had it all wrong. *insert mild British accent here*

            “Its not practice that makes perfect, its perfect practice that makes perfect.”

For some reason that piece of advice has always stayed with me 1013152_598825946846496_429320999_nespecially when it applies to rescue training, instruction, and practice.  It can be as simple as ALWAYS making sure a carabiner is up facing the next load, making sure you wrap your prussiks the same way every time, tying knots properly, pulling out enough tail in your throw bag for a margin of error, or putting yourself on the correct side of a bight for a belay.  The time it takes to deliberately follow good habits is the time it takes to ingrain those habits in your muscle memory so that when you need to use them you can expect your body to preform.  Even now while teaching I if I clip in a carabiner to a rope, I will take it off and change it to attach it properly not just for my student’s benefit of always seeing it done right, but also to continue to practice those perfect habits.

So the next time you have your Z-Drag practice in your backyard, during lunch, or waiting for the shuttle make sure you practice perfect!

Post by: Tren Long, Instructor

River Rescue: Access

If we were to look at the total time spent in a river rescue, then divide the amount of time spent of each part of the rescue: Locate, Access, Stabilize, Transport we would find that a majority of time spent in a rescue is in the access phase.LAST

Access is one of the most limiting factors that affect rescues.  If you cannot access the victim you will be incapable of giving any aid.  Having knowledge and practice of the various types of access is one of the fundamental pillars of an efficient rescue team.  What is most important is understanding what your team is capable of and what equipment needs those capabilites may dictate.  A group of rafters’ rescue equipment needs and and space available to store them likely will be larger than a small group of kayakers. On the flip side, a professional rescue team (EMS) will have much more equipment/hardware but a lot less practice and experience in the water.  Every group has its challenges and limitations to being able to access a victim, but each group also has its benefits and special skills that can help.  The key is practicing scenarios to  discover what your group’s deficiencies and special skills are,  then working out a plan to overcome them.

Locate, Access, Stabilize, Transport

Locate, Access, Stabilize, Transport

What can you specifically practice?

Boat access: can you get out of your kayak onto a rock from the eddy behind it if you cant touch the bottom of the river?  Could you catch that same eddy if you were in a raft, or could you swim to access that eddy if you didn’t have a boat at all?

Downstream safety/rescuer reset: do you have the tools in place to retrieve your swimmer/kayaker/rafter if they miss that rock and reset the rescue for a second attempt?

Preplan/plan B: can you implement or plan a secondary plan of action in case your initial access plan fails?

Taking the time as a paddling group or as a department to learn and discover skills, abilities, and limitations in the water can go a LONG way to causing a successful rescue.

Post by: Tren Long, Instructor

To Scout or Not to Scout: How to Make the Call

P1010514

When the discussion of a rapid scout comes up, Students in our courses frequently ask for clarification, hoping to better understand the judgement behind the call to stop and scout, or to run an upcoming rapid.  The question usually goes like, “How do you know when to scout and when not to?  Its not like you can scout EVERYTHING you run every time…”
While scouting every rapid every time is an impossibility, experienced paddlers will regularly stop and scout some rapids, while just jumping into others.  The decision is not always an easy one, but here are five thought paths to consider when making the call to stop and scout or to go for it:
1)  When was the last time you were down the run?  Do you know the rapids?  How do they compare to your skill level and the skills of the other paddlers you are with?  Can you self-rescue or help others in case of emergency?
2)  Is there any reason to believe things may have changed since the last time you were down?  Has there been high water, low water or any recent changes you know of?  Is there potential for wood, debris or other river hazards to have accumulated in a particular “hazard” spot?

IMGP4285

3)  Do you know of others who have been running the river recently?  Have those boaters reported changes or new hazards?  Did they have “clean” runs?  Or did they report new hazards or unexpected challenges?
4)  Can you see the rapid from top to bottom and visualize a clear line or is the view obstructed and you cannot see past the first move?  Can you see an eddy partway down where you can visually inspect further downstream?  Does that eddy have “an out” if you determine from there that the rest of the rapid is too big/ dangerous/ full of hazards/ a portage?
5)  Is this a river or rapid that has a known hazard spot or tendency to change with different flows/ levels?  Are you prepared to manage those hazards in case of the unexpected?  How well do you know the river or rapids at the level you are running it on that day?
 IMGP (133)
Bottom line:  When in doubt, it is best to get out and scout! It is always better to scout and wish you had not, than to be in the middle of a rapid wishing you had scouted.  Happy padding and play safe from Sierra Rescue!!

Mechanical Advantage Challenge

Time to put on those thinking caps. I’ve drawn up a few sketches of mechanical advantage systems to test your brains today. Perhaps you’ve been following our #weeklyMA on facebook and twitter. If so, you’ll have a head start. In the sketches below, the anchor and load sides have been identified, pulleys are represented by the color orange, the hauling line is blue, anchors are red and prusik attachments are pink. Give your best guess as to the mechanical advantage generated in each sketch.  Good luck. If you are stumped scroll down to the bottom for some hints followed by the answers.

#1 2-1

#1

#2 9-1

#2

#3 5-1

#3

#4 5-1 complex

#4

#5

#5

#6

#6

# 7 13-1 complex

#7

Hopefully you never have set up some of the above systems. Why not? Because MA is a dangerous tool. You can quickly exceed the safety margins of the equipment in the system if you don’t properly understand the system you created and the power it has. As a rule, never exceed a 12:1 MA ratio. That means no more than 12 people pulling on a fixed rope, no more than 6 people hauling a 2:1, 4 and a 3:1 and so on. Have a good understanding of the simple MA systems; 1:1, 2:1, 3:1 and 4:1 pig rig. Are there times when you intentionally set up larger more complex systems? Perhaps, but ask yourself why and make sure you aren’t exceeding your limits.

Dont forget about two mandatory safety steps in any system.

1) Add a final change of direction at the anchor so your direction of pull keeps you out of the ‘line of fire.’ If there is failure it will travel in line with the load toward the anchor. The final change of direction keeps you further from harms way.

2) When possible attach a damper on the haul line as close to the load as possible. Should failure occur, this weighted damper will change the trajectory of the flying equipment, ideally it will hit the ground or water before it hits you.

Mechanical Advantage in review:

By itself, a pulley does nothing more than change direction and reduce friction. When utilized against an anchor or in conjuction with other pulleys Remember when calculating MA, you are calculating the advantage created on the load against the anchor. Pulleys that don’t move, do not create mechanical advantage. You can assume that pulleys attached to the anchor aren’t moving and thus don’t contribute to the mechanical advantage created with respect to the load.

A quick review of the three types of mechanical advantage:

Simple Mechanical Advantage: one or more pulleys travelling at the same speed in the same direction

Compound Mechanical advantage: two or more pulleys travelling in the same direction at different rates

Complex Mechanical advantage: Two or more pulleys travelling in the opposite direction at potentially different rates

Here’s a link that might help further your understanding of mechanical advantage:

http://www.ropebook.com/information/pulley-systems

Ok here’s the answers: 
1) 2:1
2) 9:1
3) 5:1
4) complex 5:1
5) 3:1
6) compound 6:1
7) complex 13:1

Swimming in Whitewater: What Suzie the Swim Coach Forgot to Mention

As whitewater boaters, our goal should always be to stay on line, and keep ourselves, and everyone else IN their boat(s).  A swim can be much more strenuous and dangerous than we expect, and can not only lead to exhaustion and hypothermia, but also puts us right on top of all the hidden obstacles just under the water.  It should always be our priority to avoid unplanned swims.

Swimmer!

Unfortunately, we are not perfect, and often times the little bump on the rock, losing a paddle, or a big wave sends us on an unplanned swim into whitewater.  When this happens, our strategy, and that of our companions, becomes critical, and can mean the difference between a pleasant, or very unpleasant, rest of the day.  Having a strategy is critical.  Here are some tips to keep in mind when Swimming in Whitewater.

Know before you swim:  Have a picture in your mind of the rapid, and where things may go wrong so you will have a strategy.  Rafters are generally better off on top of, or in their boats. Have a plan. If you can’t swim out, don’t run the rapid unless you KNOW you will stay in the boat.

Ball up: When you are falling from an IK, raft or Cat boat; or going over a drop, Keep your feet close into your body, so you will not be tempted to push off the bottom, and thus minimize the chance to entrap one of your limbs.

Get out of the water as fast as you can:  It is hard to see, and easier to get snagged on underwater obstacles.

When swimming: Conserve energy and use strategy, do not allow yourself to get more winded. Basic mind set: Swim smarter not harder.

-The leg muscles use lots of oxygen!  Consider only using your arms for movement.

-Look where you are going, and pay attention to your angle.

-At higher water flows, you will need to swim more aggressively to get across eddy lines.  This is where a technique like the “barrel roll” can keep you on the surface and keep your momentum going.

Rescue:

Be prepared – For self rescue, but this is the time where everyone needs to be ready to react. Being in the right place with the right skills may be the only thing that assists someone out of the water.

Choose Wisely – Boat with folks that will know you are in the water, and are doing everything they can to safely assist you, and others, in getting out of the water.