Tag Archives: wilderness advanced first aid

Wilderness Medicine Skills: Splinting


One of the key characteristics that defines a “wilderness” location, apart from the 1 hour away from definitive medial care, centers on the lack of available resources and the necessity to improvise. Though field teams and expeditions may have some first aid / rescue gear with them, in emergency situations there is very seldom a surplus of supplies. “Make do with what you have,” counters the Boy Scout mantra of, “always be prepared.”  In the field of wilderness medicine, we teach students how to assess musculoskeletal injuries and treat them. In many cases treatment involves splinting. The focus of wilderness splinting centers on the need to restore good circulation and sensation, prevent further damage while attempting to make an unstable and unusable extremity more stable and more usable.

IMG_9819_2 IMG_8577_2

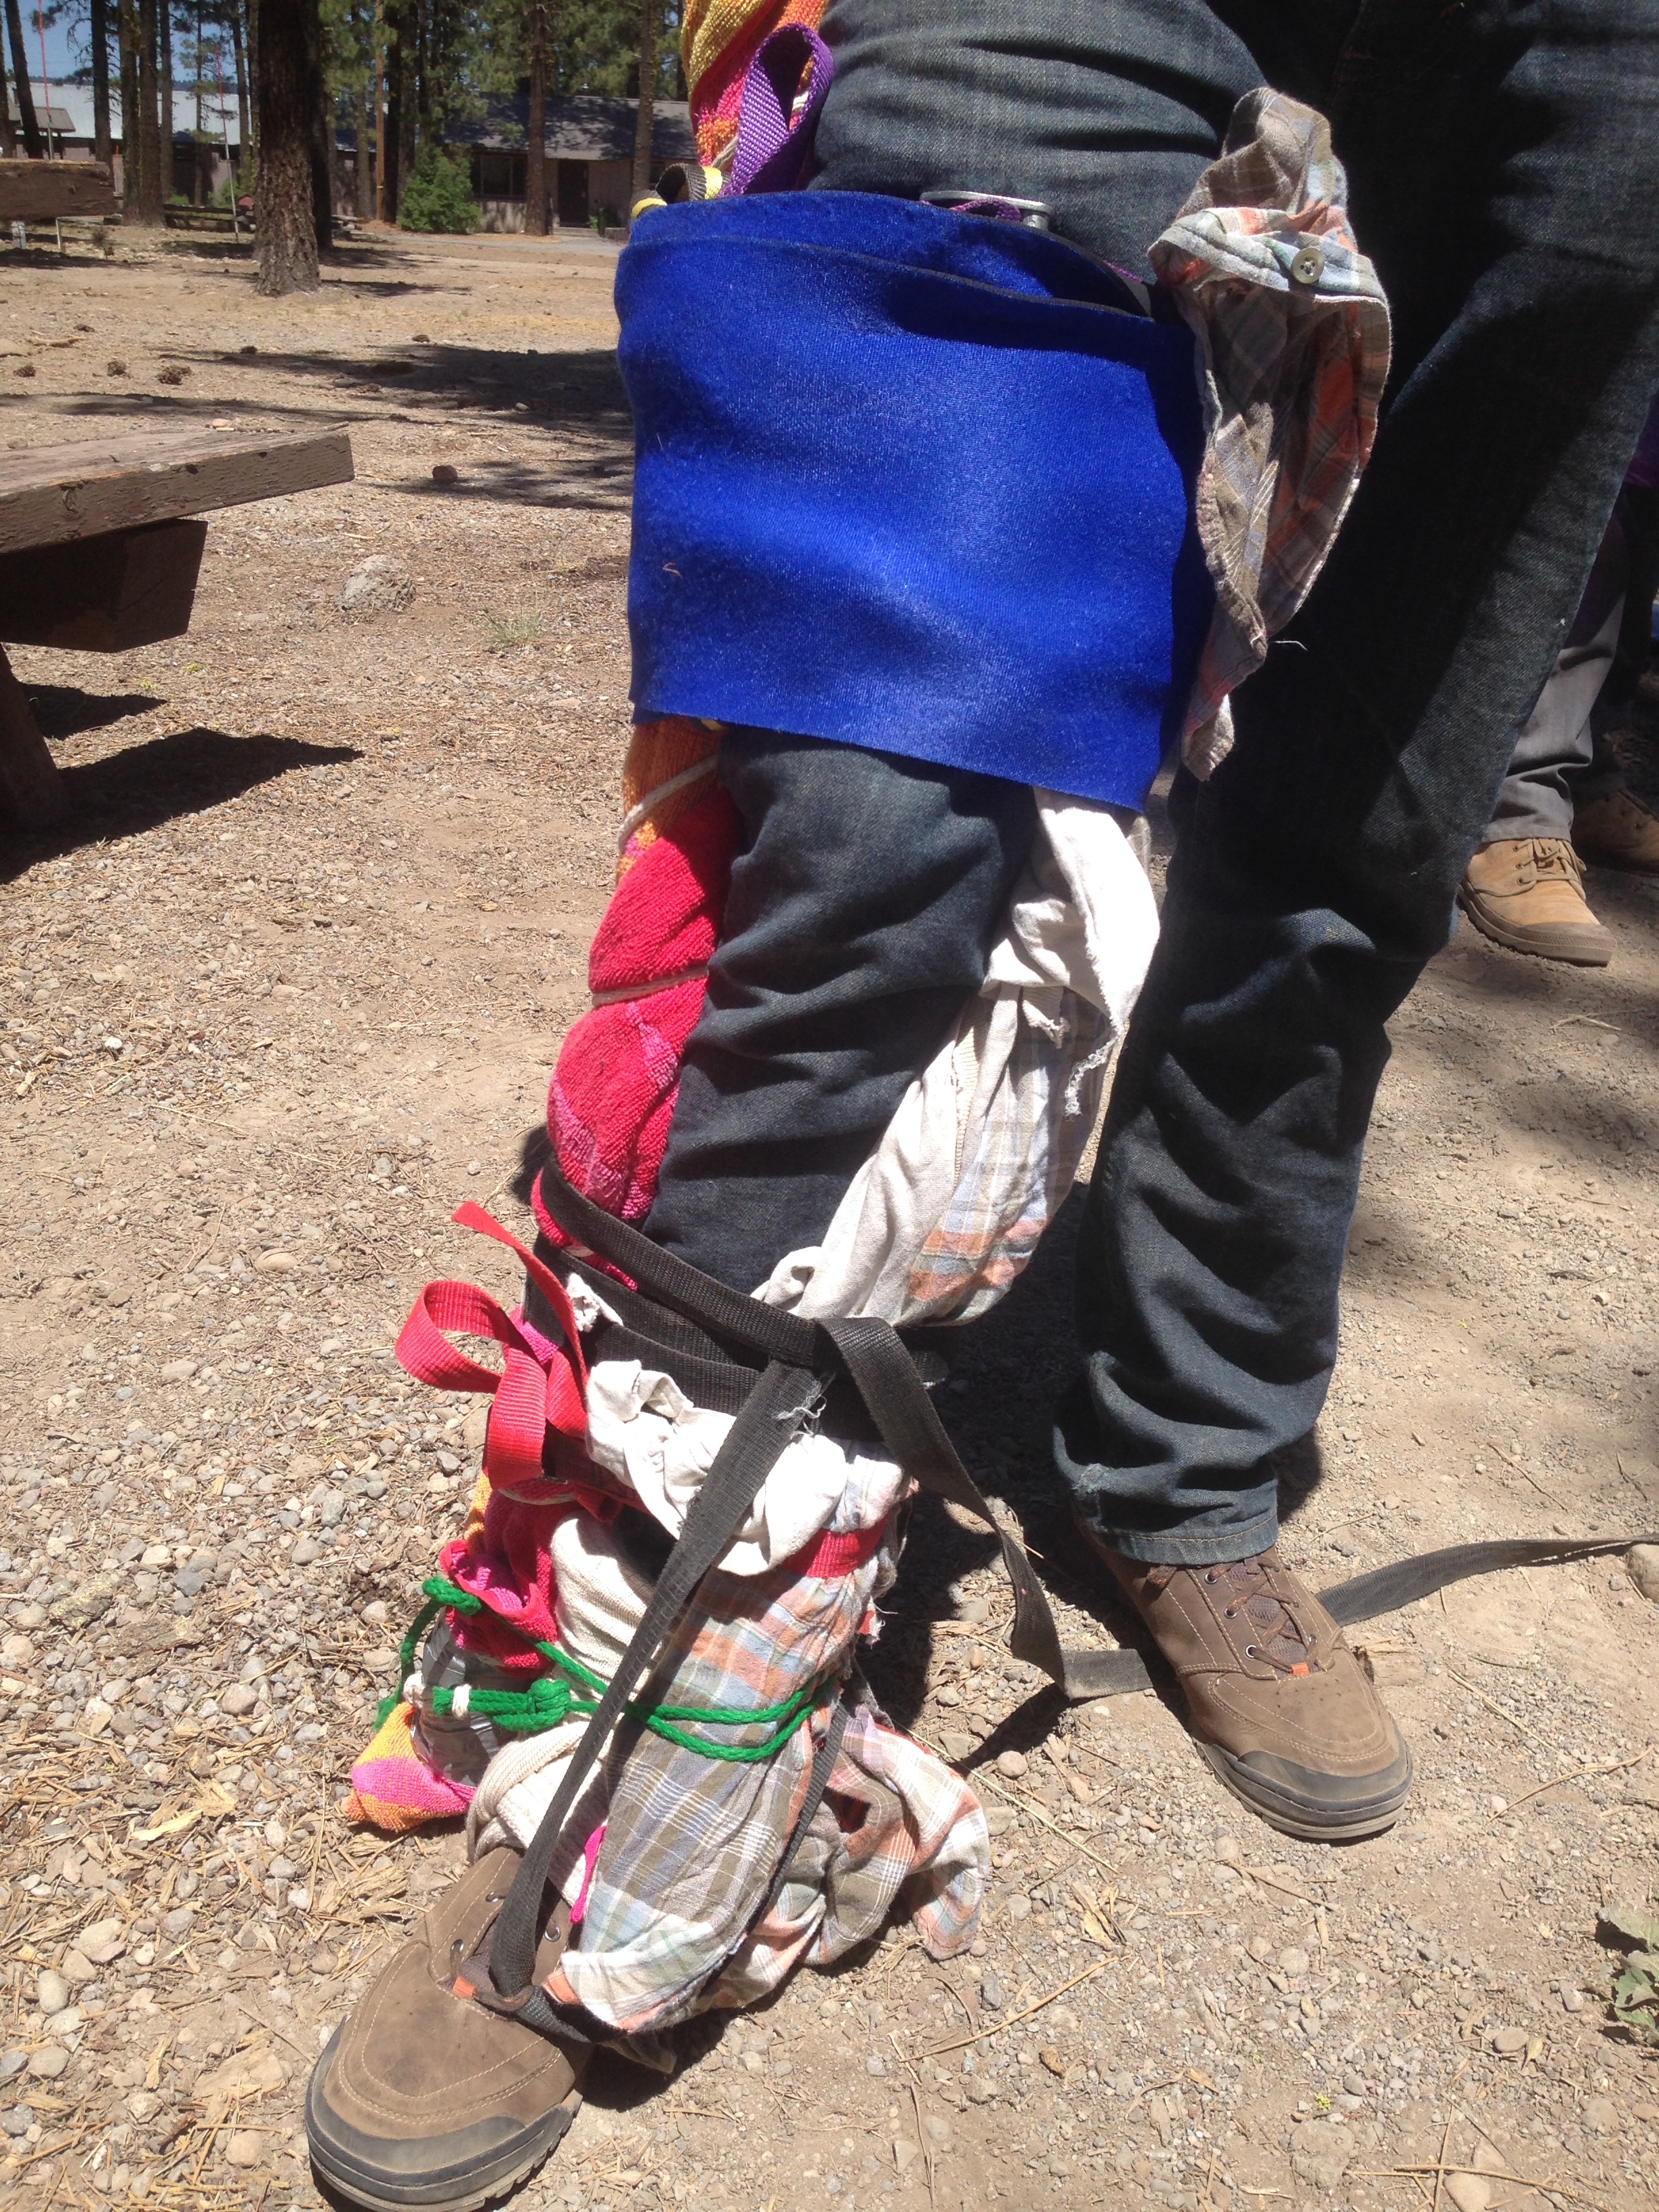
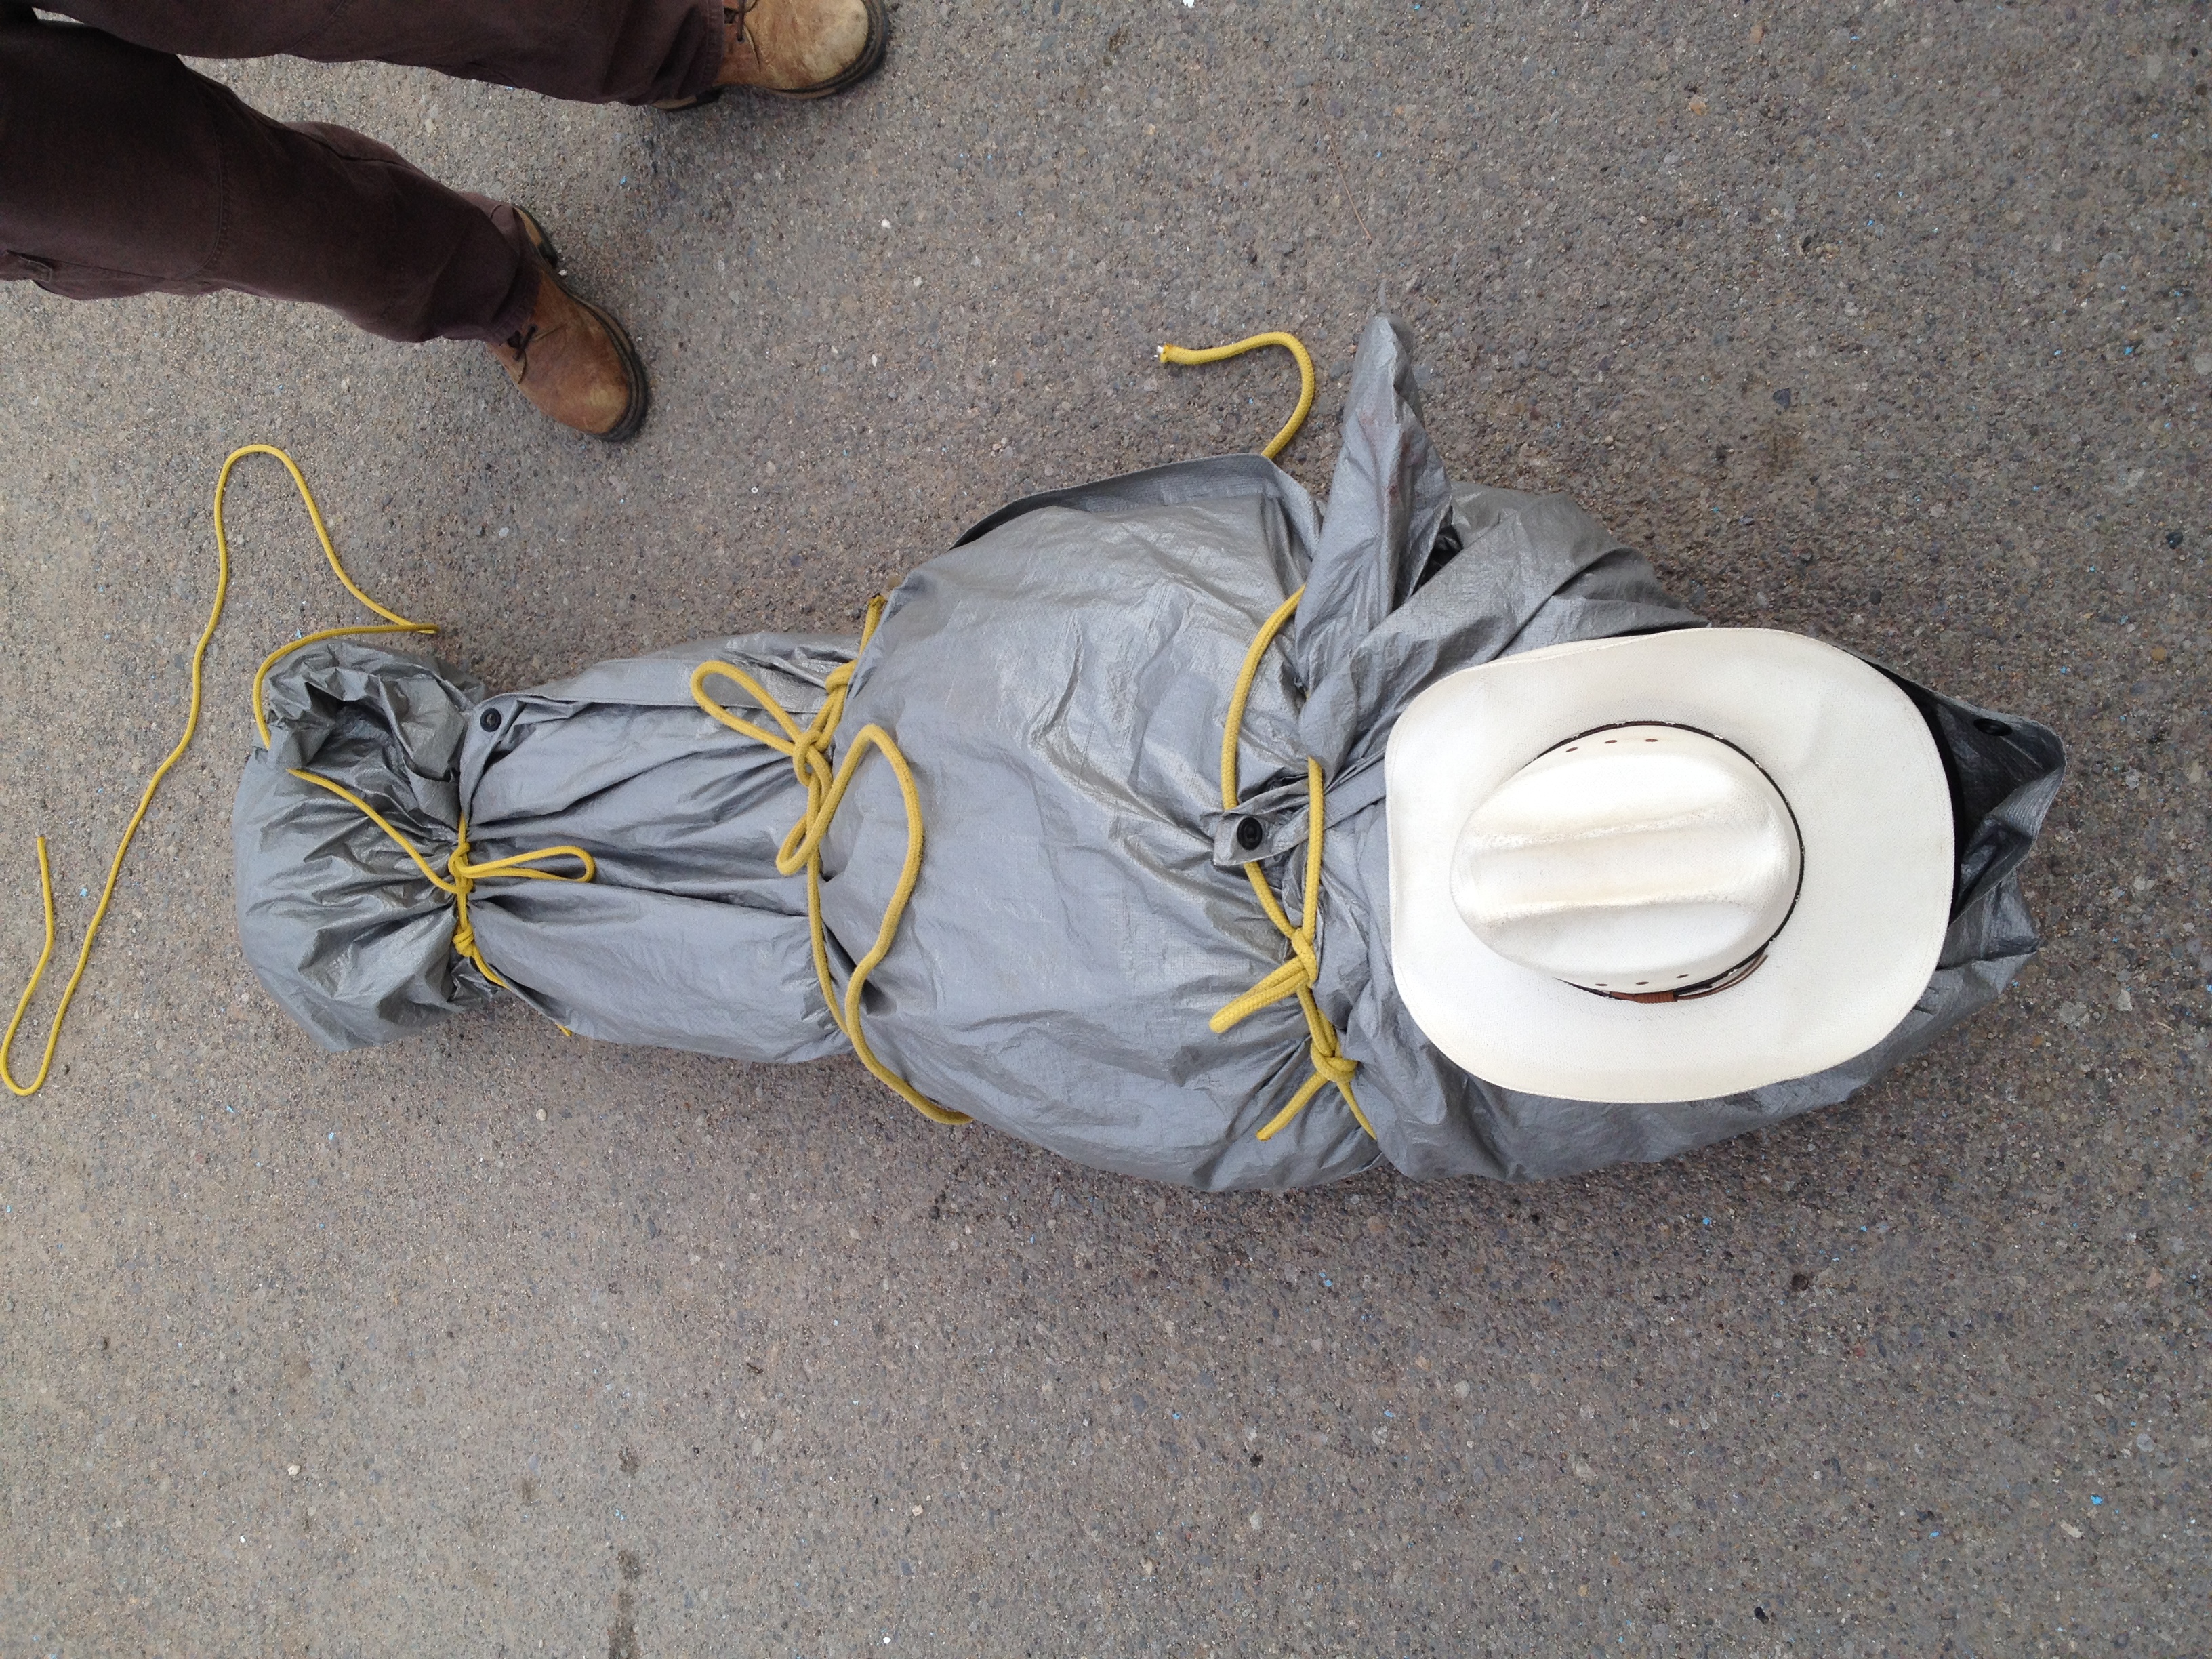
If you broke down the resources needed to build immobilization splints, they would fall into 3 main categories: 1) Rigid components,  2) Soft padding, and 3) wrappings attachments and coverings. 

  1. Rigid Components. Don’t overthink this one. Something that doesn’t flex too much will retain rigidity and support the injury. Sticks, Poles (trekking / skiing / tent) can do just that.
  2. Soft padding is the key to comfort. It protects the appendage from further damage and occupies dead space in the splint. Gauze, clothing, foam, pads, moss, are some of the materials utilized for this purpose.
  3. Wrappings and attachments are the key to a good splint, without which would fall apart. Ropes, string, braided vines, straps, strips of clothes all can be used to hold the splint together. Ideally the attachments are adjustable in some capacity. A few basic knots can really enhance your ability to build good splints.

IMG_7559splinting

Materials you may find in a first aid kit for splinting are a SAM splint, ACE bandage, and tape. These materials can get you started, but there may be a need for more. Devise and improvise.

IMG_5851

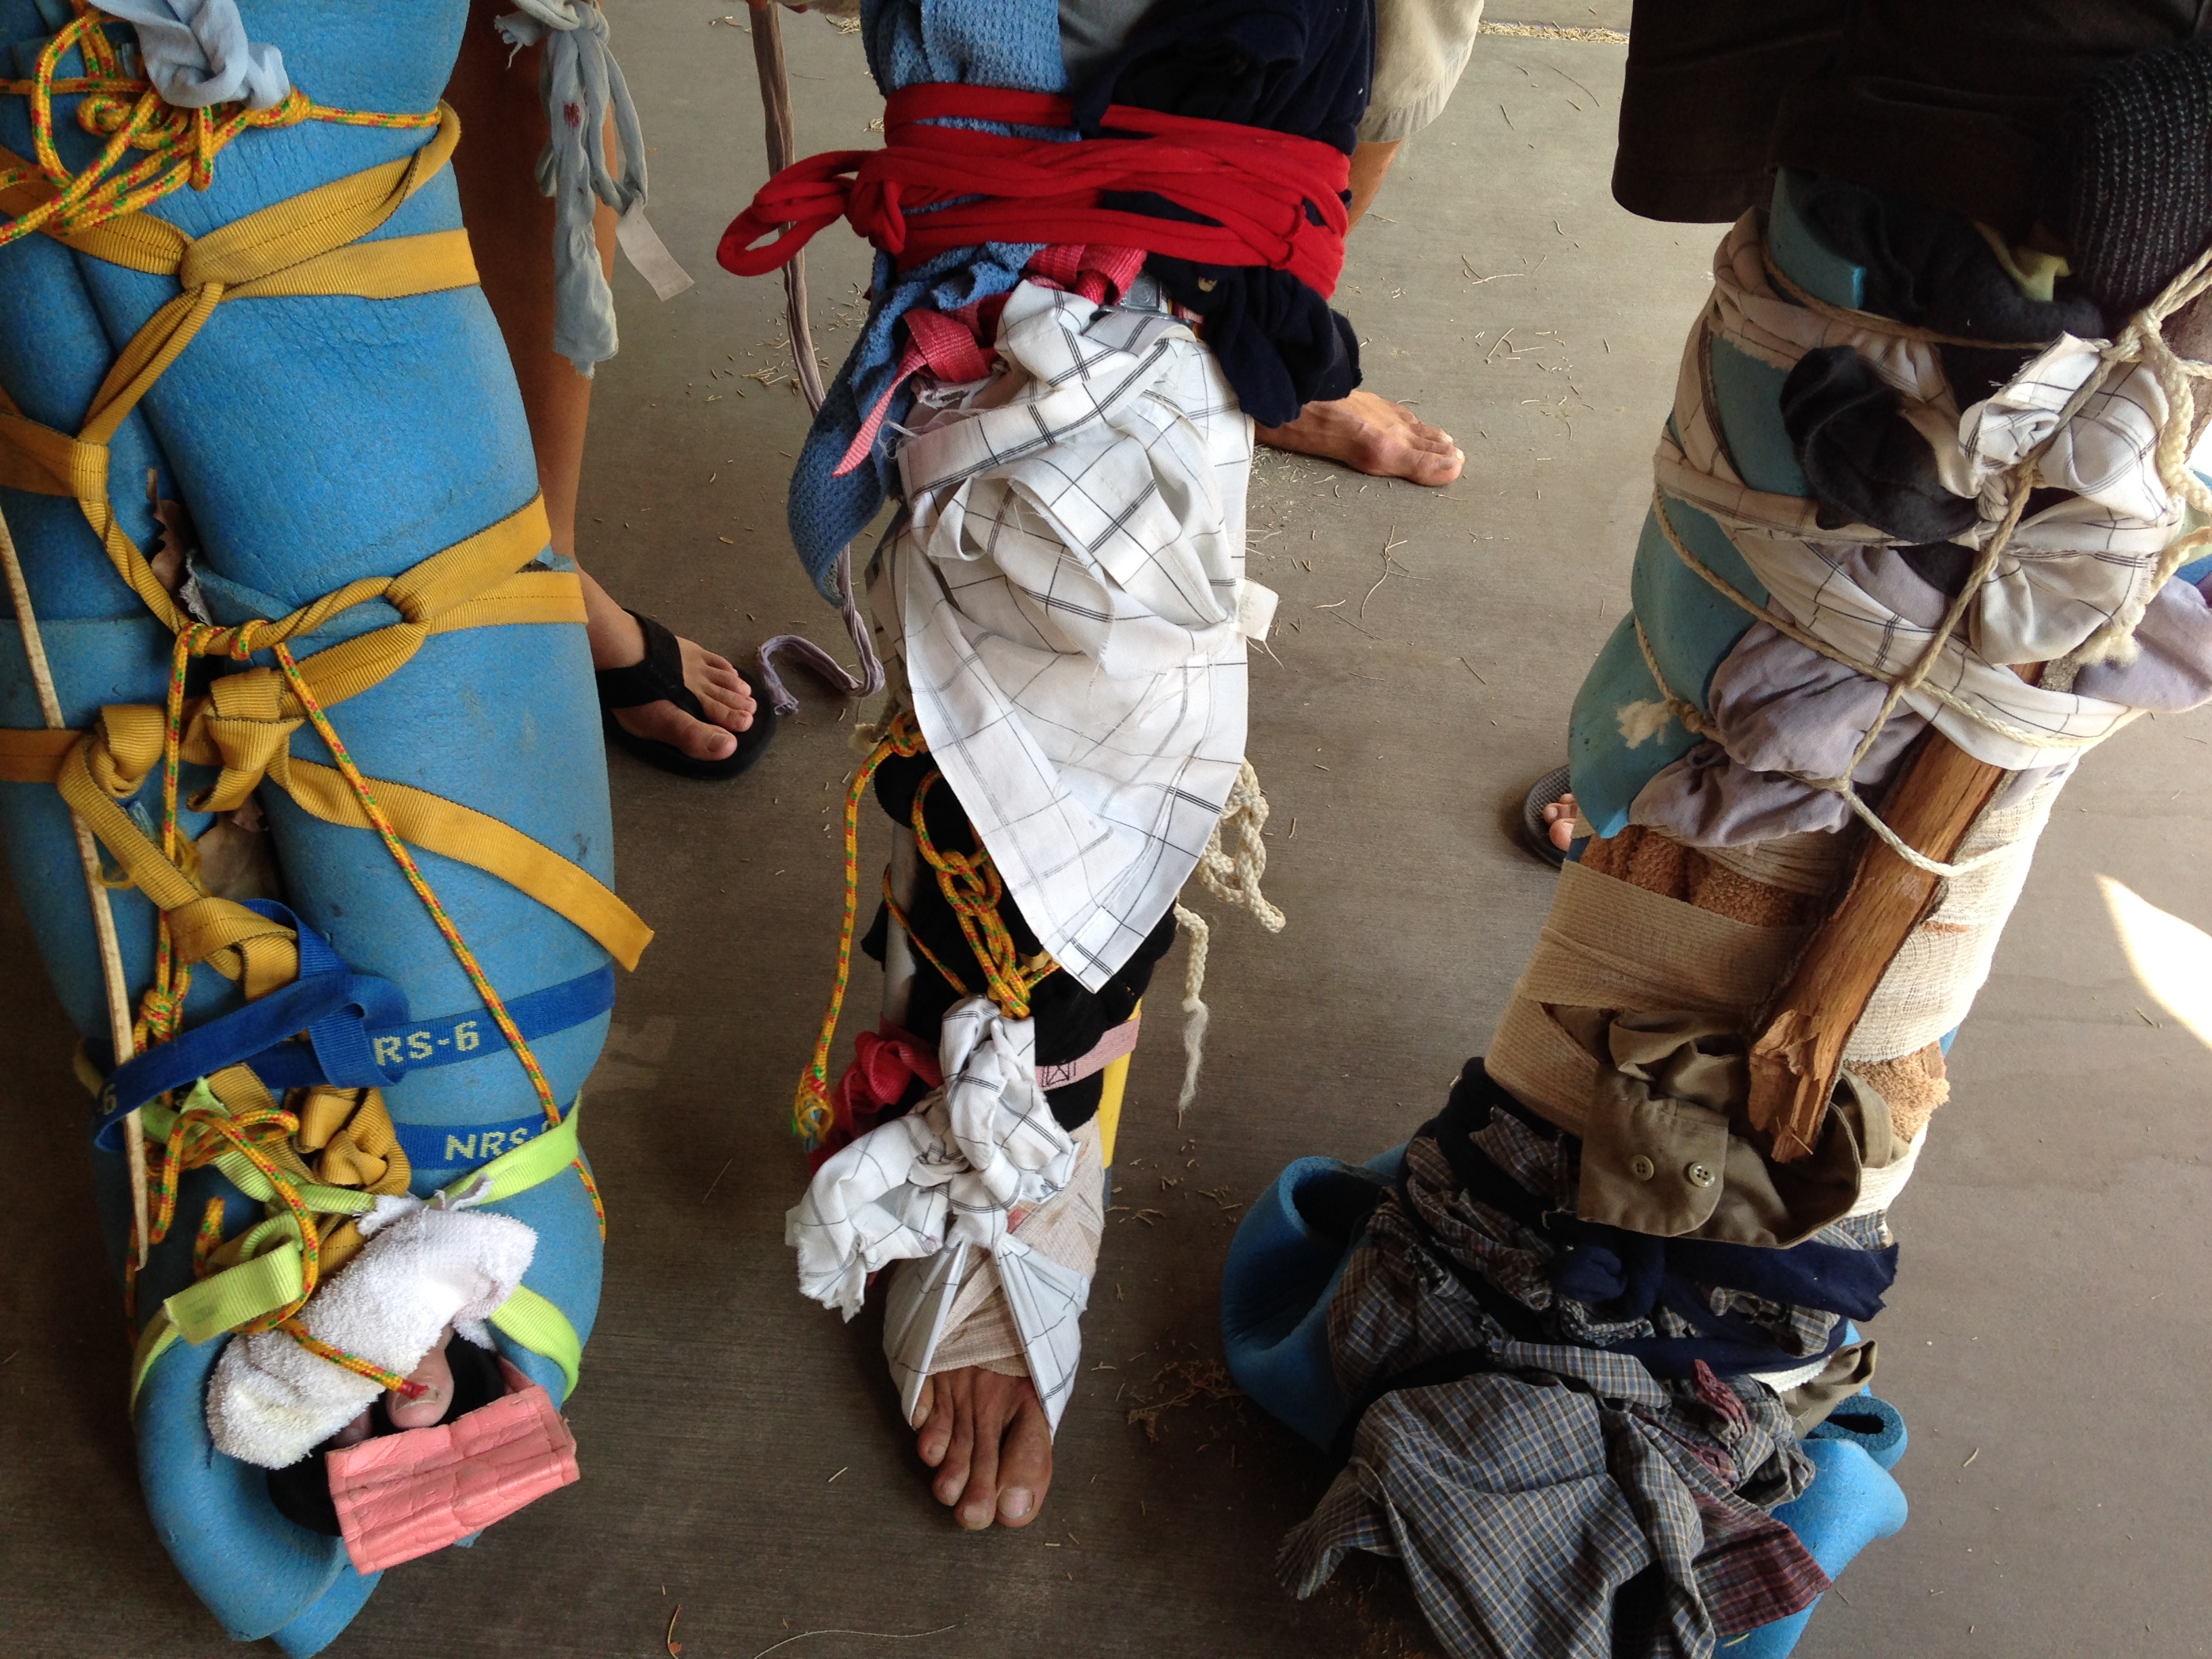
If you’re taking the time to build a splint in the field, take the time to build it right the first time.  A good splint should: Look good, Feel Good, and Work. A splint that works provides support and stability to the patient’s injured area and maintains or restores good circulation and sensation. Splint-building should be a fun puzzle and challenge yourself to make the best one you can. Your patient will thank you.

Hypothermia: kicking the cold

Weather and water can be unpredictable, and often paddlers are caught off-guard by an unexpected storm or an unplanned swim.  With cold related problems, good prevention is key, and understanding how to manage hypothermia is an important skill for guides and paddlers alike. Different texts define the stages of hypothermia in slightly different ways, the discussion below focuses on the signs that may be visible in your guests and paddling partners.

thermal protection to prevent further heat loss

thermal protection to prevent further heat loss

Keep in mind the 4 ways that a body can loose heat:

  • Radiation – we “emit’ heat much like the sun gives off heat
  • Convection – heat loss is 25x greater when submersion in water.
  • Evaporation – moisture interacting with air and thus reducing body temperature (sweating or splashes on the skin)
  • Conduction – contact will transfer heat until the temperatures reach equilibrium

In the early stages of hypothermia the patient is awake and visibly cold; their body is burning any available ‘fuel’ and is taking steps to stay warm.  Remember that shivering is a way for the body to try and create heat.

The “umbles”  As heat loss eclipses heat production, the body starts to prioritize blood flow to the core of the body and decreases circulation to the extremities resulting in loss of fine motor skills (dexterity) and speech. We call the resulting signs the umbles; mumbling, stumbling, bumbling and fumbling.

Hypothermia is life threatening, and if a person continues to loose heat, the core temperature will to drop as hypothermia progresses into later stages. Shivering will become violent and uncontrollable before it eventually stops. As the body’s last-ditch effort to warm itself is exhausted more pronounced changes in the level of consciousness are visible.

If your patient is awake, get the person up and moving to increase metabolic output. Give this person fluids and feed him/her, starting with simple carbs and then progress to more complex foods.  The best way to start warming someone up is from the inside out, starting his or her internal engine. Prevent further heat loss by removing any wet clothes and replacing them with dry insulating layers. Don’t forget that even a small thin wet layer can continue to suck heat out of the patient. Use of a hypo-wrap with vapor barriers and waterproof materials can help keep heat in, and radiant heat sources can be added such as warm water bottles or rocks.

Lastly, here are a few hypothermia tips for commercial raft guides

  • If you are cold as the guide, your guests are freezing. Remember they get the brunt of the water and splash and are cold.
  • Keep guests hydrated and fed even on warmer trips to keep those fuel sources stocked.
  • Assess your crew and identify poor layering choices like cotton before hitting the water.
  • Look for the signs and catch it early.

Hypothermia can strike anywhere anytime, and given the temperature of the water that people flock to for recreation, it always a potential problem. Have the right gear, and be aware of problems before they arise.