“If you don’t have what you need, improvise and make do.” River guide ingenuity, (RGI) is a beautiful thing, and has helped many a guide out of a tight spot or two by making do with whatever he or she can find. In the guiding and swiftwater world the “flip line” is one of those utility tools with many uses. Under some circumstances the flip line is good for re-righting boats, (as long as it’s long enough) but beyond that it has numerous ways to assist river guides and the problems they face. Your utility piece of webbing is the the swiftwater multi-tool. Check out these 30 things you can do with your utility piece of webbing other than flip rafts. Can you think of more?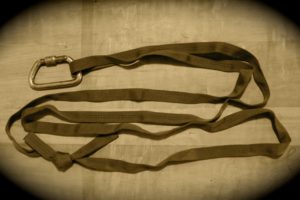
1. re-right a flipped raft
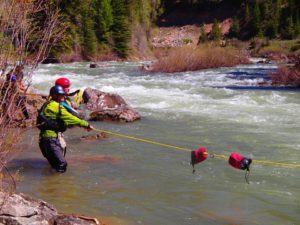
2. use it like a throw rope, help someone to shore
3. clip to a tension diagonal and ride across (upstream arm, opposite the direction of travel)
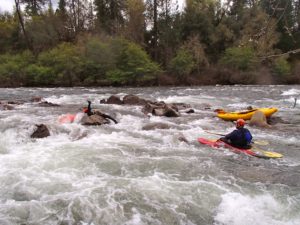
4. drag your kayak to put-in (wear out plastic not your back)
5. make a quick anchor (3-bight or girth hitch)
6. make a NFPA anchor (wrap 3 pull 2)
7. create an improvised harness (swiss seat or other)
8. build a multi-point anchor on a raft or kayak
9. quick girth hitch of a thwart for a bomber anchor
10. tie a klemheist to attach to another rope
11. extend your reach from shore: attach one end to something / someone and hold the other
end while out in current
12. aid in climbing back in a boat
13. pre rig a bow to stern flip line on the bottom of a raft
14. improvise a kayak tow tether in a pinch
15. extract someone’s entrapped foot
16. be the human sea anchor to move a pinned boat: clip to a D-ring and jump in
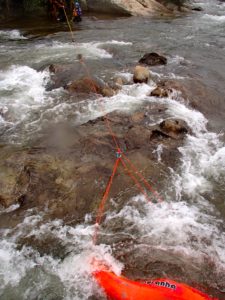
17. create internal MA via the vector pull to taco a pinned boat (change shape so it comes free)
18. in-boat directional pull for pinned raft (clip to a D-ring and pull)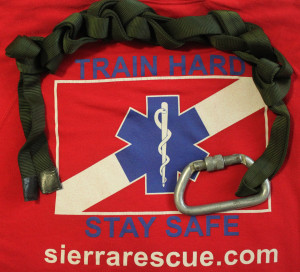
19. add a bow line to a boat
20. use the interlocking double clove hitch to secure someone or something
21. have fun around camp: jump rope, tug-o war, blazo, slack-line
22. hanging line for drying gear
23. hammock anchor
24. bear hoist
25. dish line
26. line for tarp / shelter
27. a belt
28. splinting material
29. improvised litter for patient carry-out
30. attach gear to a tension diagonal and zip it across
Just so we’re all on the same page, the swiftwater multi-tool mentioned above, formerly known as a “flip line” is nothing more than a length of webbing between 15 ft and 30 ft tied together with a water knot and connected with a locking or auto lock carabiner. The water knot can be 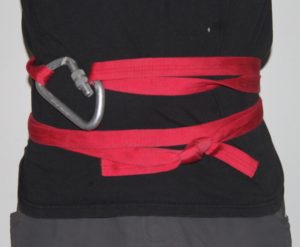 untied to double your working length.
I typically wear my webbing loop around my waist tucked up and under my drysuit sprayskirt tunnel. Start with the webbing loop in front of you, wrap it in opposite directions around your waist until the two ends (bights) come to meet in the front. Clip your carabiner to attach the two ends. Be sure to keep it tight so it doesn’t hang loose or become an entrapment hazard. Adjust the water knot so the ‘belt’ fits snug. And there you have it, river guide’s multi-tool. What else can you do with it?
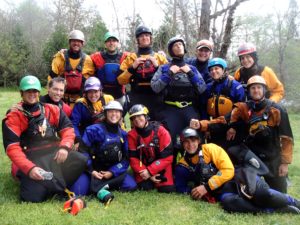
Post by: Zach Byars, Instructor

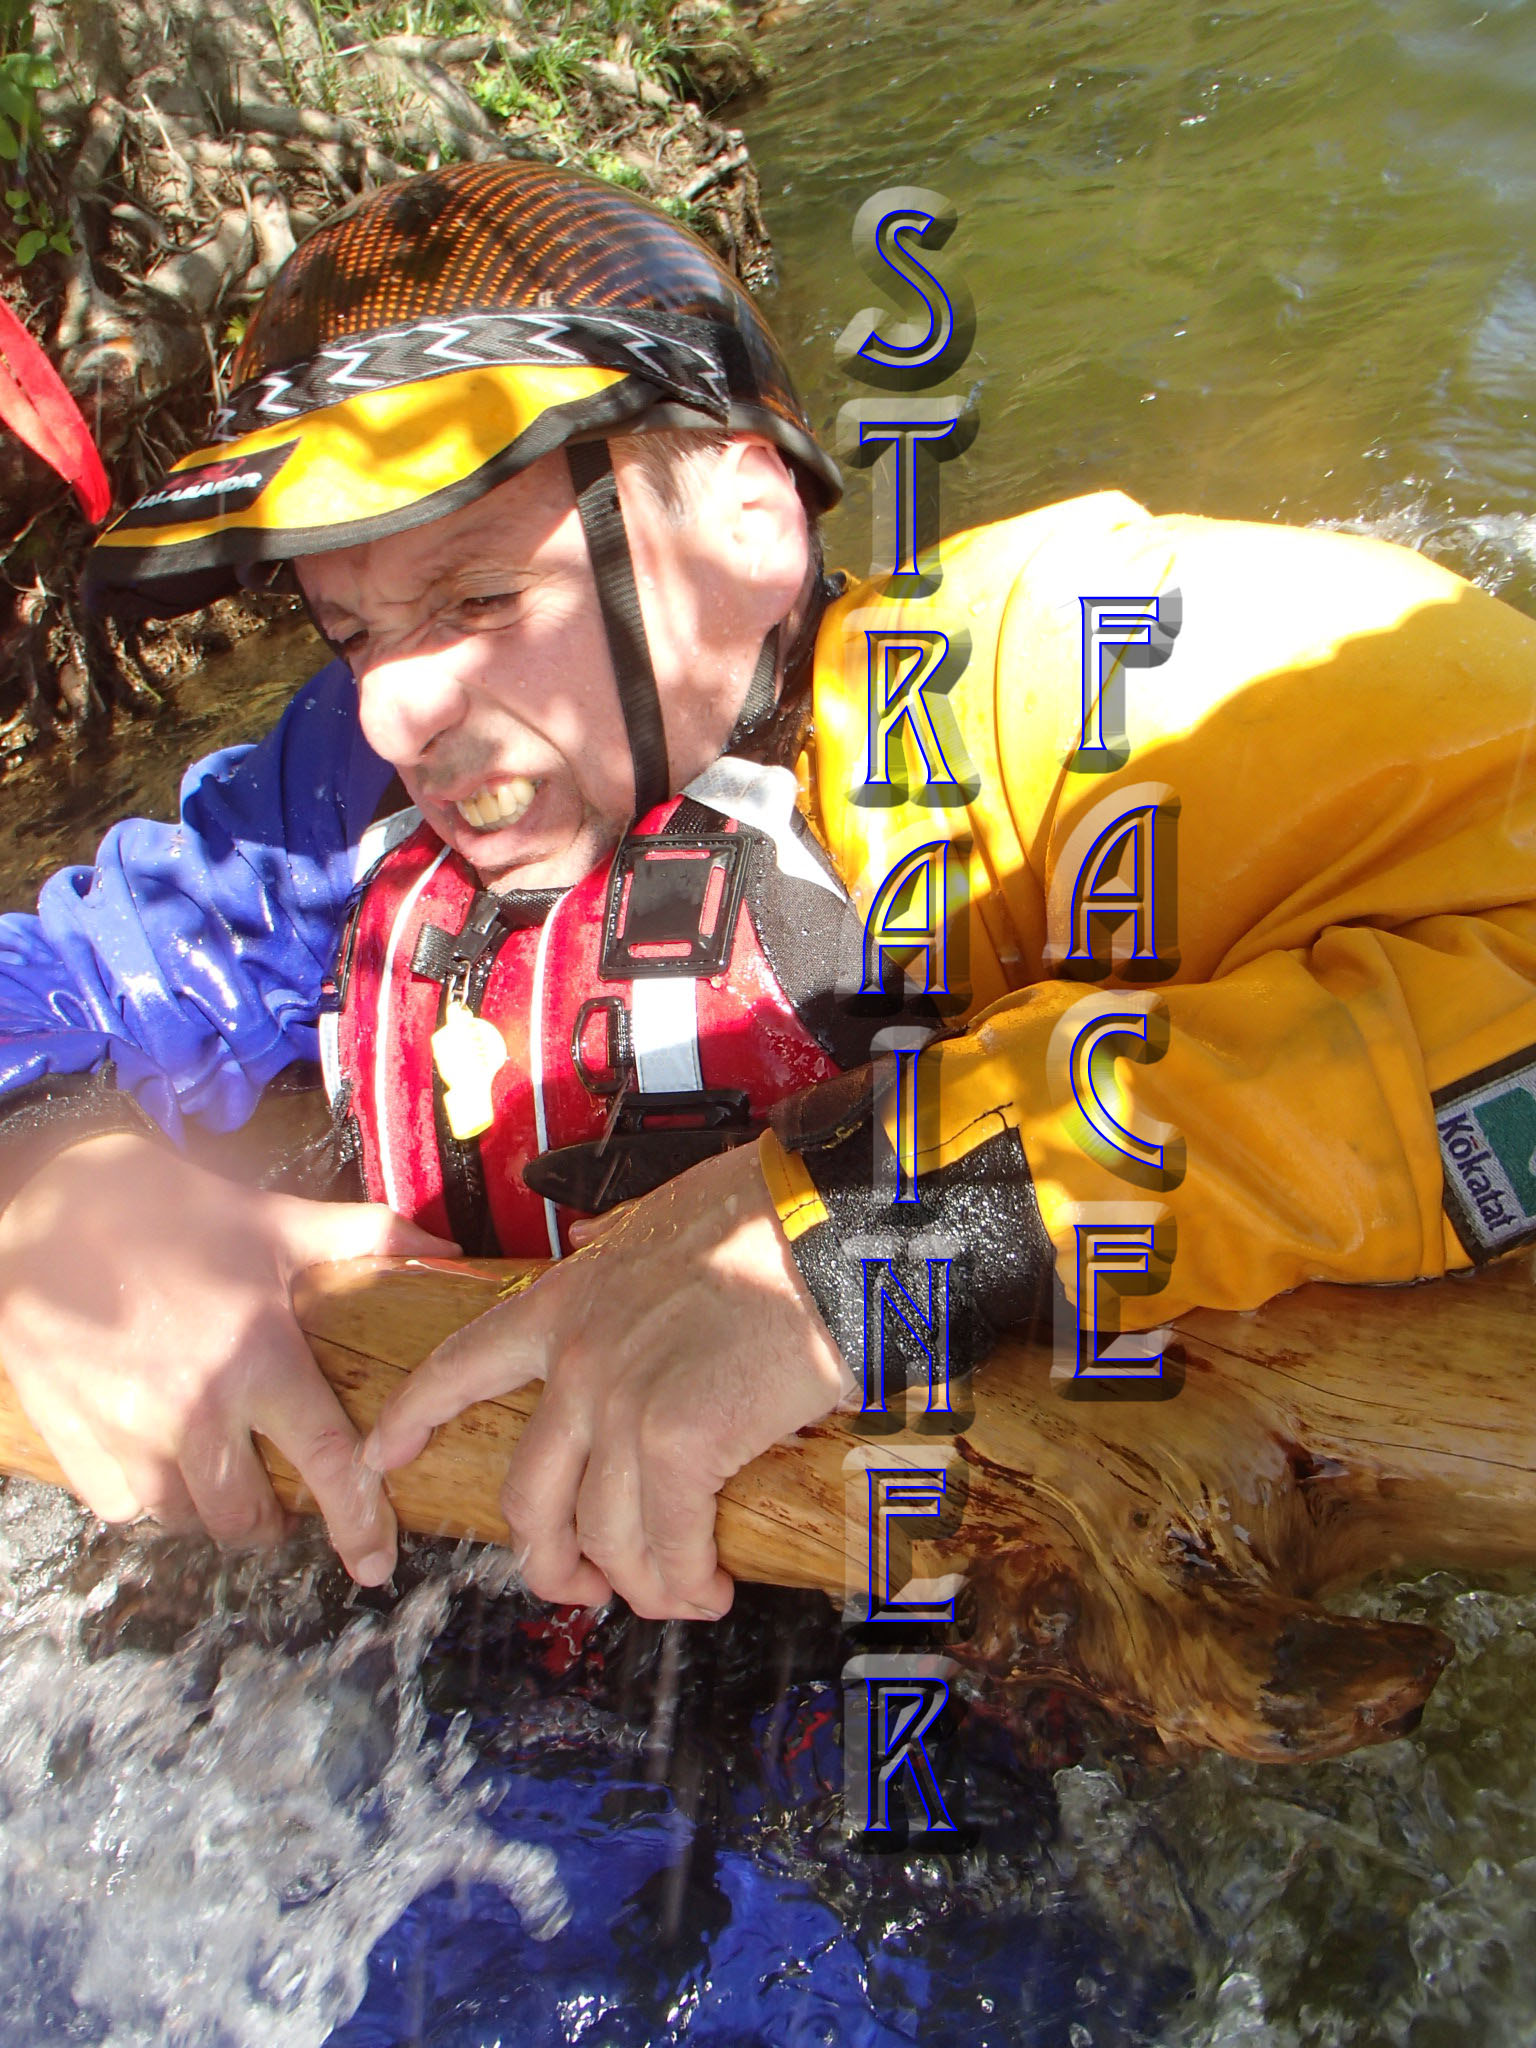
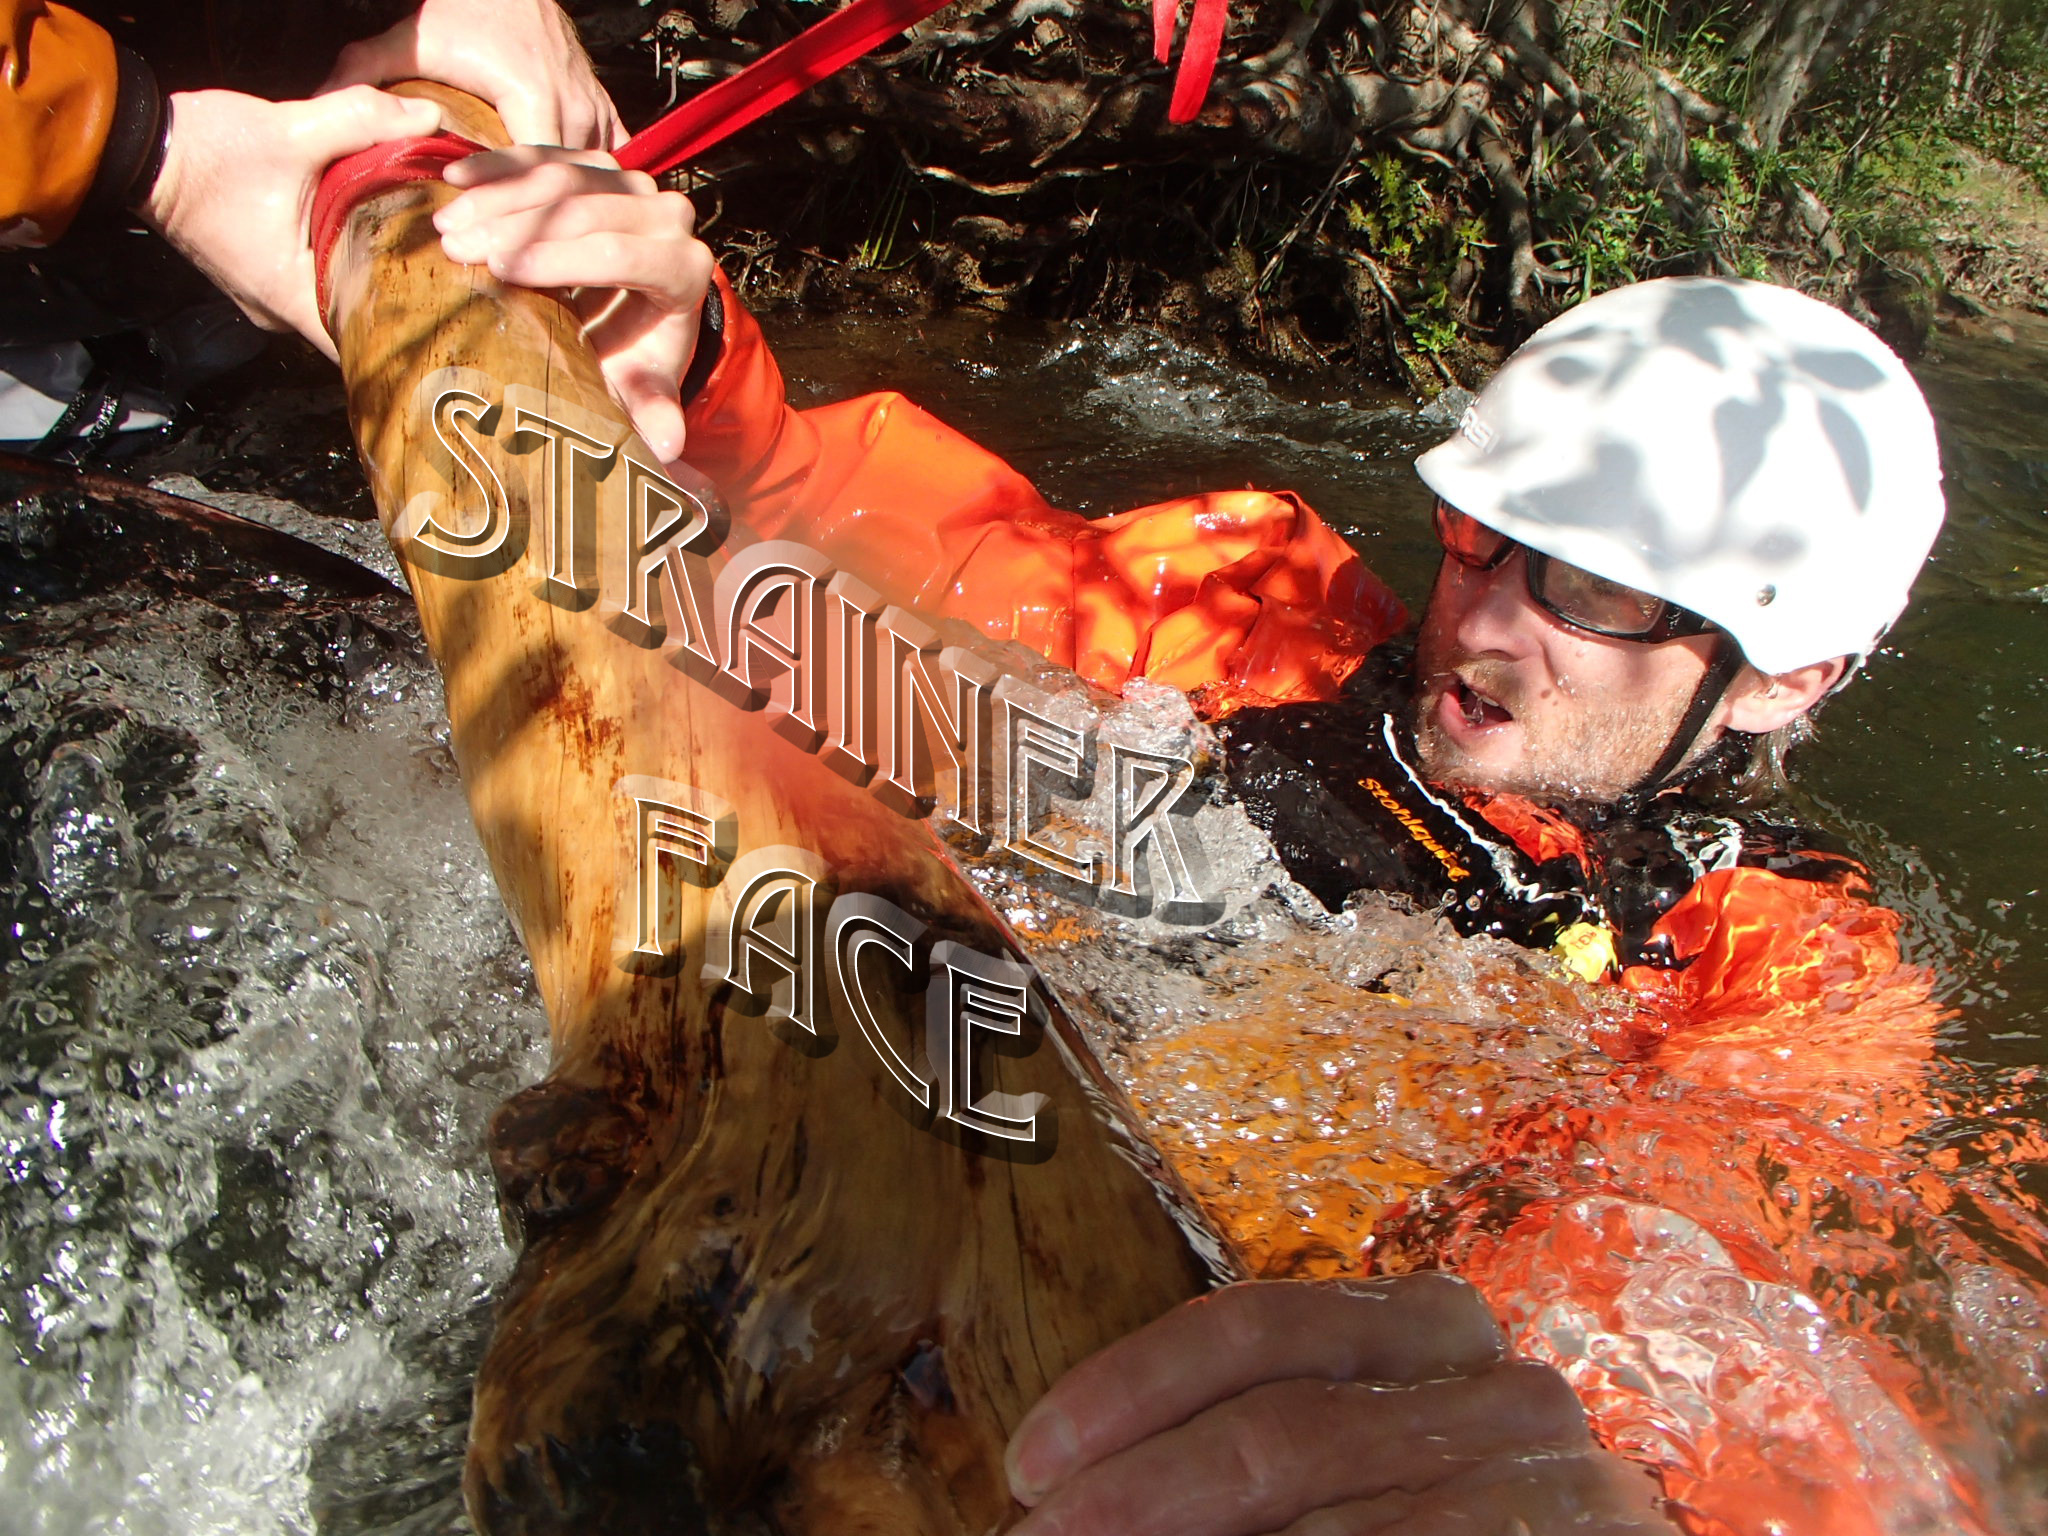
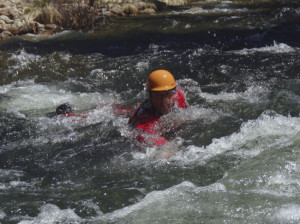
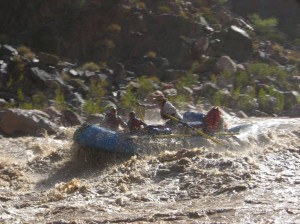
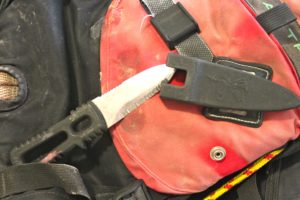
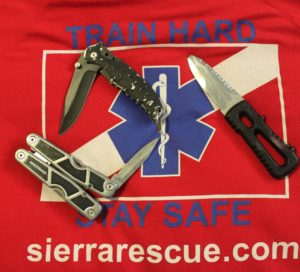
 In our newly developed RRC-professional curriculum, one of the new ‘skills’ adapted from the Kiwi rescue realm centers on getting to and using a knife to self rescue under stressful conditions. The drill involves putting your foot in a loop of rope, and lowering into the current. Once “entrapped,’ you have to reach your knife and cut your foot free. Don’t worry we wont have you cut yourself free of a raft floor, but as extreme as it sounds, doing exactly that should be considered as an option if someone is heads down under a pinned / wrapped raft. Remember it’s all about airway airway airway.