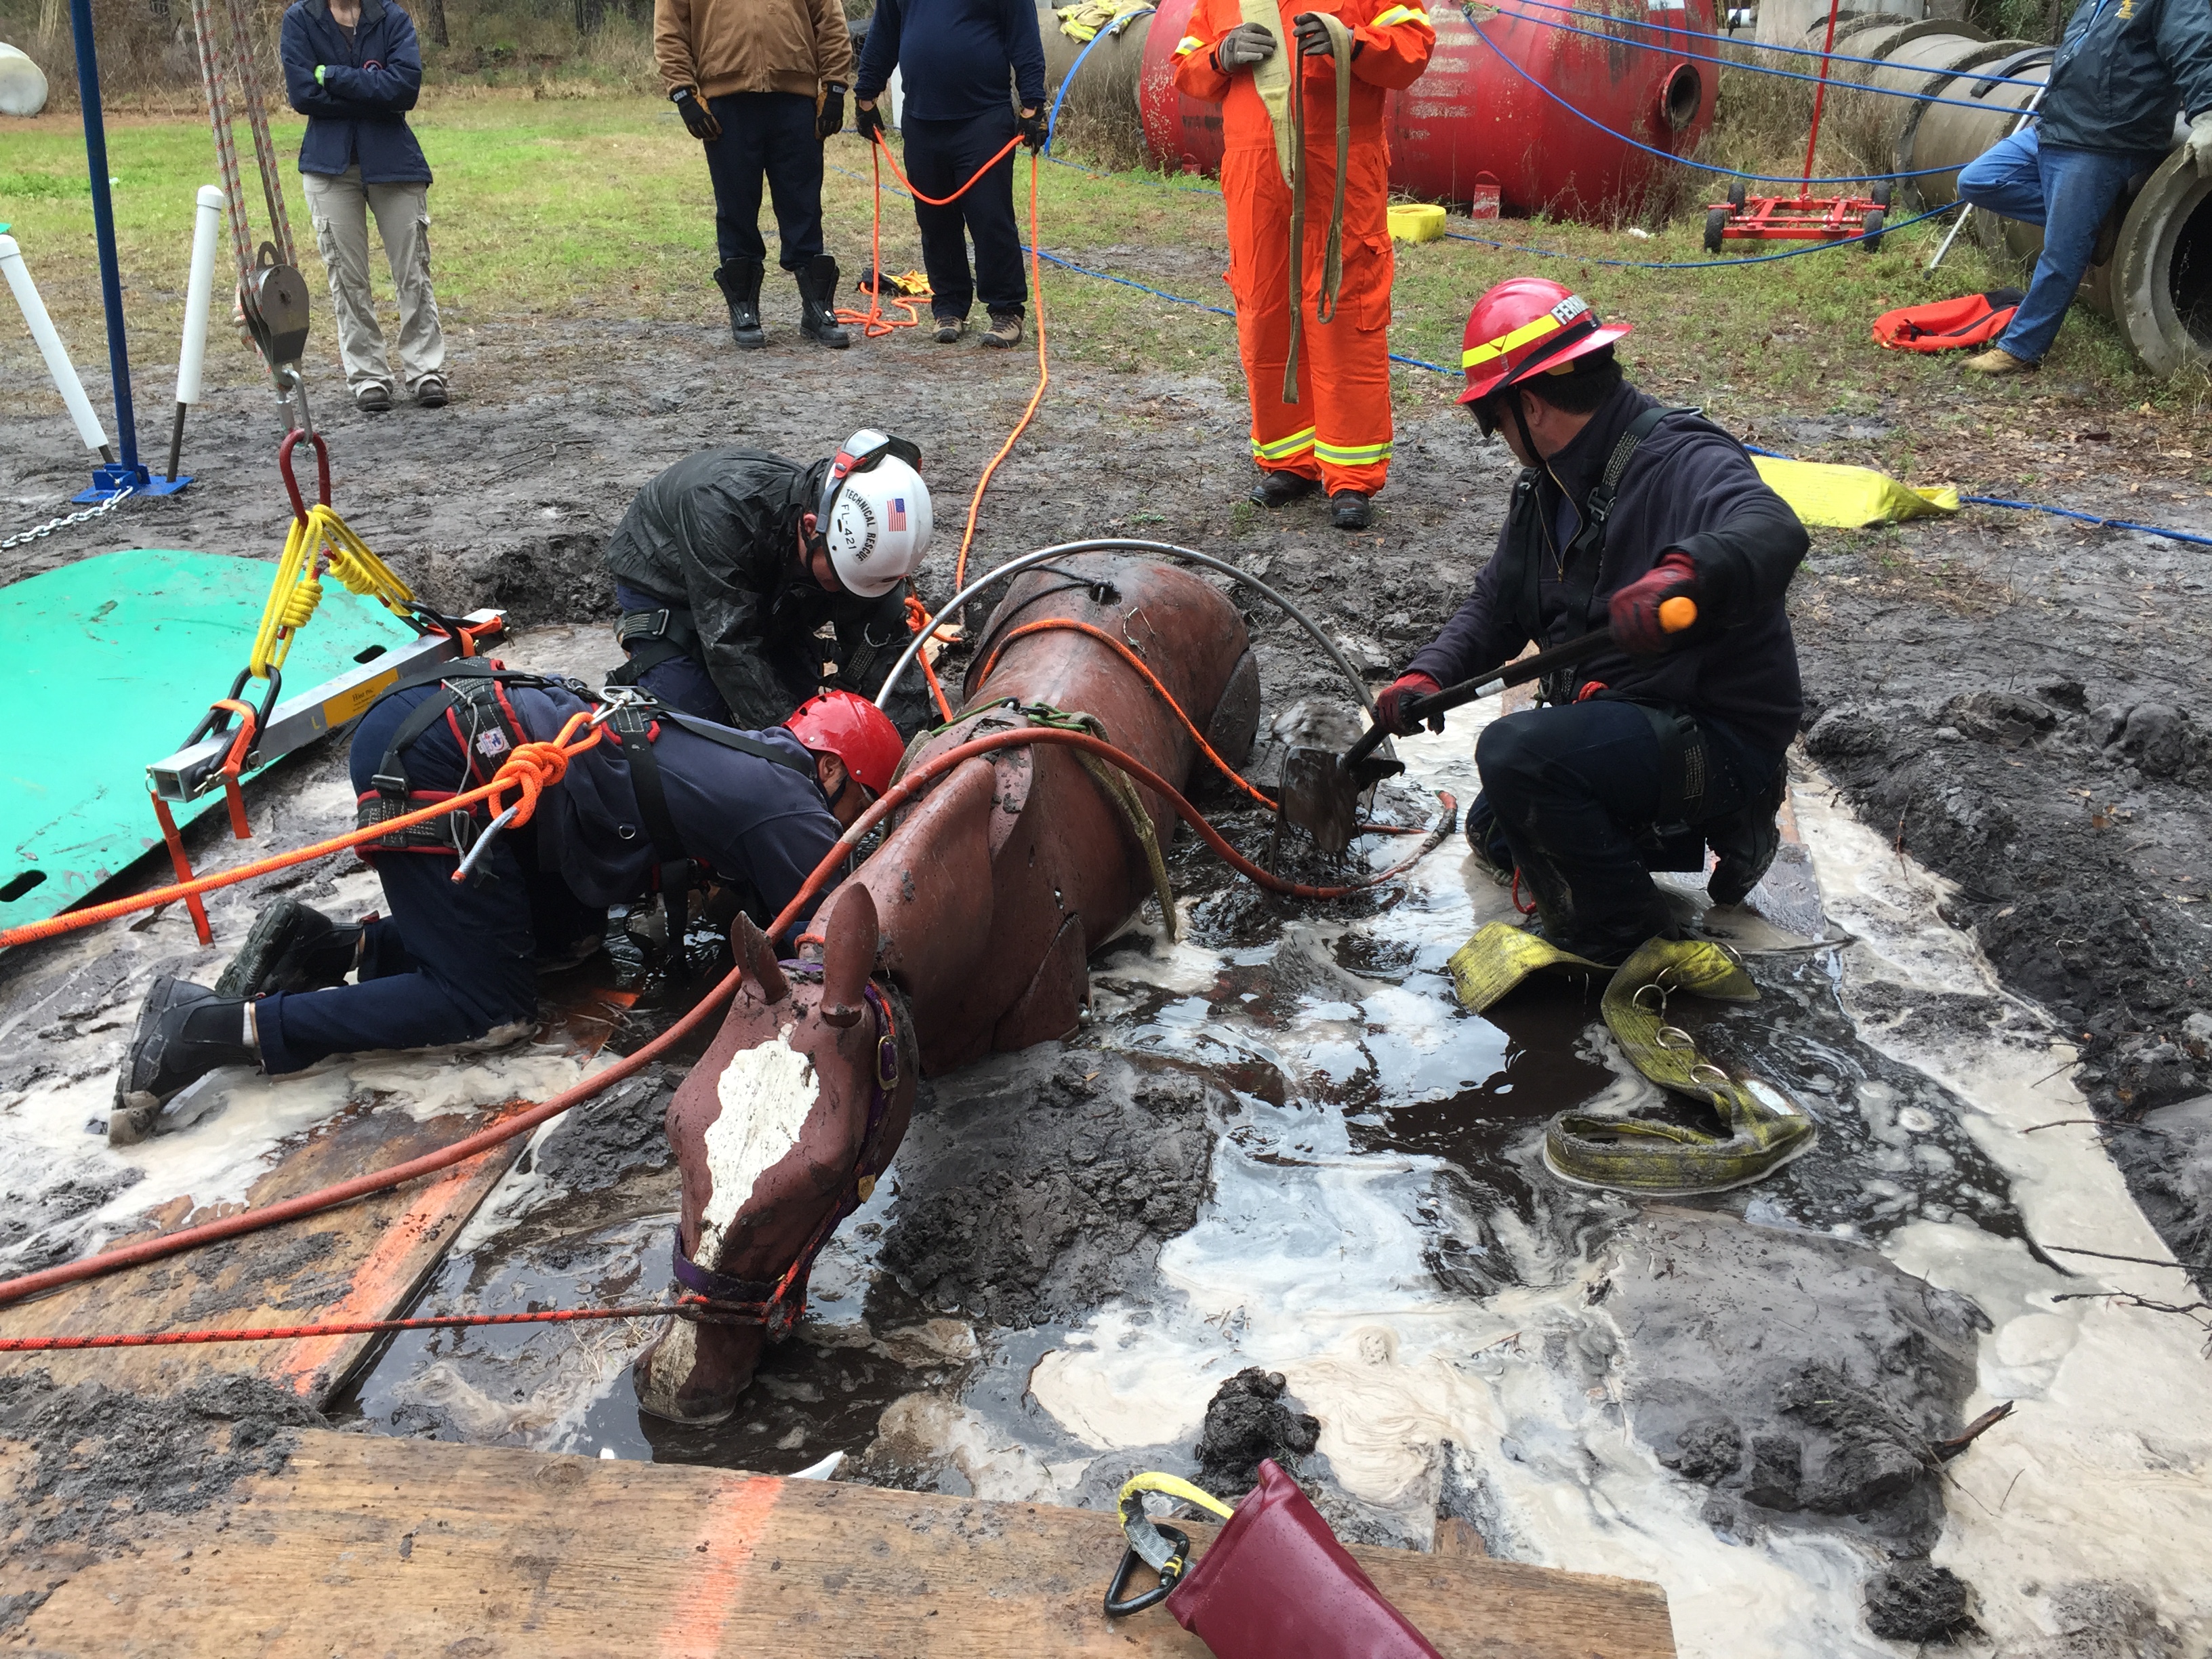
Whether from Sticks or stakes, branches or rebar, impalements can be a backcountry problem to contend with. In the field of wilderness medicine, there are specific protocols pertaining to impalements and how to manage them in a remote setting. These guidelines are attributed to the assessment and location of the impalement injury.
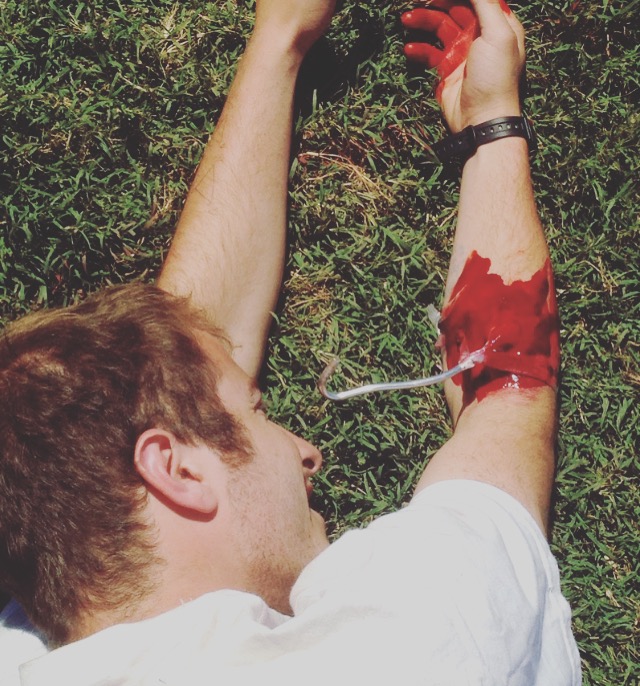
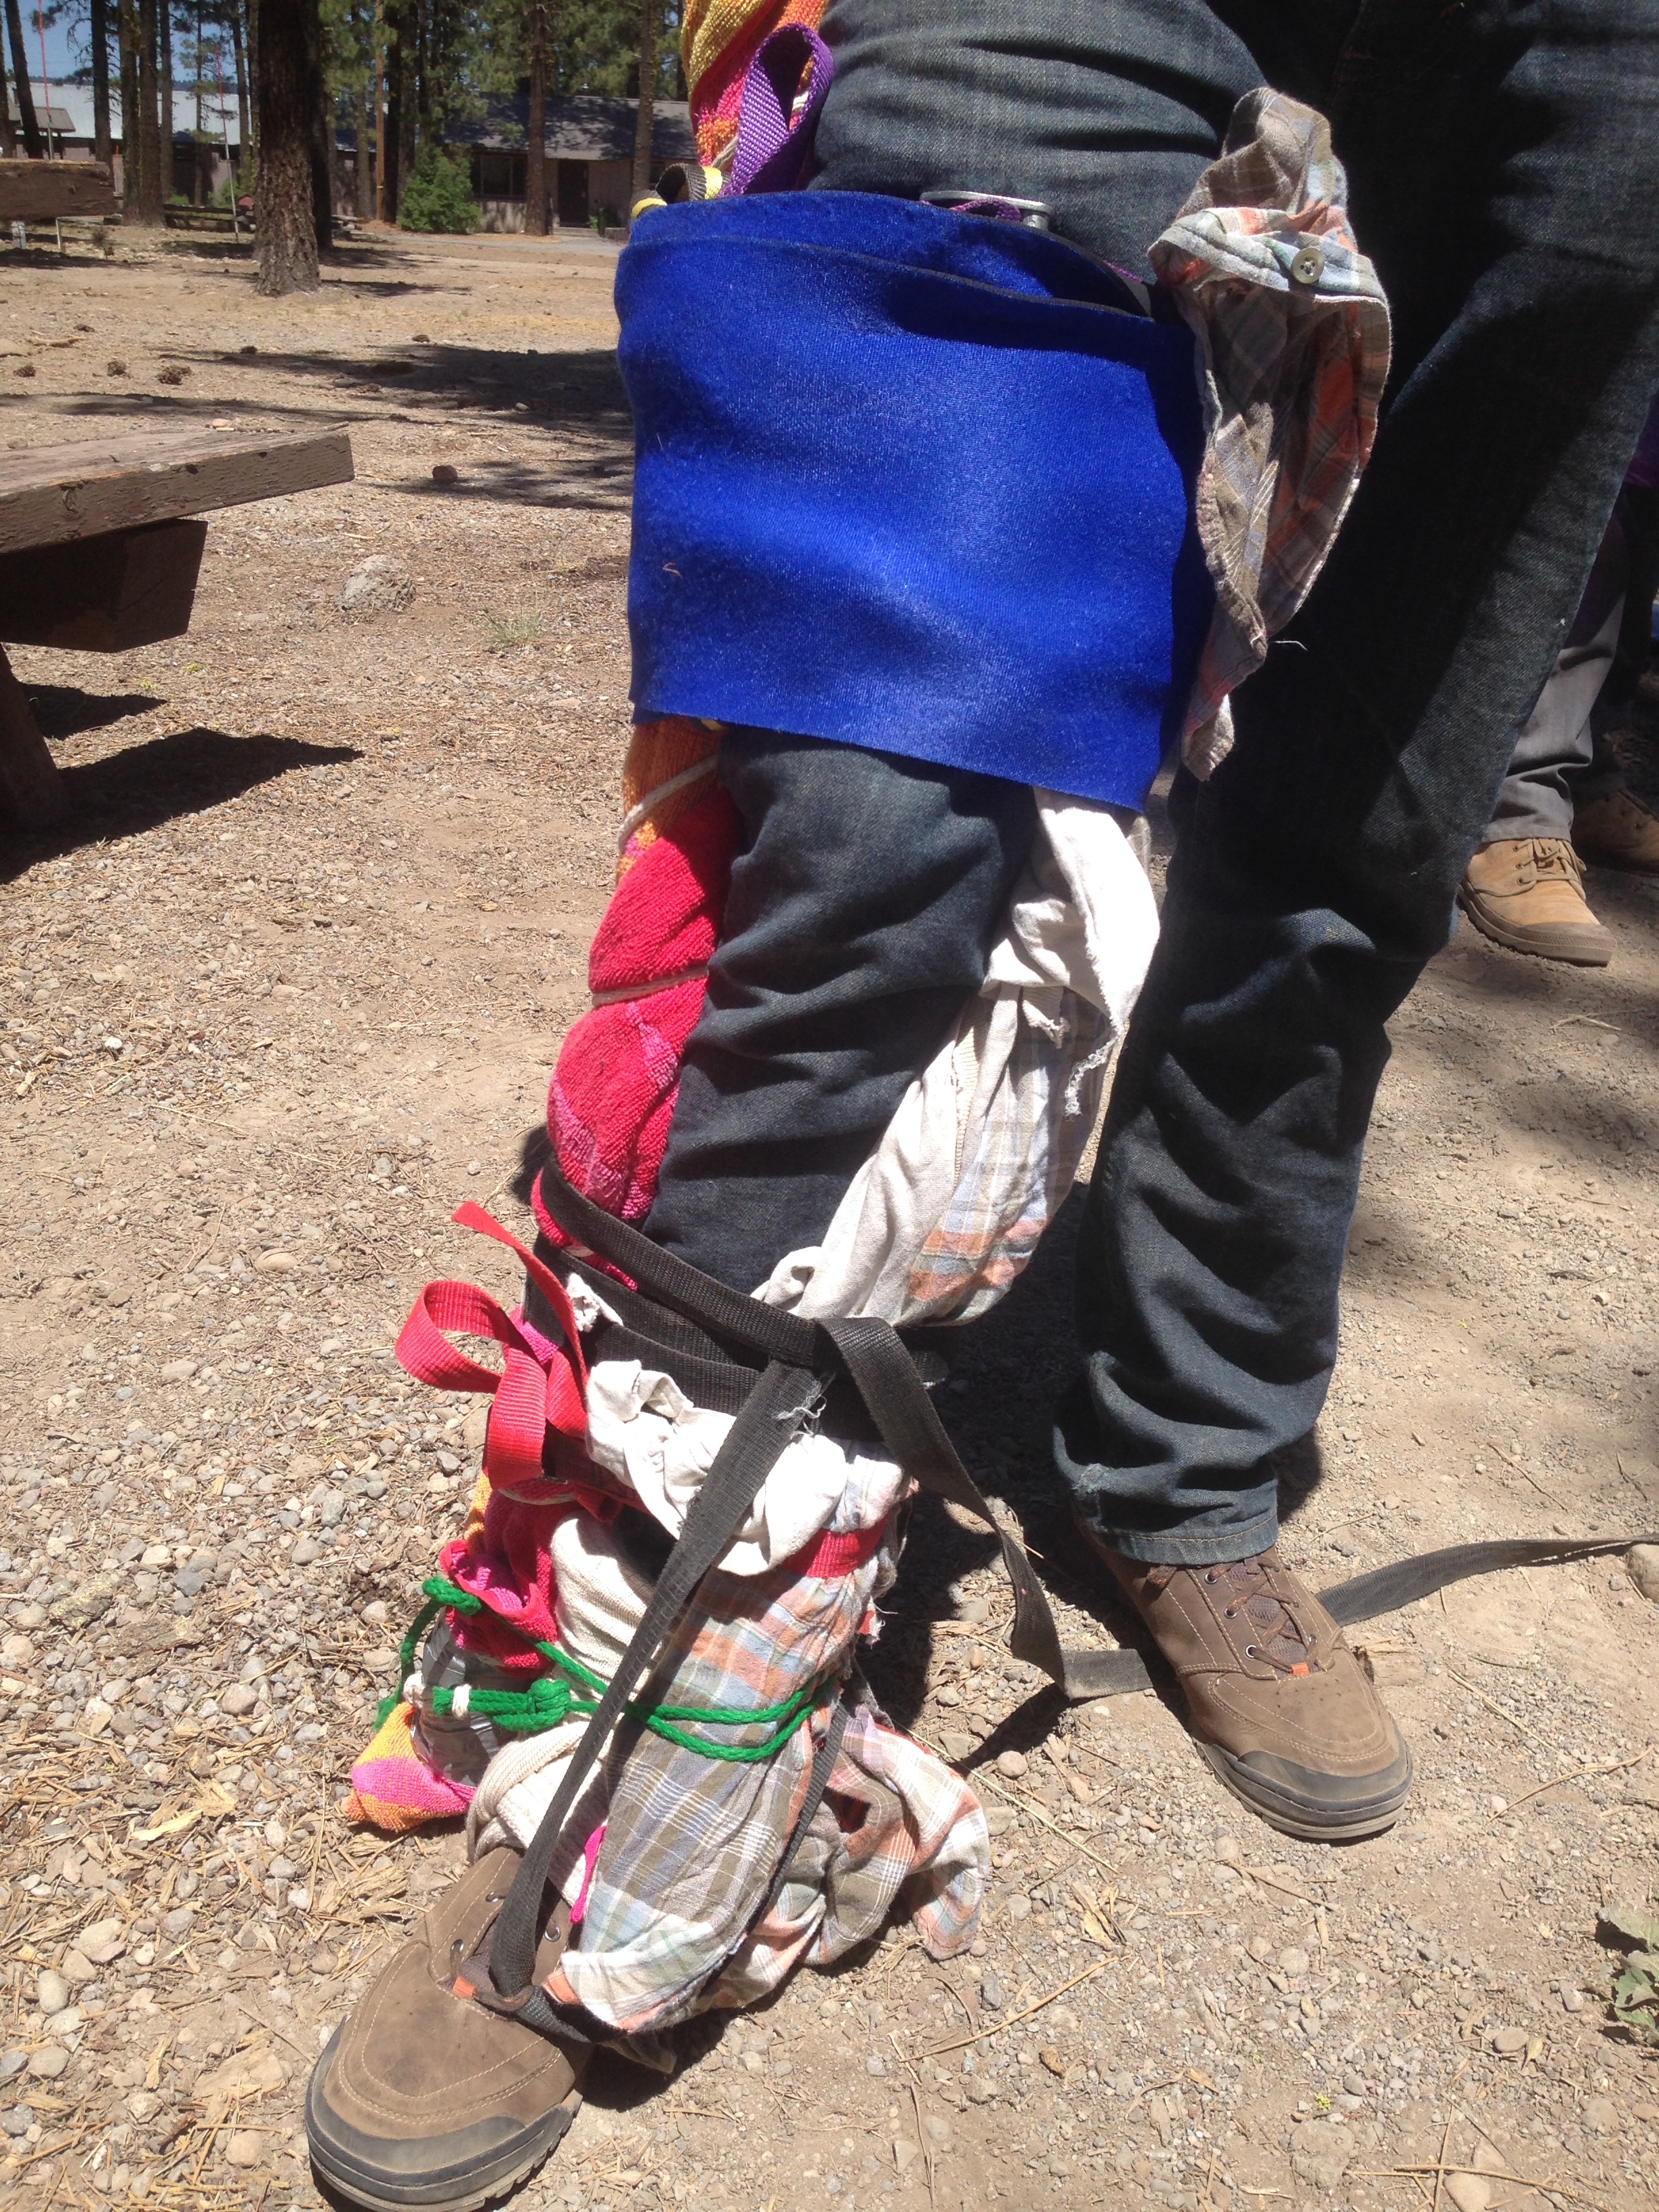
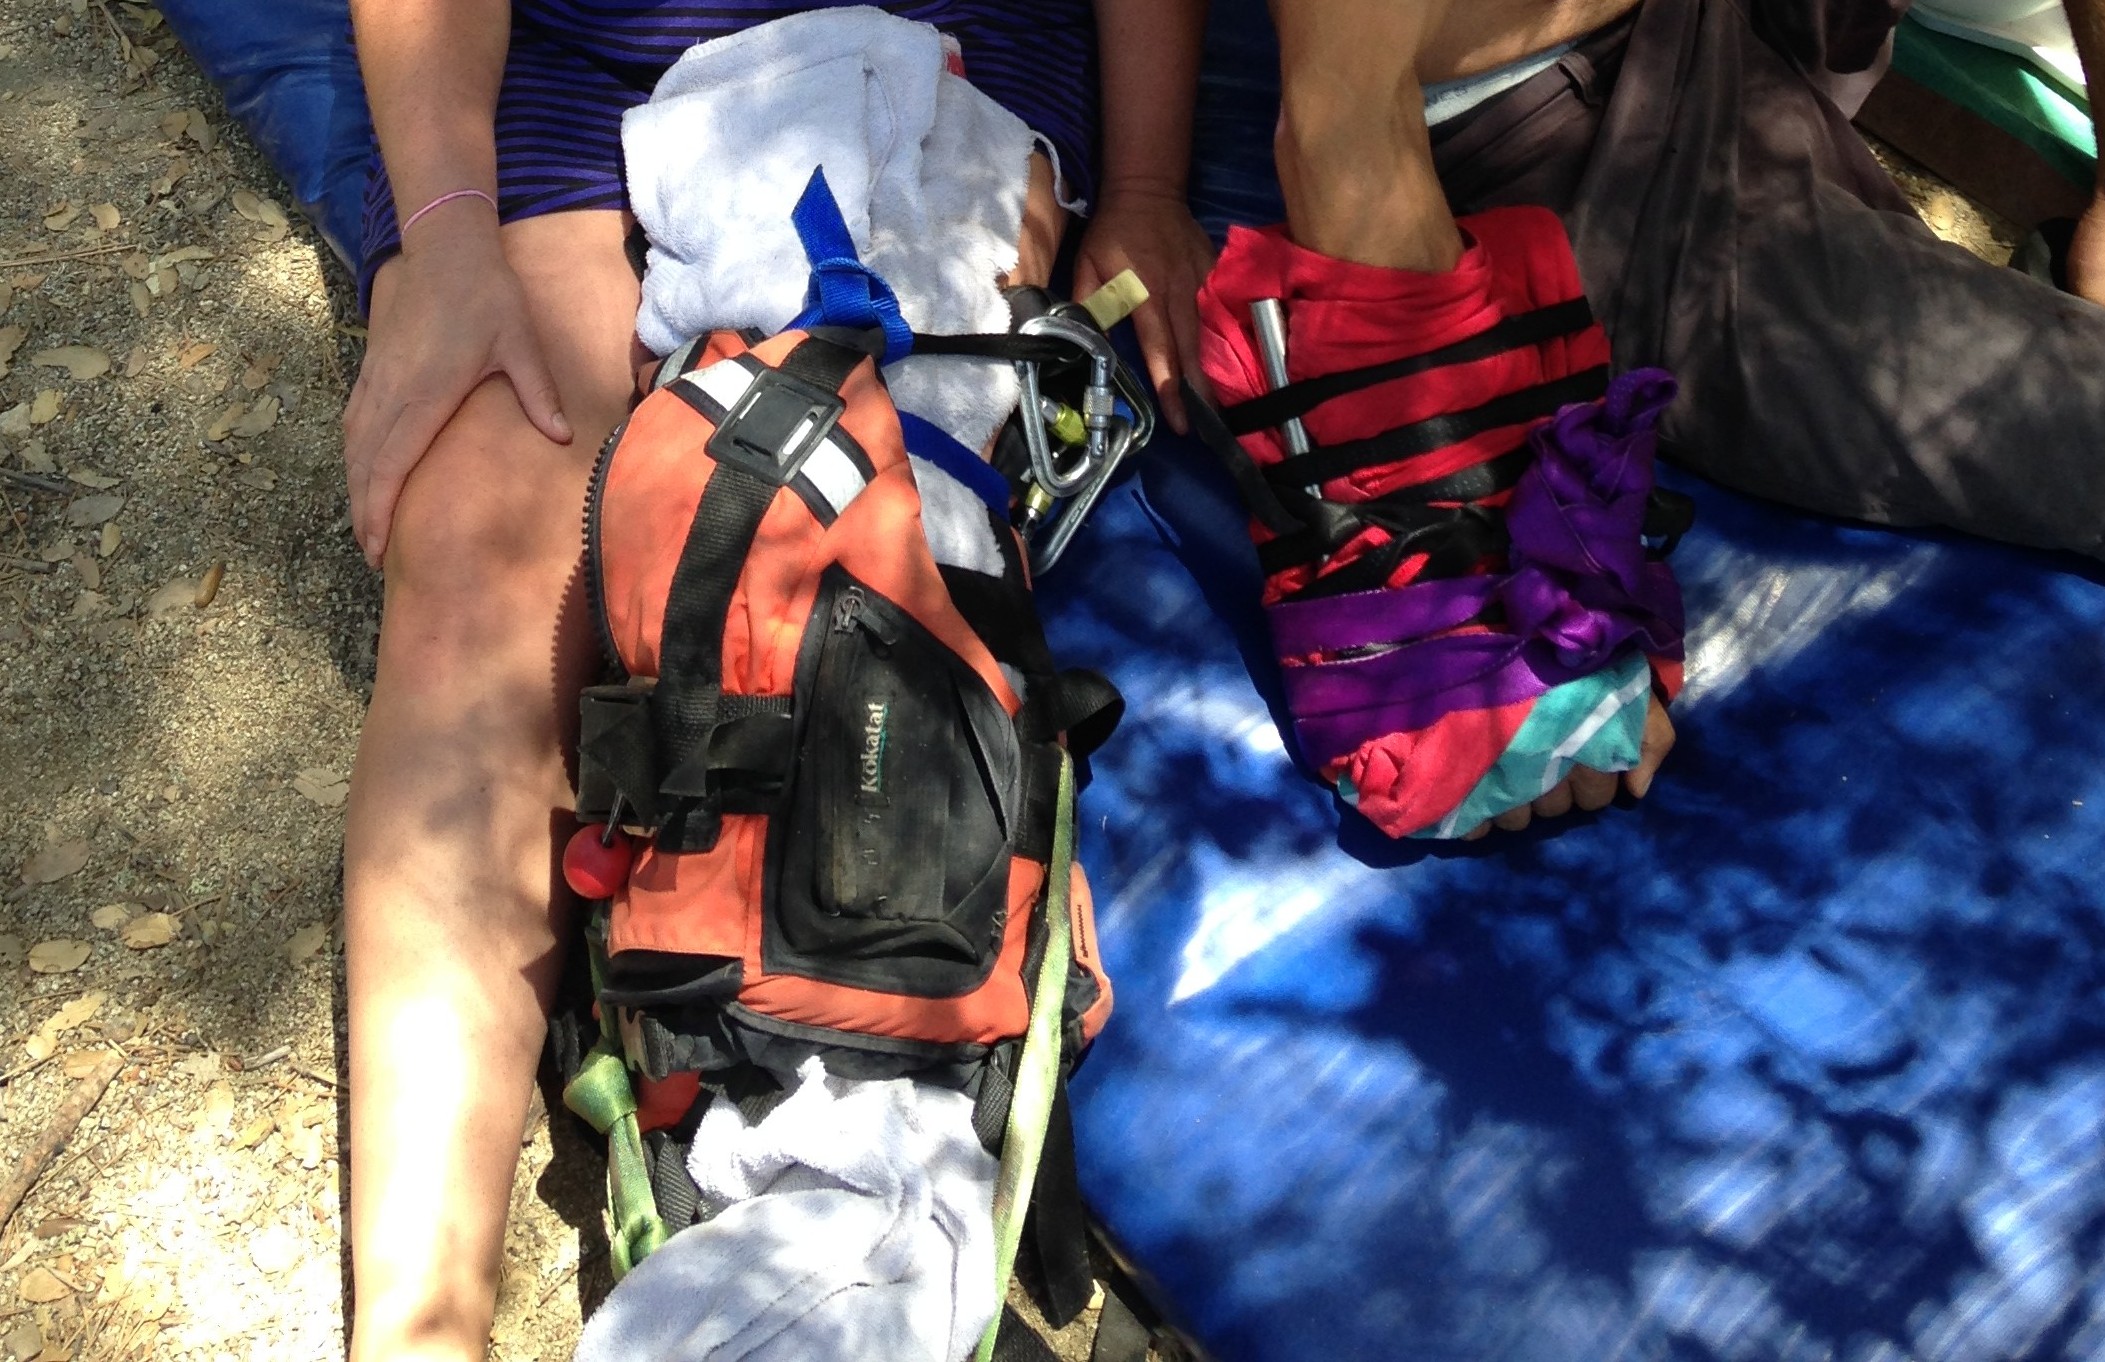
tent stake to the arm
- Core impalement. Impalements to the head, face, trunk and other core parts of the body are usually left in place. Primary focus should be on bleeding control and secondary efforts to stabilize the object in place with sterile bulky dressing. Minimizing movement of the impalement will help to reduce subsequent damage. In some cases when the impalement is from a larger object, consider reducing the size of the object to facilitate evacuation. Impalements to the eyes get special attention. Not only does the object require stabilization in place over the affected eye, but the unaffected eye needs to be covered since movement of one eye is linked to the other.
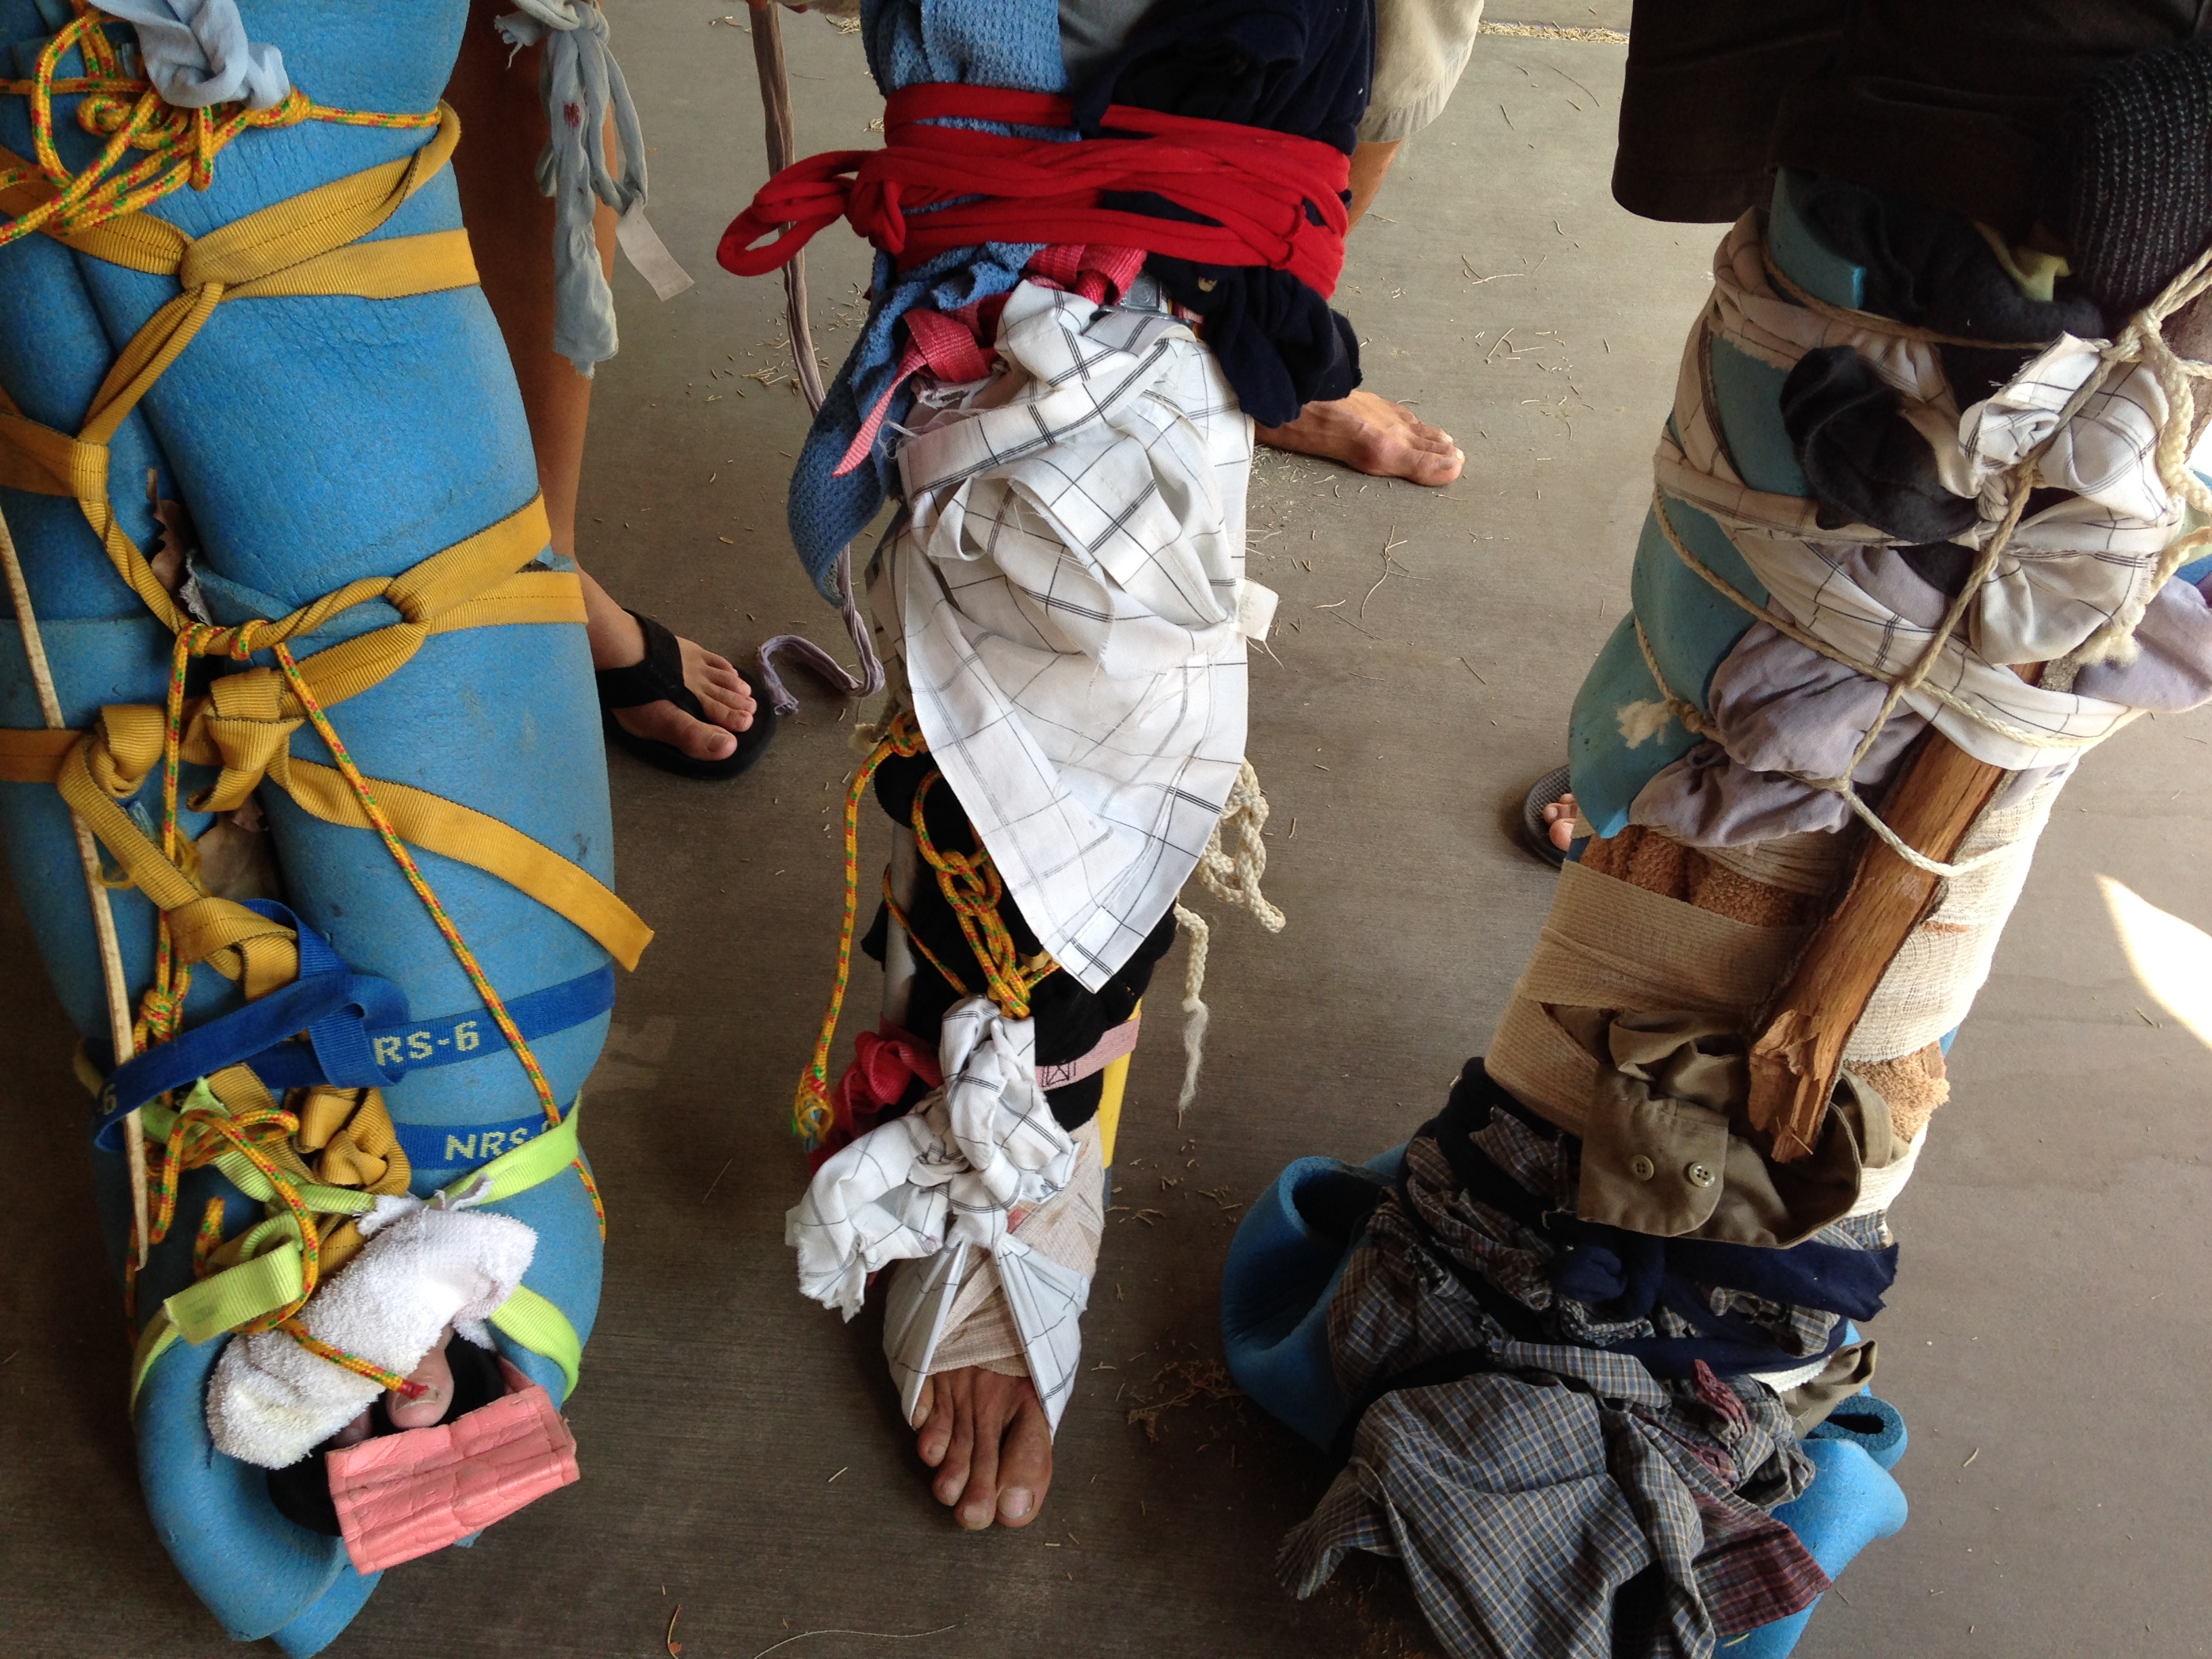
- Extremity Impalement. Wilderness medicine guidelines suggest that impalements to the extremities can be removed to facilitate evacuation. If your patient can or needs to self evacuate, prior removal of the impaled object can help. Proper wound management will help minimize the risk of infection. In some cases extremity impalements remain stabilized in place.
- Basic Life Support. Any impalement that interferes with a basic life support intervention can be removed. For example, if CPR is indicated based on patient assessment, and an impalement would impede proper CPR, the removal of the impalement is acceptable
Some common impalements in the wilderness result from tree fall and falls onto downed trees, campfire related tools and objects, and slips and falls along riverbanks where beavers have left behind sharp stubs. Recognition of potential threats and prevention can help to reduce the likelihood of impalements.